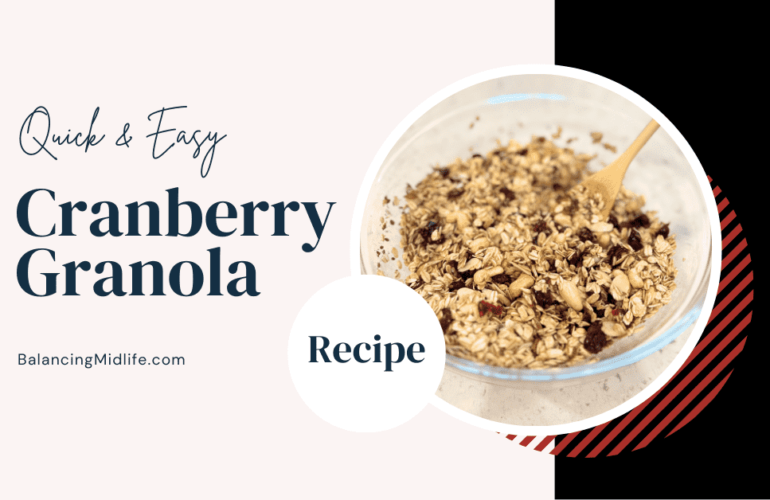
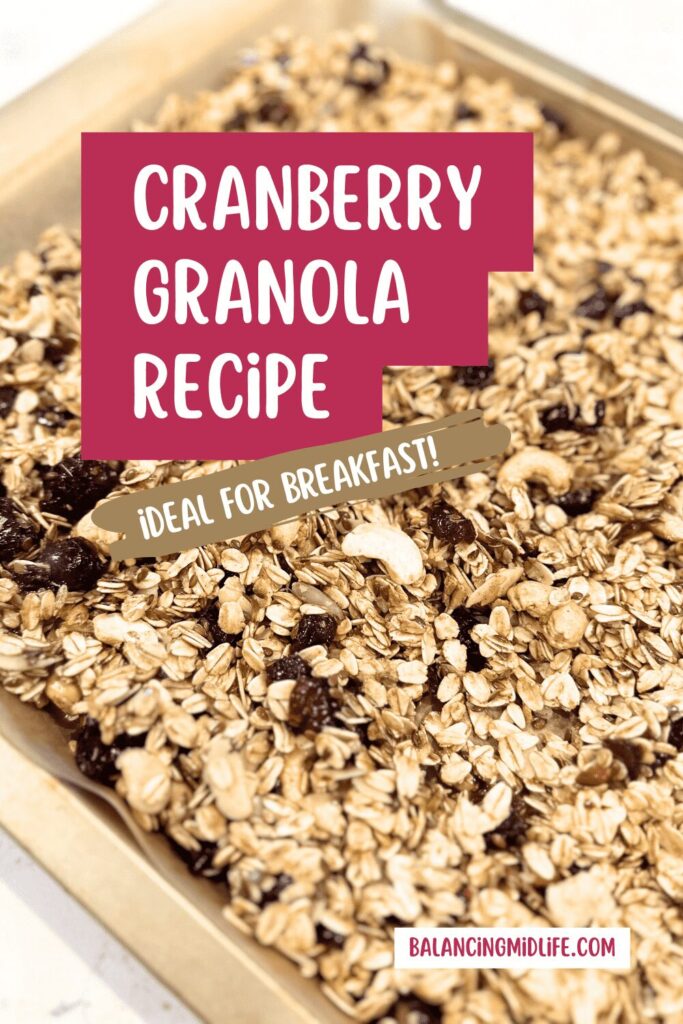
Cranberry Granola Recipe: Fuel Your Day with Healthy Goodness

Are you tired of the same old breakfast routine? Ready to shake things up and add some excitement to your mornings? Well, you’re in the right spot as I share a mouthwatering Cranberry Granola Recipe!

Crunchy clusters of oats, and the sweet taste of dried cranberry goodness, all come together to create the perfect breakfast treat. If you’re craving something delicious, nutritious, and satisfying to start your day, then you’ll want to try this recipe.

cranberry granola recipe

Once you try it, you’ll be hooked! I can’t count how many mornings I’ve started with this Cranberry Granola Recipe. It’s my go-to topping whenever I need to spruce up my yogurt.

Grab your ingredients and let’s get baking – because breakfast is about to get a whole lot better!

My posts may contain affiliate links. If you purchase through one of these links, you will not pay a penny more, but I will receive a small commission. Please read my disclaimer for more information.

Ingredients:

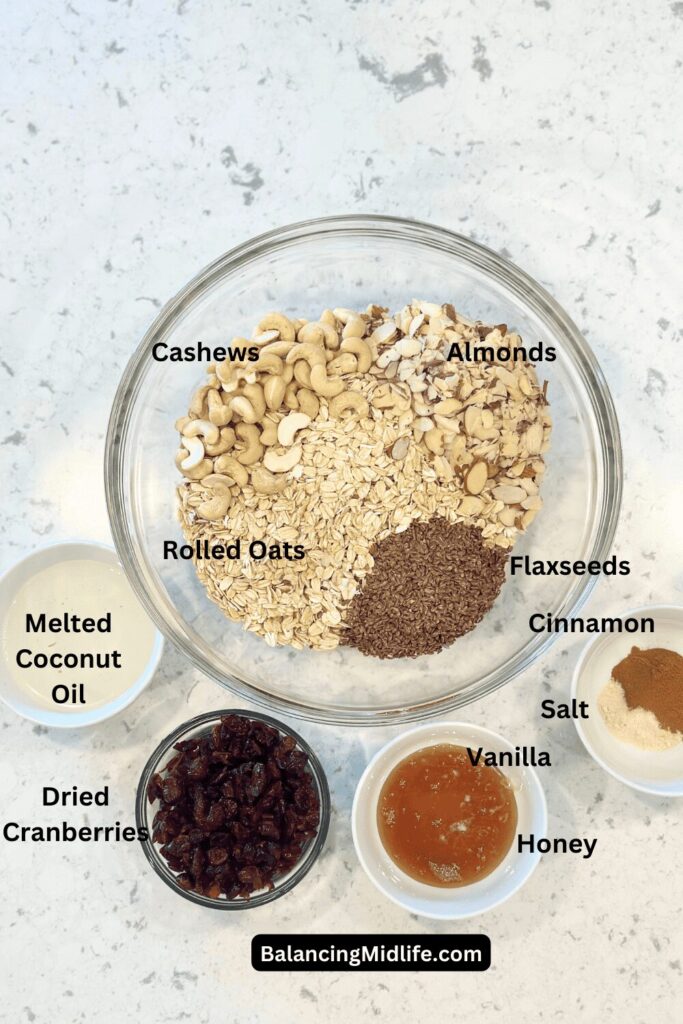
  • 3 cups rolled oats (I use One Degree organic gluten-free oats)
  • 1 cup dried cranberries
  • 1/4 cup ground flaxseeds
  • 1/2 cup sliced almonds
  • 1/2  cup cashews
  • 1/4 cup melted coconut oil (I prefer Kirkland organic)
  • 1/4 cup honey or maple syrup
  • 1 teaspoon vanilla extract
  • 1/2 teaspoon ground cinnamon
  • 1/4 teaspoon salt
Ingredients to make cranberry granola recipe

How To Make This Cranberry Granola Recipe

  1. Begin by preheating your oven to 325°F (163°C) and lining a baking sheet with parchment paper.
  2. In a large bowl, combine rolled oats, cranberries, almonds, cashews, and ground flaxseed.
  3. In a separate bowl, whisk together melted coconut oil, honey (or maple syrup), vanilla extract, ground cinnamon, and salt.
  4. Pour the wet ingredients over the dry ingredients, stirring until everything is well coated.
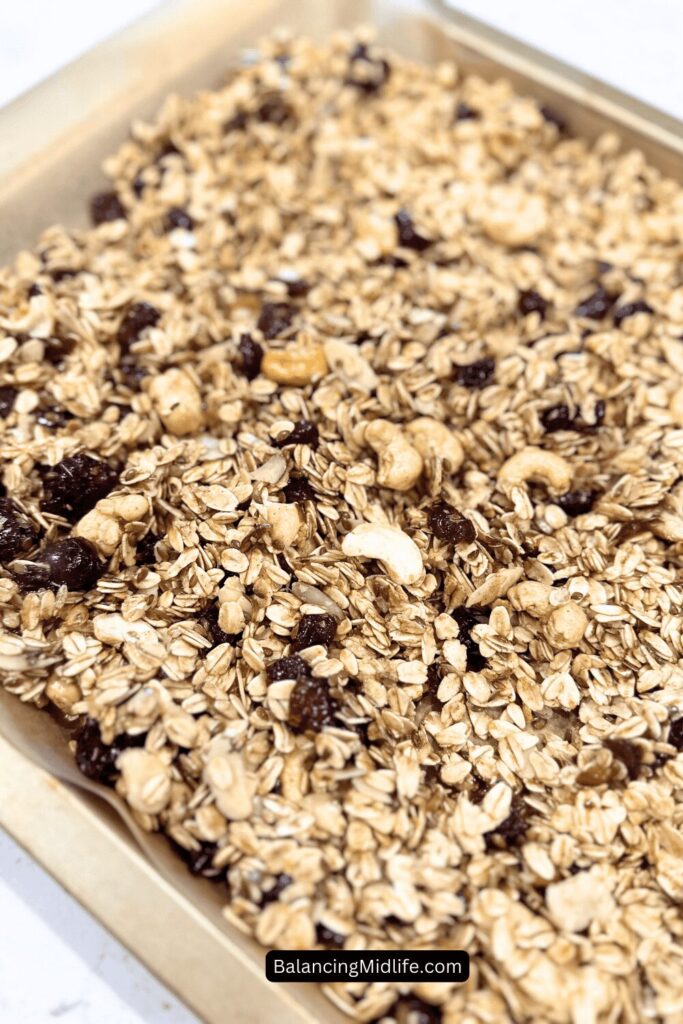
  5. Spread the mixture evenly on the prepared baking sheet.
  6. Bake for 20-25 minutes, stirring halfway through, until the granola turns golden brown.
  7. Once out of the oven, allow it to cool completely on the baking sheet.
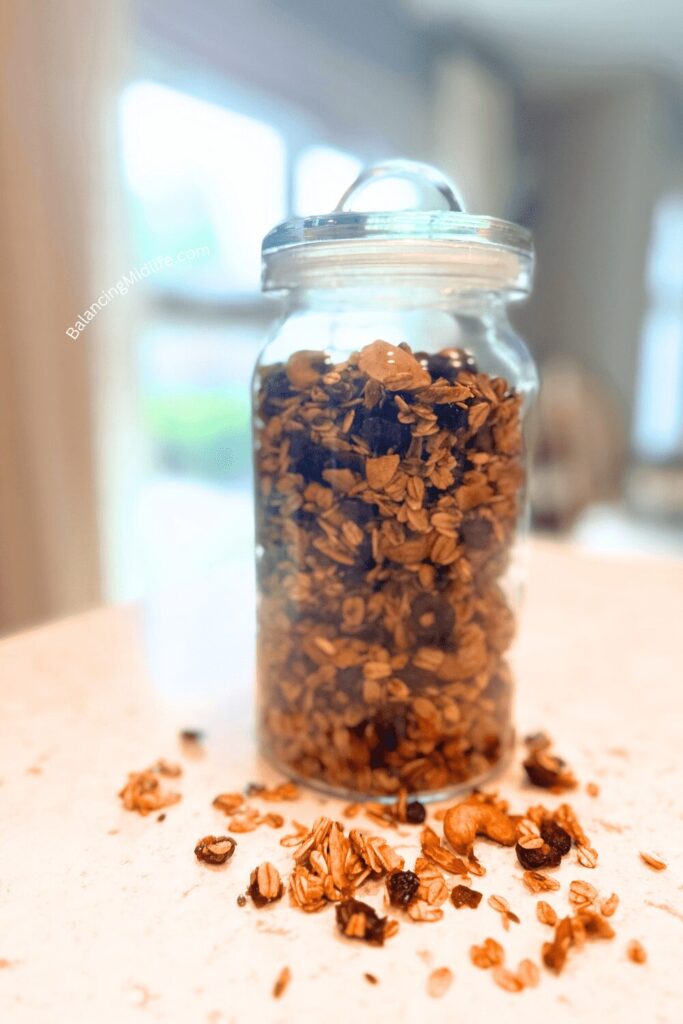
  8. Once cooled, transfer the cranberry granola to an airtight container for storage.
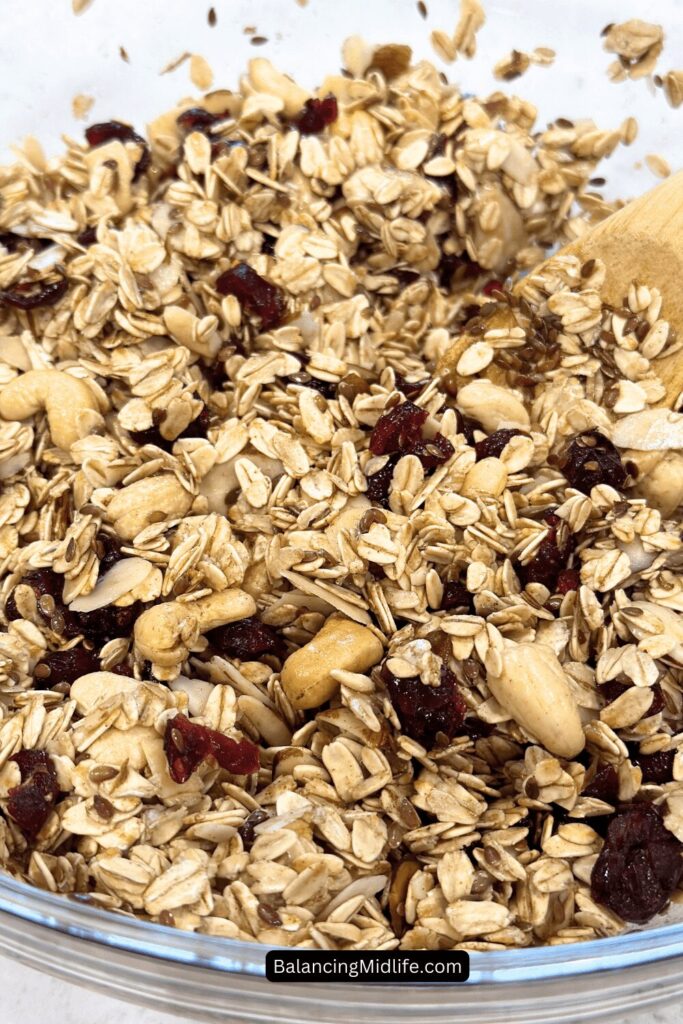
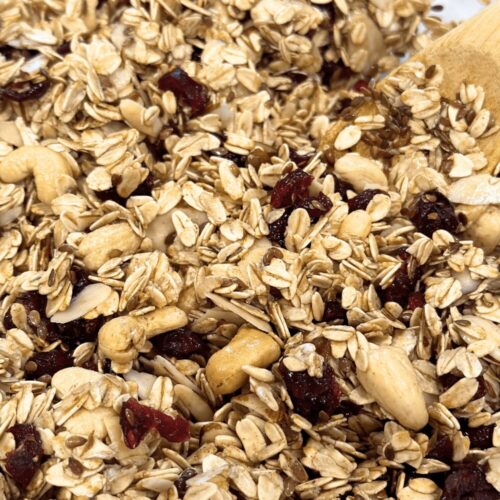
cranberry granola recipe

Cranberry Granola Recipe Variations:

Here are a few variations you might enjoy:

.Add a mix of chopped walnuts or pecans for extra crunch and protein.

.Mix in shredded coconut for a tropical twist and added sweetness.

.Toss in some dark chocolate chips for an extra sweet treat.

.Mix in dried apricots, raisins, and chopped dates for a burst of sweetness.

.Incorporate pumpkin seeds, sunflower seeds, and chia seeds for a boost of omega-3s and texture.

.Mix in dried orange zest or lemon zest for a refreshing twist.

.Add a scoop of your favorite protein powder for an extra protein punch.

.Use molasses and gingerbread spices for a festive, holiday-inspired flavor.

Equipment Needed:

Tips:

.Stir halfway through baking to allow for even toasting, preventing the granola from burning.

.Adjust the sweetness to your liking by adjusting the amount of honey or maple syrup.
How To Store Your Cranberry Granola

Keep your cranberry granola in an airtight container at room temperature. It stays fresh and crunchy for up to two weeks, making it the perfect homemade addition to your breakfast, snacks, or yogurt.
FAQ’S

Is granola healthier than cereal?

It depends! Granola often has more nuts, seeds, and whole grains, which can offer extra fiber and nutrients compared to some sugary cereals. Just watch out for added sugars and portion sizes.  Making your own granola allows you to be in control of the ingredients, which is a huge advantage in my opinion.

Should you eat granola with milk or yogurt?

It’s totally up to you! Both milk and yogurt are great options. Milk can add creaminess and extra protein, while yogurt brings probiotics and a tangy flavor. Go with whatever you enjoy most!

Is granola better for you than oatmeal?

They both have their perks! Granola tends to have more crunch and variety with added nuts, seeds, and dried fruits. Oatmeal, on the other hand, is typically lower in calories and sugar. It’s all about finding what fits your taste and nutritional preferences.

Is granola good for high blood pressure?

Granola can be a part of a healthy diet for managing high blood pressure, especially if it’s made with whole grains, nuts, and seeds. These ingredients are rich in nutrients like fiber, magnesium, and potassium, which may help support heart health. Just be mindful of added sugars and sodium content.

More Delicious Recipes
Cranberry Granola Recipe

Cranberry Granola Recipe

Are you tired of the same old breakfast routine? Ready to shake things up and add some excitement to your mornings? You’re in the right spot as I share a mouthwatering Cranberry Granola Recipe!
5 from 1 vote
Prep Time 10 minutes
Cook Time 40 minutes
Course Breakfast, Snack
Cuisine American
Servings 8 servings

Equipment

  • 1 Large mixing bowl
  • 1 Whisk
  • Parchment paper
  • 1 Baking Sheet
  • 1 Airtight storage container

Ingredients
  

  • 3 cups rolled oats
  • 1 cup dried cranberries
  • ½ cup cashews
  • ½ cup sliced almonds
  • ¼ cup flaxseeds
  • ¼ cup melted coconut oil
  • ¼ cup honey or maple syrup
  • 1 tsp vanilla extract
  • ½ tsp ground cinnamon
  • ¼ tsp salt

Instructions
 

  • Preheat your oven to 325°F (163°C) and line a baking sheet with parchment paper.
  • In a large bowl, combine rolled oats, cranberries, almonds, cashews, and ground flaxseed.
  • In a separate bowl, whisk together melted coconut oil, honey (or maple syrup), vanilla extract, ground cinnamon, and salt.
  • Combine the wet ingredients with the dry ingredients, stirring until everything is well coated.
  • Spread the mixture evenly on the prepared baking sheet.
  • Bake for 20-25 minutes, stirring halfway through, until the granola turns golden brown.
  • Allow it to cool completely on the baking sheet.
  • Once cooled, transfer the cranberry granola to an airtight container for storage
Keyword breakfast, cranberry granola, crunchy snack, dried cranberries, easy smoothie recipe, gluten-free granola, granola, granola with oats and fruit, healthy eating, healthy recipe, healthy snack, homemade granola, nutrious, nutrious breakfast, snack

Once you’ve given this recipe a try, share your thoughts with me in the comments below! Your feedback means the world to me.  If you love how it turns out, don’t forget to pass the recipe along to a friend! After all, sharing is caring.

If you enjoyed this recipe, don’t forget to subscribe to our blog for more tasty ideas and tips. You can also follow us on PinterestFacebookInstagram and Flipboard.

Short on time? Pin this recipe for later!
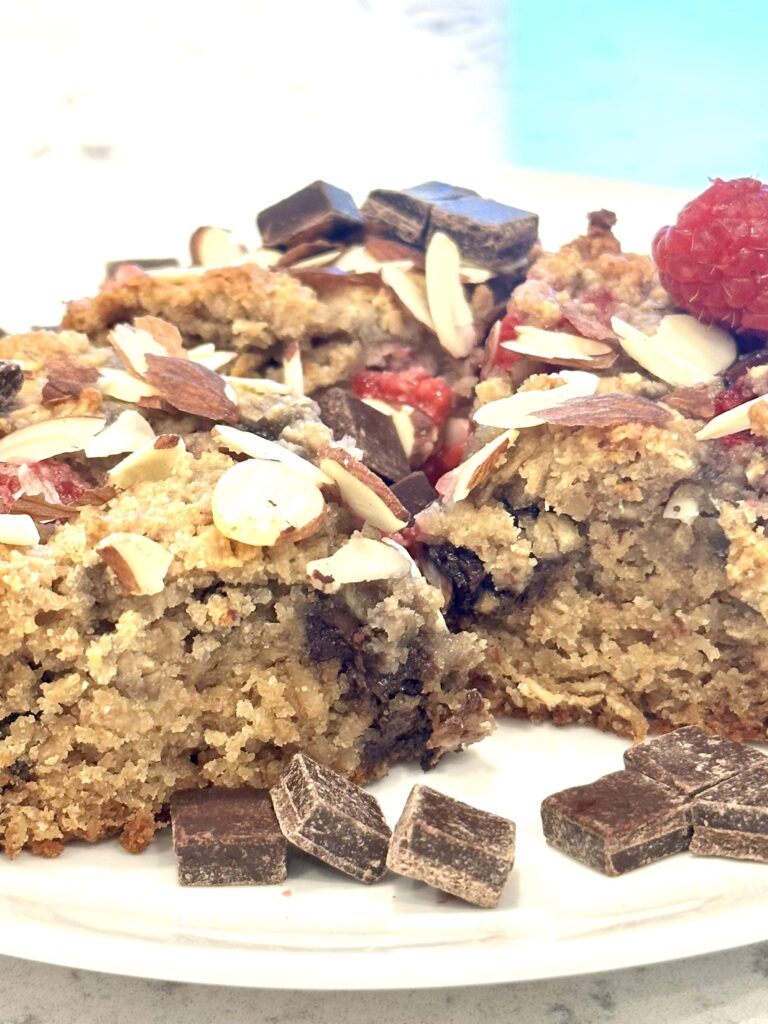
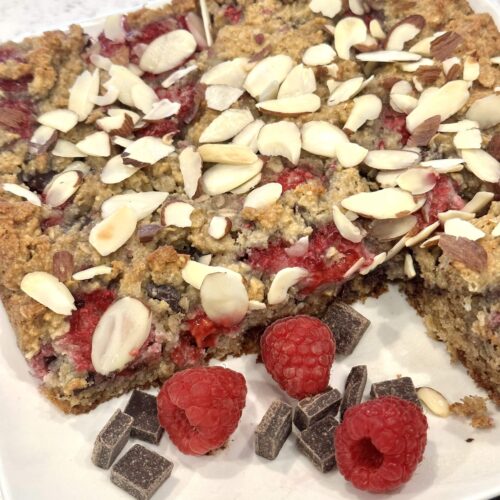
gluten-free chocolate raspberry cake

Easy Gluten-Free Chocolate and Raspberry Cake: Guilt-Free Goodness!

If you’re anything like me, you know the struggle of finding a scrumptious dessert that caters to your dietary needs without compromising on taste. Well, my friends, look no further! Today, I’m super excited to share with you a recipe for an easy gluten-free chocolate and raspberry cake that will knock your socks off with its flavor and texture.

gluten-free chocolate raspberry cake

Packed with wholesome ingredients and bursting with the delightful combination of chocolate chips and raspberries, this gluten-free cake is a true winner in my book.

My posts may contain affiliate links. If you purchase through one of these links, you will not pay a penny more, but I will receive a small commission. Please read my disclaimer for more information.

How to Make this Gluten-Free Chocolate and Raspberry Cake:

Ingredients:

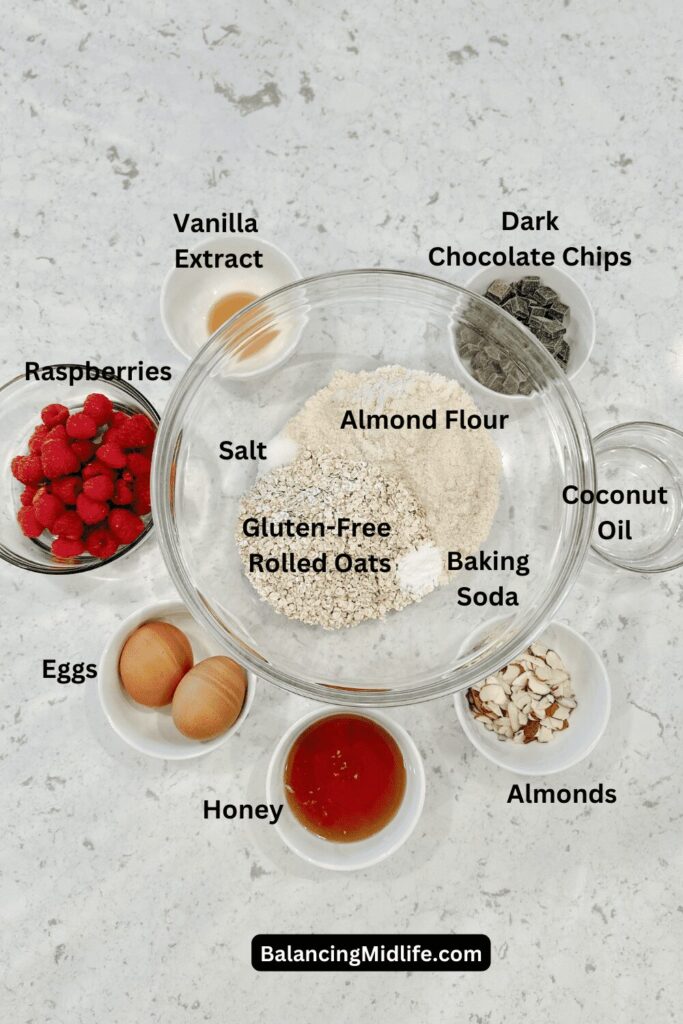
  • 1 1/2 cups gluten-free almond flour
  • 1 cup gluten-free rolled oats
  • 1/2 teaspoon baking soda
  • 1/4 teaspoon salt
  • 1/4 cup melted coconut oil
  • 1/4 cup honey or maple syrup
  • 2 large eggs
  • 1 teaspoon vanilla extract
  • 1 cup fresh or frozen raspberries
  • 1/2 cup dark chocolate chips
  • 1/4 cup sliced almonds (for topping)
Ingredients for chocolate and raspberry cake
Ingredients needed to make gluten-free chocolate and raspberry cake.

Instructions:

1. Preheat and prep: Preheat your oven to 350°F (175°C) and prepare your square baking pan with your favorite non-stick spray or use parchment paper!

2. Mix Dry Ingredients: In a large mixing bowl, combine the almond flour, rolled oats, baking soda, and salt. Give it a good mix to ensure everything is nicely incorporated.

3. Mix Wet Ingredients: In another bowl, whisk together the melted coconut oil, honey or maple syrup, eggs, and vanilla extract until smooth and creamy.

4. Combine Wet and Dry: Now, pour the wet mixture into the bowl of dry ingredients. Mix it up until you’ve got a thick, smooth batter.

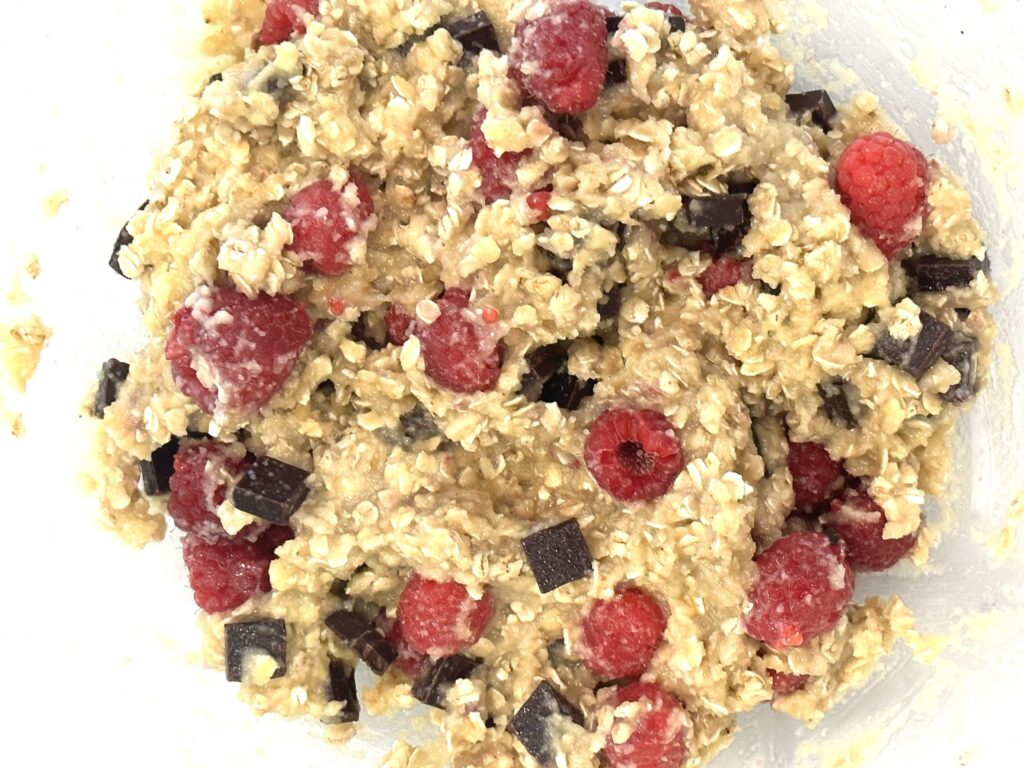
5. Fold in Additions: Gently fold in the raspberries and dark chocolate chips until they’re evenly distributed throughout the batter.

All ingredients for gluten-free chocolate raspberry cake mixed together
Gluten-free chocolate raspberry cake ingredients, perfectly blended.

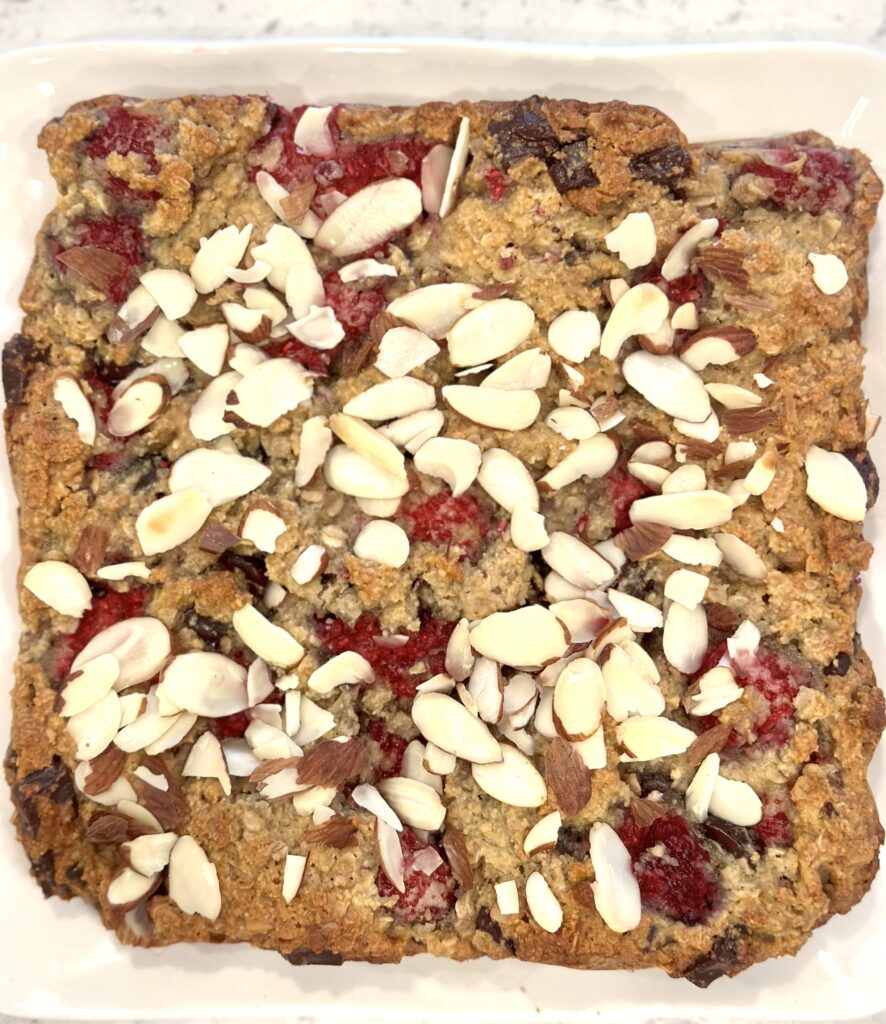
6. Transfer and Top: Transfer the batter to your prepared baking pan, spreading it out evenly. Sprinkle sliced almonds over the top for a delightful crunch that’ll take this cake to the next level.

7. Bake: Place the pan in the oven and let the magic happen. Bake for 25-30 minutes, or until the edges are golden brown and a toothpick inserted into the center comes out clean.

8. Cool and Serve: Once your cake is perfectly baked, let it cool in the pan for a bit before transferring it to a wire rack to cool completely. Slice into squares and enjoy!

9. Storage: If you manage to have any leftovers (which, let’s be honest, is a big if), store them in an airtight container in the refrigerator to keep them fresh and tasty for days to come.

Variations To This Gluten-Free Chocolate and Raspberry Cake:

  • Swap out raspberries for other berries, like strawberries or blueberries.
  • Experiment with different types of chocolate chips, such as milk chocolate or white chocolate.
  • Add chopped nuts like pecans or walnuts for an extra crunch.
  • To make a non-gluten-free version, replace almond flour with regular all-purpose flour, using a 1:1 ratio.

Tips for Baking This Gluten-Free Chocolate Raspberry Cake Recipe:

  • Use room temperature ingredients for better mixing and texture.
  • Don’t overmix the batter to avoid a dense cake.
  • Adjust the sweetness according to your preference by reducing or increasing the amount of honey or syrup.
  • Allow the cake to cool completely before slicing to prevent it from crumbling.

Equipment:

Storing Your Gluten-Free Chocolate Raspberry Cake:

  • Store any leftover cake in an airtight container at room temperature for up to 2-3 days.
  • Alternatively, you can store it in the refrigerator for a longer shelf life, up to a week.
  • For longer storage, wrap individual slices tightly in freezer wrap and freeze for up to 1 month. Thaw in the refrigerator before serving.

FAQs:

Why Is Gluten-Free Cake Chewy?

Gluten-free cakes can sometimes turn out chewy due to the absence of gluten, which plays a crucial role in providing structure and elasticity to traditional cakes. Without gluten, gluten-free flours may not bind as effectively, resulting in a denser and chewier texture.

Why Is My Gluten-Free Cake Flat?

Gluten-free cakes may end up flat if they lack proper leavening agents or if the batter is overmixed. Using a combination of gluten-free flours, such as almond flour or rice flour, along with baking powder or baking soda, can help create a lighter and fluffier texture.

How Do You Keep Gluten-Free Cakes Moist?

To keep gluten-free cakes moist, consider adding ingredients like yogurt, applesauce, or mashed bananas into the batter. These moisture-rich ingredients help retain moisture and prevent the cake from drying out during baking. Additionally, storing the cake in an airtight container at room temperature or in the refrigerator can help maintain its moisture for longer.

More Delicious Recipes

chocolate raspberry cake

Easy Gluten-Free Chocolate and Raspberry Cake

Struggling to find a gluten-free dessert that doesn't compromise on taste? Look no further than this easy gluten-free chocolate chip and raspberry cake that will knock your socks off with its flavor and texture. Packed with wholesome ingredients and bursting with the delightful combination of chocolate chips and raspberries, this cake is a true winner in my book.  
5 from 7 votes
Prep Time 10 minutes
Cook Time 30 minutes
Course Dessert
Cuisine American
Servings 9 servings

Equipment

  • Mixing bowls
  • Whisk or electric mixer
  • Spatula
  • Baking pan 8 x 8 "
  • Parchment paper or non-stick spray

Ingredients
  

  • 1 ½ cups gluten-free almond flour
  • 1 cup gluten-free rolled oats
  • ½ tsp. baking soda
  • ¼ tsp. salt
  • ¼ cup melted coconut oil
  • ¼ cup honey or maple syrup
  • 2 large eggs
  • 1 tsp. vanilla extract
  • 1 cup fresh or frozen raspberries
  • ½ cup dark chocolate chips
  • ¼ cup sliced almonds for topping

Instructions
 

  • Preheat your oven to 350°F (175°C) and prepare your square baking pan with your favorite non-stick spray or use parchment paper.
  • In a large mixing bowl, combine the almond flour, rolled oats, baking soda, and salt. Give it a good mix to ensure everything is nicely incorporated.
  • In a separate bowl, whisk together the melted coconut oil, honey or maple syrup, eggs, and vanilla extract until smooth and creamy.
  • Add the wet ingredients to the dry ingredients and stir until everything is well combined.
  • Gently fold in the raspberries and dark chocolate chips until evenly distributed throughout the batter.
  • Pressthe mixture firmly into the prepared baking pan, creating an even layer.
  • Sprinklesliced almonds over the top of the batter for added crunch.
  • Bake in the preheated oven for 25-30 minutes or until the edges are golden brown and a toothpick inserted into the center comes out with a few moist crumbs (not wet).
  • Allow to cool for at least 15-20 minutes before transferring them to a wire rack to cool completely. Once cooled, cut into squares.
  • Store the gluten-free chocolate and raspberry cake in an airtight container in the refrigerator for a longer shelf life.

Video

Keyword cake, easy raspberry chocolate cake, gluten free cake, gluten free dessert, raspberry cake, raspberry chocolate chip cake, raspberry crumble cake, raspberry dessert

Conclusion:

And there you have it, a simple yet irresistible gluten-free chocolate chip and raspberry cake that’s sure to become a staple when you are craving something sweet. With its wholesome ingredients, delicious flavors, and easy-to-follow instructions, this cake is perfect for any occasion, whether you’re celebrating a special event or just treating yourself to a little slice of happiness.

Enjoy the delightful combination of rich chocolate, tangy raspberries, and wholesome ingredients in every bite of this homemade gluten-free chocolate and raspberry cake!

If you enjoyed this recipe, don’t forget to subscribe to our blog for more tasty ideas and tips. You can also follow us on PinterestFacebookInstagram and Flipboard.

Be sure to save this recipe for later!

Gluten-free chocolate and raspberry cake
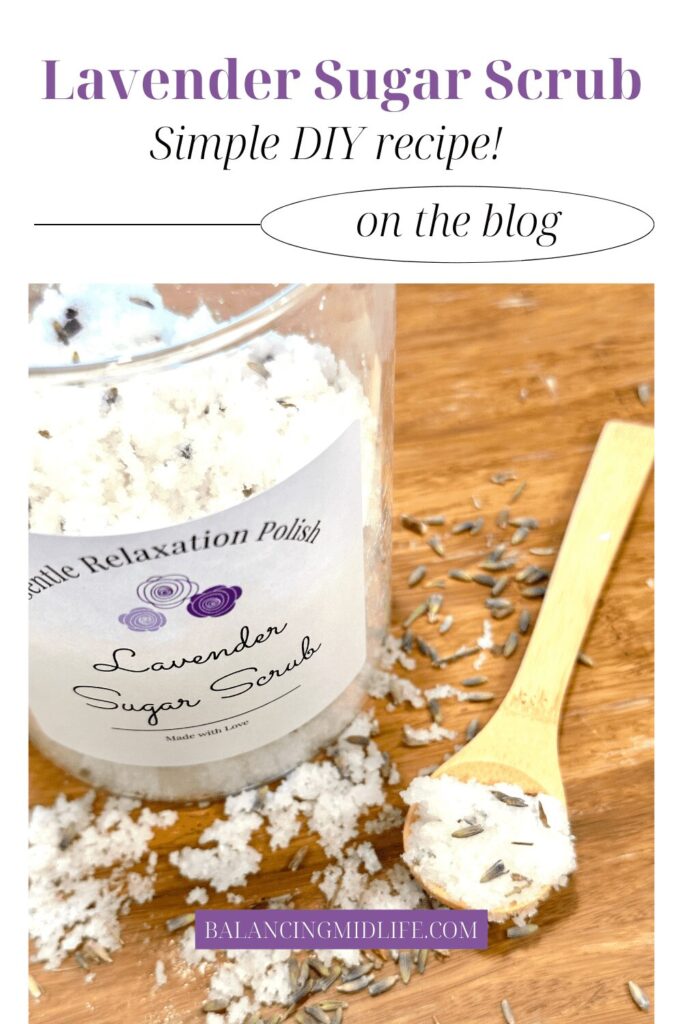
lavendar sugar scrub

DIY Lavender Sugar Scrub Recipe for Calming & Relaxing Self-Care

Are you ready to kick back and treat yourself to some well-deserved relaxation?  If so, I’ve got a wonderful self-care recipe for you!  In this blog post, I’m sharing a simple lavender sugar scrub recipe that you are sure to love. 

Let’s be honest, self-care should be simple. This easy lavender sugar scrub recipe is the perfect way to unwind quickly. Whip up this homemade treat and enjoy a spa-like experience right in the comfort of your own home.

For more ideas to create the ultimate at-home spa day, check out my post on self-care bath ideas.

Related Post: Self-Care Bath Ideas To Create The Perfect At-Home Spa Experience

Let’s get to the recipe!!

My posts may contain affiliate links. If you purchase through one of these links, you will not pay a penny more, but I will receive a small commission. Please read my disclaimer for more information.

How to Make This Calming Lavender Sugar Scrub Recipe

This homemade lavender sugar scrub is the perfect self-care treat to exfoliate and relax. Made with natural ingredients like granulated sugar, nourishing carrier oils, and calming lavender essential oil, it’s simple to whip up at home in under 10 minutes.

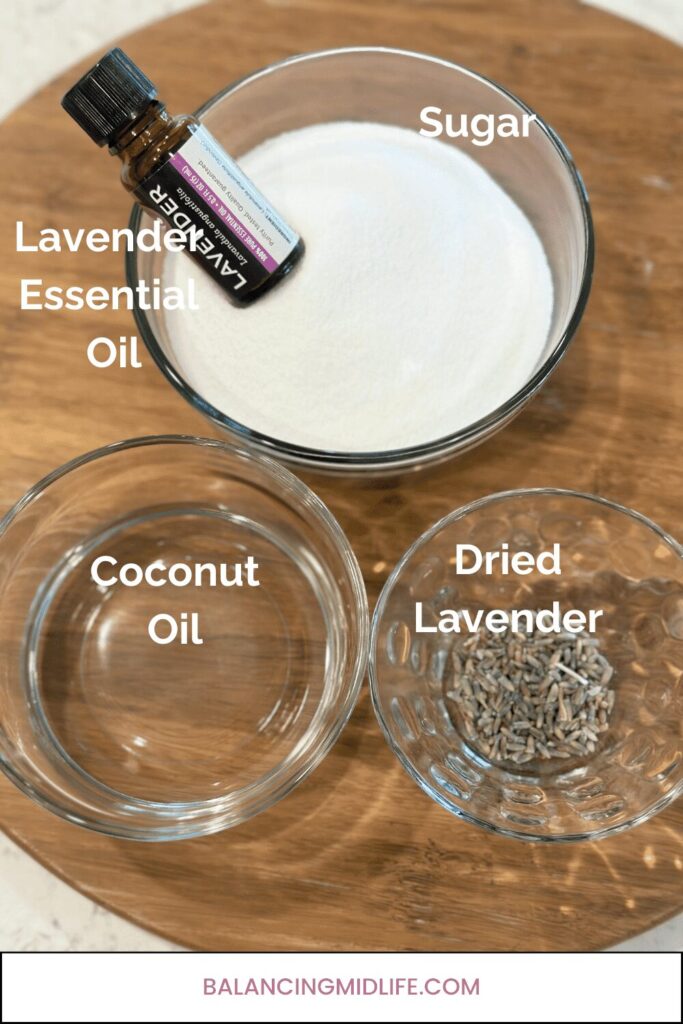
Ingredients:

  • 1 cup granulated sugar (fine or coarse, depending on your exfoliation preference)
  • 1/4 cup carrier oil (e.g., almond, jojoba, or coconut oil) (choose based on your skin type)
  • 15-20 drops of lavender essential oil (for soothing aromatherapy)
  • 1 teaspoon dried lavender buds (optional for texture and extra fragrance)
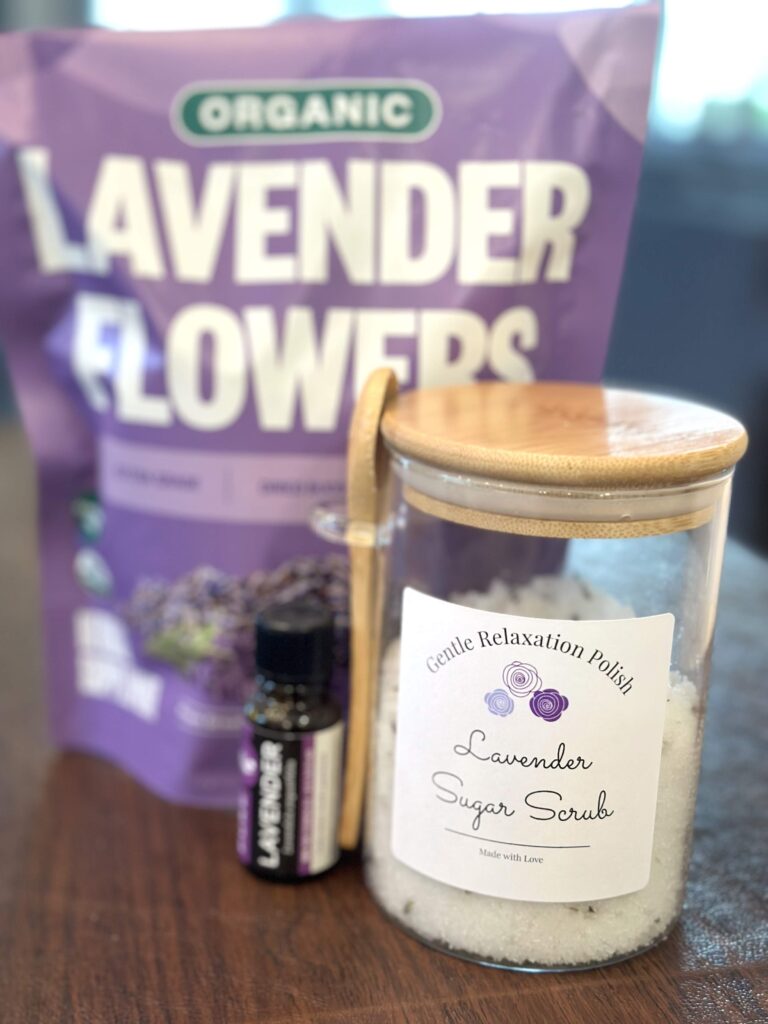
Ingredients for lavender sugar scrub recipe

Instructions:

  1. Prepare the Sugar Base:
    • Place 1 cup of granulated sugar in a mixing bowl.
  2. Add Carrier Oil:
    • Pour 1/4 cup of your preferred carrier oil over the sugar.
  3. Incorporate Lavender Essential Oil:
    • Add 15-20 drops of lavender essential oil for that calming aroma.
  4. Optional: Add Dried Lavender Buds:
  5. Mix Thoroughly:
    • Stir the ingredients until well combined.
  6. Check Consistency:
    • Adjust the consistency by adding more sugar or oil as needed.
  7. Transfer to a Container:
    • Place your lavender sugar scrub in a clean, airtight jar or container.
  8. Add A Label: Download the free labels to add to your container.
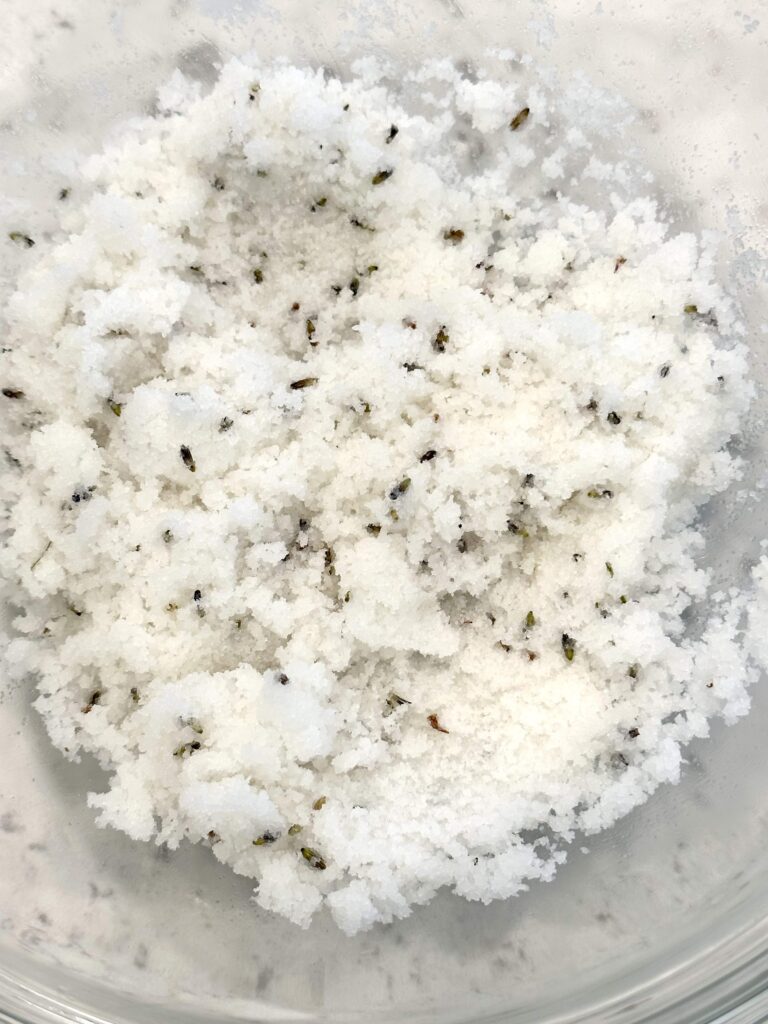
Lavender sugar scrub in a bowl
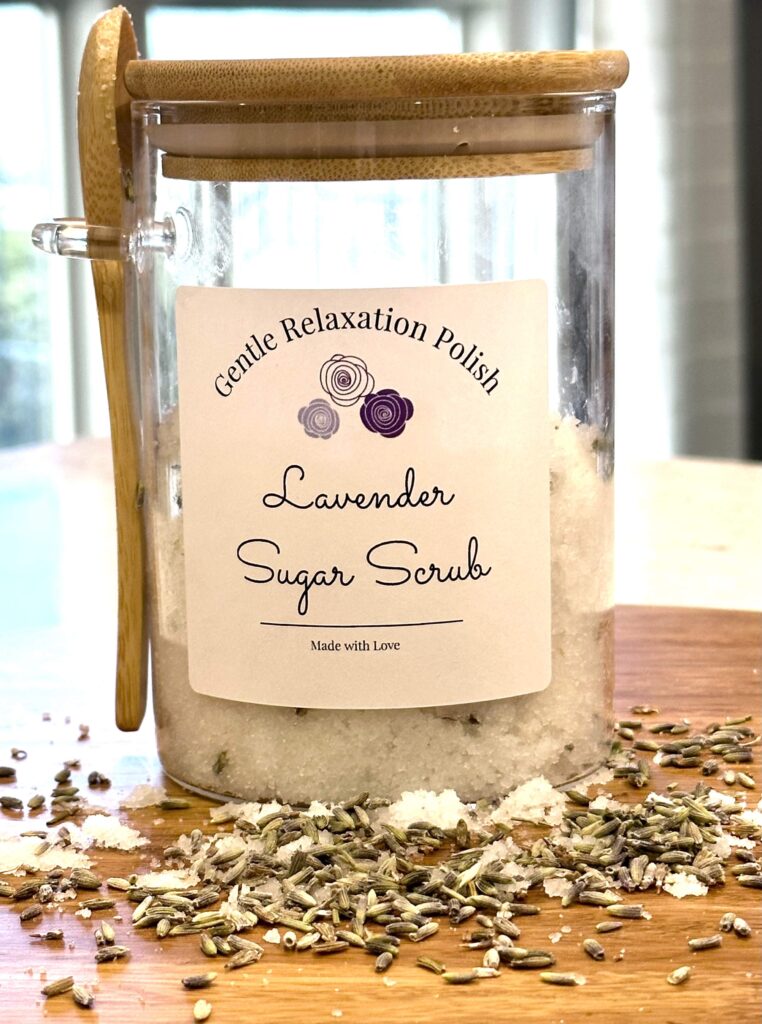
Lavender Sugar Scrub

Benefits of Lavender Sugar Scrub

  • Gently exfoliates dead skin cells for smoother skin.
  • Lavender promotes relaxation and reduces stress.
  • Carrier oils moisturize and nourish your skin naturally.

Variations to This Lavender Sugar Scrub Recipe

Lavender Honey Sugar Scrub:

  • Substitute 1/4 cup of raw honey for part of the carrier oil.

Lavender Mint Sugar Scrub:

  • Add 10 drops of peppermint essential oil and 1 teaspoon of chopped fresh mint leaves.

Tips for Making This Recipe

  • Customize the aroma of the scrub to your liking by adjusting the essential oil quantities.
  • For a more exfoliating scrub, increase the sugar-to-oil ratio.
  • Experiment with different carrier oils for varied skin benefits.

Equipment Needed To Make This Sugar Scrub Recipe

How to Store Your Lavender Sugar Scrub

  • Keep the scrub in a cool, dry place in an airtight container.
  • Ensure the lid is tightly closed to prevent moisture.
  • Use within a few weeks for optimal freshness.
Lavender sugar scrub recipe

How to Use Your Sugar Scrub

Gently massage a small amount onto damp skin in circular motions. Focus on rough areas like elbows, knees, and feet. Rinse thoroughly. Use 1-3 times per week, depending on your skin type.

FAQ’S About Lavender Sugar Scrub

How do you make a lavender sugar scrub at home?

Follow our easy recipe, combining granulated sugar, carrier oil of choice (see recipe), lavender essential oil, and optional dried lavender buds. Mix well and store in an airtight container.

What are the benefits of a lavender sugar scrub?

Lavender is known for its calming properties and offers many other amazing benefits as mentioned in this article by Healthline. The sugar scrub exfoliates, leaving your skin smoother, while the lavender provides a relaxing aromatherapy.

How many times a week should you use a sugar scrub?

Using your lavender sugar scrub 1-3 times a week is generally recommended, depending on your skin type.

How long should you let a sugar scrub sit on your skin?

Gently massage the scrub onto damp skin, then rinse immediately. There’s no need to let it sit.

What is the best sugar for scrubs?

Granulated sugar works well for body scrubs. Adjust the coarseness based on your preference.

How long can a DIY sugar scrub last?

For optimal freshness, use within a few weeks. Keep an eye out for any changes in texture or scent.

Lavender sugar scrub for gentle self-care and midlife wellness.

Lavender Sugar Scrub Recipe

5 from 5 votes
Are you ready to kick back and treat yourself to some well-deserved relaxation? Give this lavender sugar scrub recipe a try. You will be relaxing like a boss in no time!
Prep Time 10 minutes
Cook Time 0 minutes

Ingredients
  

  • 1 cup granulated sugar
  • ¼ cup cupcarrier oil (such as almond oil, jojoba oil, or coconut oil)
  • 15-20 drops lavender essential oil
  • 1 tsp driedlavender buds (optional, for added texture and visual appeal)

Method
 

  1. Place the granulated sugar in a mixing bowl. This will be the exfoliating component of your scrub.
  2. Pour your chosen carrier oil over the sugar. The carrier oil will moisturize and nourish your skin. Start with 1/4 cup and adjust as needed to achieve your desired consistency.
  3. Drop 15-20 drops of lavender essential oil into the mixture. Adjust the amount based on your preference for the strength of the lavender scent.
  4. If you have dried lavender buds, add them to the mixture. These not only contribute to the lovely lavender aroma but also provide a gentle, additional exfoliation.
  5. Stir the ingredients together until well combined. Ensure that the sugar is evenly coated with the oil and essential oil.
  6. If the scrub seems too dry, add a bit more carrier oil. If it's too wet, add more sugar until you achieve a consistency that is easy to scoop and apply.
  7. Once you are satisfied with the consistency, transfer the lavender sugar scrub to a clean, airtight container. A glass jar or plastic container with a tight-fitting lid works well.
  8. Store the lavender sugar scrub in a cool, dry place. Ensure the lid is tightly closed to prevent any moisture from getting in.

Video

Notes

To use the scrub, take a small amount in your hands and gently massage it onto damp skin in circular motions. Focus on areas where you want to exfoliate, such as elbows, knees, and feet. Rinse thoroughly with water.

Perfect Gift Idea: Homemade Lavender Sugar Scrub

Looking for a thoughtful, DIY gift? This lavender sugar scrub makes a lovely present for Mother’s Day, teachers, or any self-care enthusiast. Package it with a pretty label and add it to a DIY spa basket for an extra special touch.

Related Post: Self-Care DIY Basket: How to Create a Gift Any Women Would Love

Conclusion

This calming lavender sugar scrub recipe is a simple way to enhance your self-care routine with natural ingredients. Whether for yourself or as a gift, it brings relaxation, exfoliation, and a touch of spa luxury right to your home.

Try customizing the recipe to fit your preferences, and enjoy the soothing scent and soft skin this scrub provides. Your self-care journey just got easier, and a whole lot more relaxing!

Lavender sugar scrub with essential oil and lavender flowers

Whip up this lavender sugar scrub and turn your next shower into a calming escape. If you loved this DIY, share it with a friend who could use a little self-care too.

If you enjoyed this blog post, don’t forget to subscribe to our blog for more inspiring ideas and tips. You can also follow us on PinterestFacebookInstagram and Flipboard.

Other Posts You May Enjoy

Pin now, pamper later!

How to Make a Protein Berry Smoothie That’s Irresistibly Delicious

Are you looking for a delicious and nutritious way to kickstart your day or a post-workout treat? Look no further! In this blog post, we are sharing all the tips on how to make the most delicious protein berry smoothie.

Our mixed berry protein smoothie is the perfect combination of flavors and nutrients to keep you energized and satisfied. Packed with antioxidants, fiber, and protein, this smoothie is not only a treat for your taste buds but also a boost for your overall well-being.

Let’s dive into the details and learn how to whip up this delicious recipe in the comfort of your own kitchen.

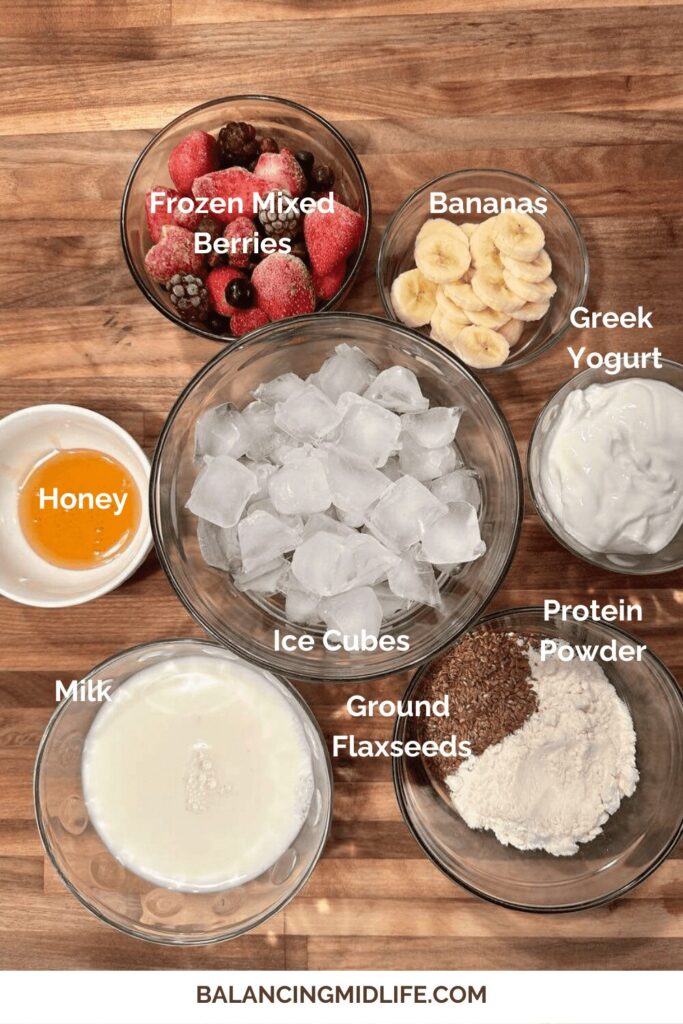
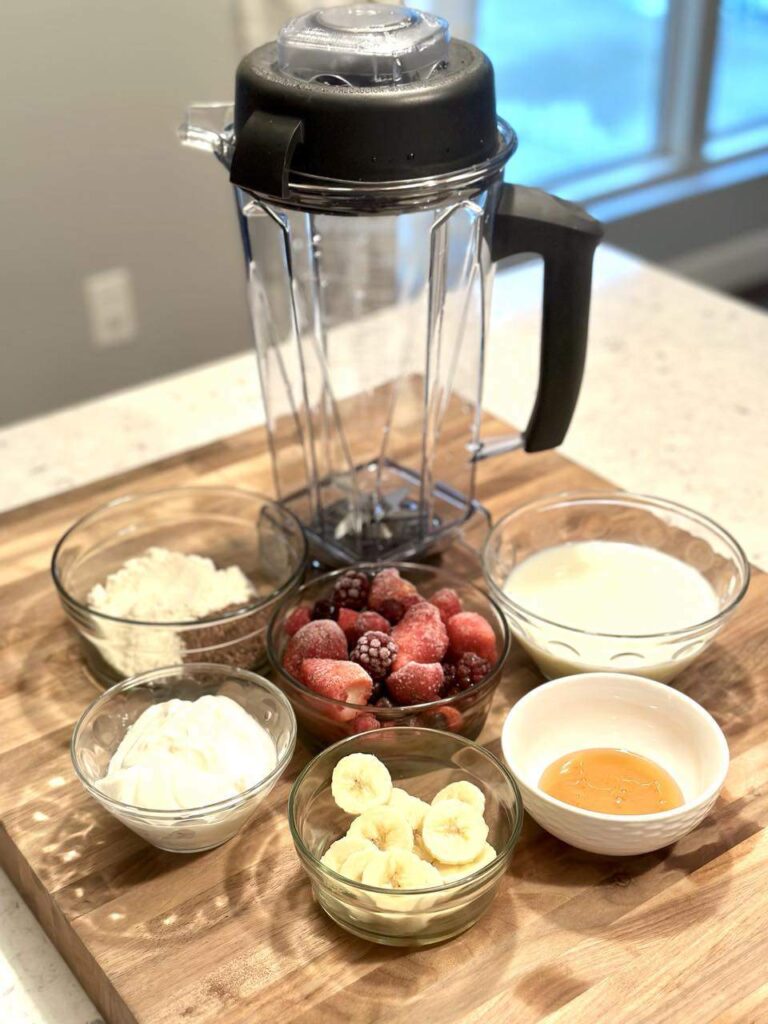
ingredients for a protein smoothie

Ingredients needed to make this protein smoothie:

  • 1 cup mixed frozen berries (strawberries, blueberries, raspberries)
  • 1 scoop vanilla protein powder
  • 1 tablespoon ground flaxseed
  • 1 banana (ripe)
  • 1 cup regular milk
  • 1/2 cup Greek yogurt
  • Ice cubes (optional, for a colder and thicker smoothie)
  • Honey or maple syrup (optional, for sweetness)

My posts may contain affiliate links. If you purchase through one of these links, you will not pay a penny more, but I will receive a small commission. Please read my disclaimer for more information.

Equipment Needed to Make This Protein Smoothie

A high-quality blender, such as a Vitamix, is essential for achieving that velvety smooth texture. I love my Vitamix 5200 not only for making smoothies but for so many other simple yummy recipes.

Vitamix blender

Make sure your blender can handle frozen fruits and tough ingredients for the best results.

How to Make This Protein Smoothie

1. Prepare the ingredients:

  • If your berries are not already frozen, wash them and place them in the freezer for a few hours or overnight.
  • Peel the ripe banana and break it into chunks.

2. Combine ingredients:

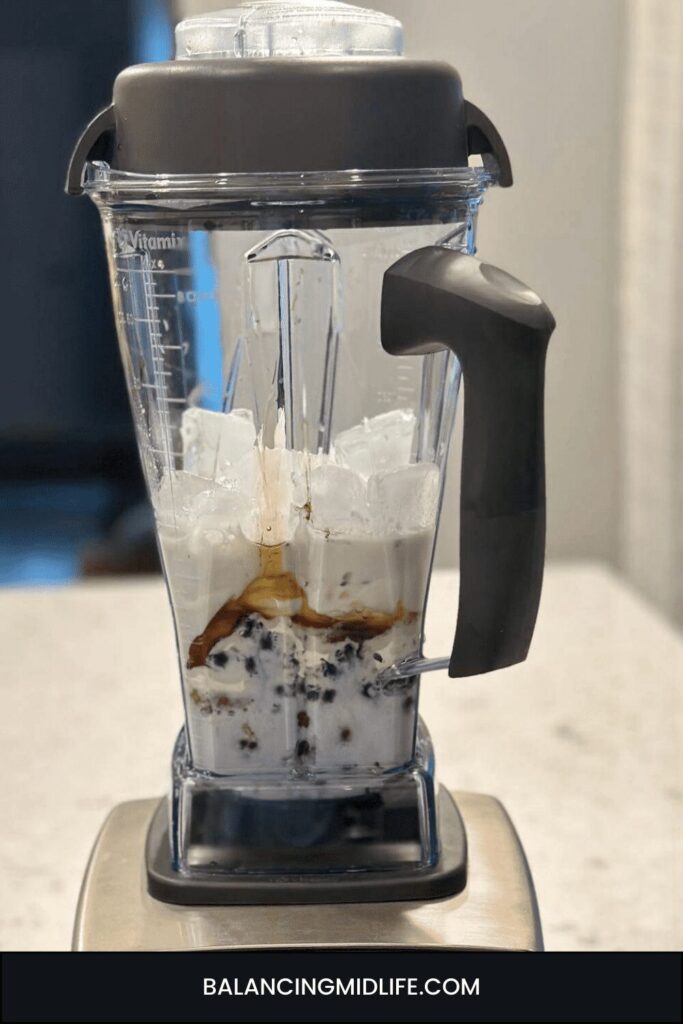
  • In your blender, combine the mixed frozen berries, vanilla protein powder, ground flaxseed, banana chunks, Greek yogurt, honey (optional), and milk (use whatever milk you prefer).
  • For a thicker consistency, add a handful of ice cubes.

3. Blend until smooth:

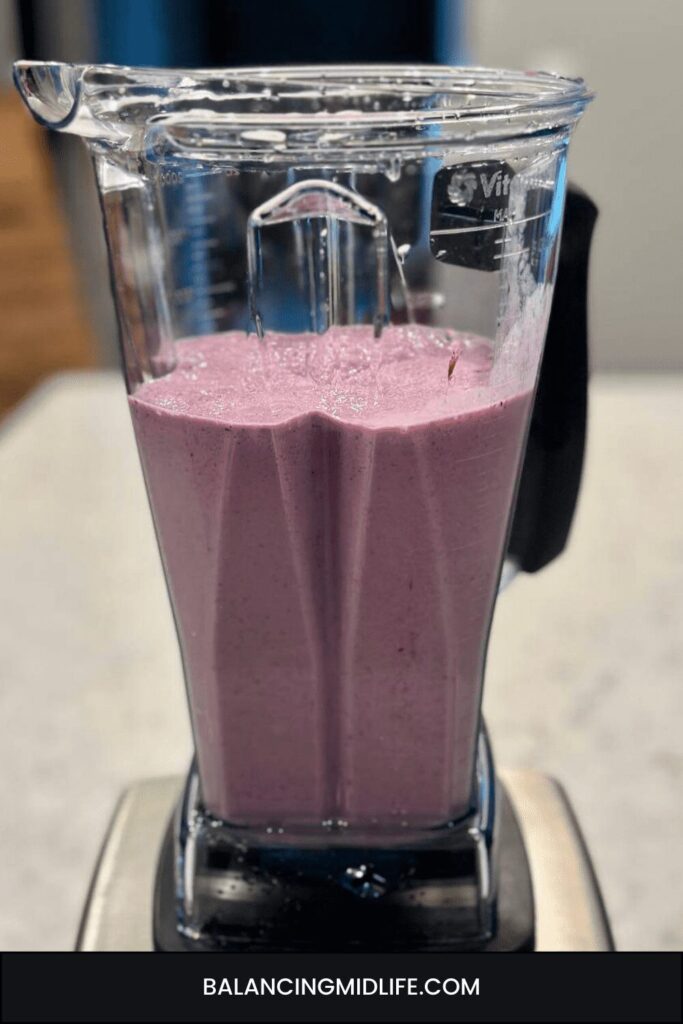
  • Use the high-speed setting on your blender to mix the ingredients until you achieve a smooth and creamy consistency. Ensure there are no visible chunks of berries or bananas.
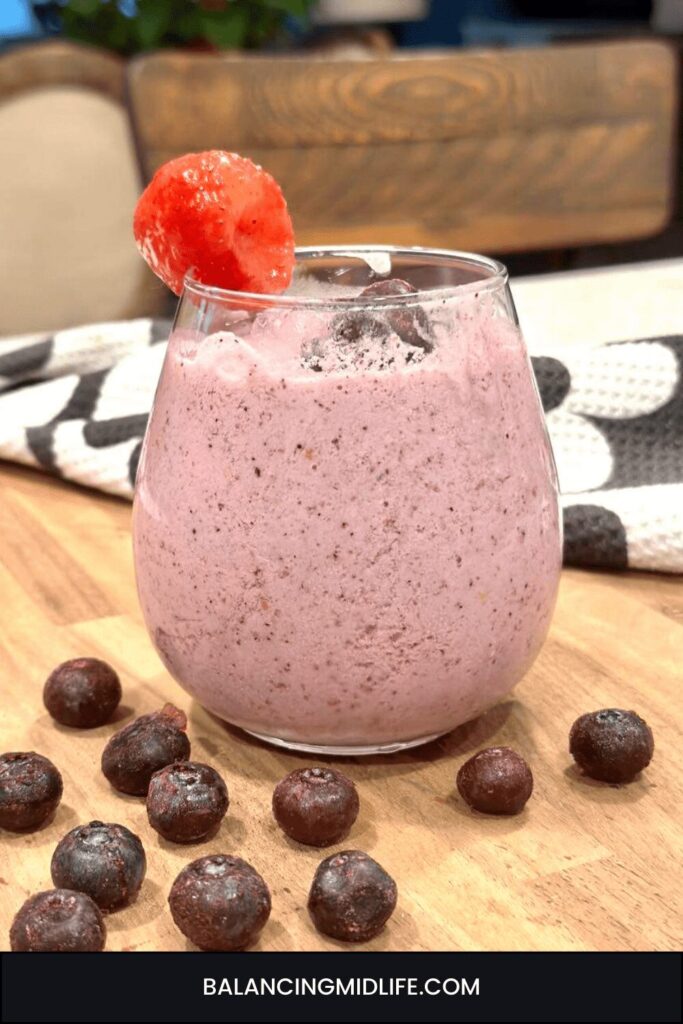
how to make a protein smoothie

4. Taste and adjust:

  • Taste the smoothie and adjust the sweetness if necessary. You can add honey or maple syrup if you prefer a sweeter taste.

5. Serve and enjoy:

  • Pour the mixed berry protein smoothie into a glass.
  • Optionally, garnish with a few whole berries or a sprinkle of ground flaxseed on top.
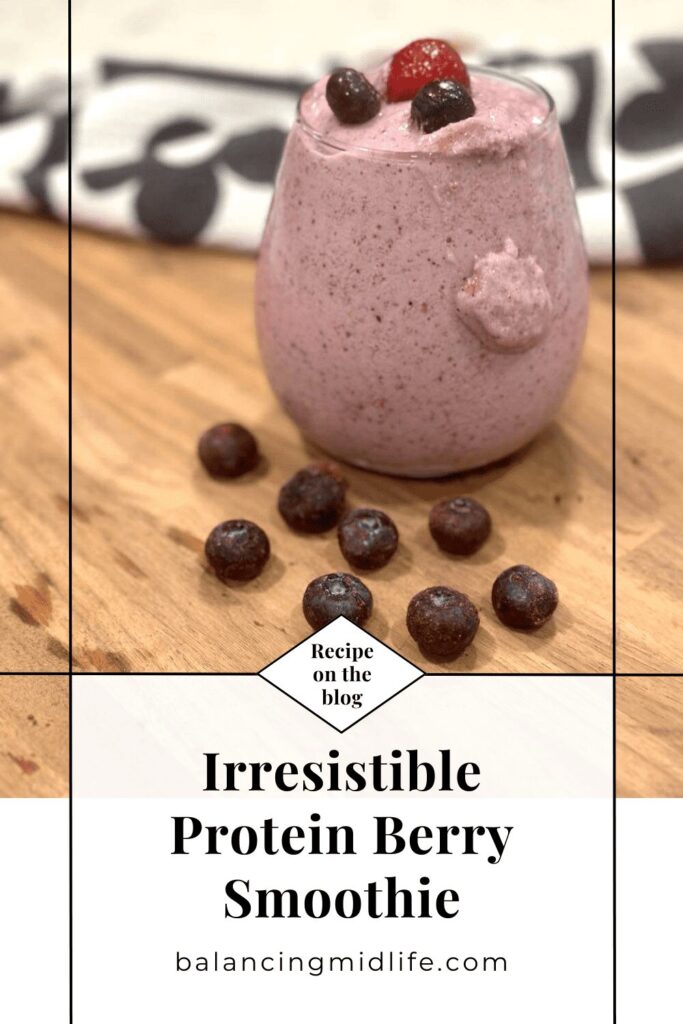
how to make a protein smoothie

6. Optional add-ins to your protein smoothie:

  • Customize your smoothie by adding other nutritious ingredients like spinach, kale, chia seeds, or a spoonful of almond butter for extra flavor and nutrients.

Variations to This Protein Smoothie

Feel free to get creative with your smoothie by experimenting with different fruits, protein powders, or plant-based milk alternatives. Add a handful of spinach for a green twist or toss in some chia seeds for an extra boost of omega-3 fatty acids.

Tips to Making The Perfect Smoothie

  • To enhance the creaminess of your smoothie, use a ripe banana.
  • Adjust the sweetness according to your taste preferences.
  • If you’re a fan of colder and thicker smoothies, don’t forget to throw in some ice cubes.

Storing a Protein Smoothie

This smoothie is best enjoyed fresh to enjoy its vibrant flavors and optimal texture. However, if you have leftovers, store them in an airtight container in the refrigerator for up to 24 hours. Give it a good shake or stir before consuming.

FAQ’s

What do I put in a smoothie for protein?

There are various sources of protein you can add to your smoothie. The recipe above includes vanilla protein powder, a convenient and flavorful option. Additionally, you can use Greek yogurt, almond butter, chia seeds, or even tofu as a plant-based alternative.

How do you make a protein blend?

Creating a protein blend for your smoothie is easy. Start with a base like protein powder, then add complementary sources. For example, combine whey or plant-based protein powder with Greek yogurt, almond milk, or nut butter.

Ingredients for how to make a protein smoothie

What should I put in my protein shake?

The key to a satisfying protein shake is a balance of ingredients. Include a protein source like protein powder, a liquid base such as milk or a milk alternative, and additional flavor enhancers like fruits or nut butter. The recipe provided offers a tasty combination of mixed berries, bananas, and flaxseed.

How to make a protein smoothie taste good?

Making a protein smoothie delicious is all about balancing flavors. Experiment with different fruits, sweeteners, and texture enhancers like ice cubes. Don’t forget to adjust sweetness according to your taste preferences. Adding a variety of ingredients, as suggested in the recipe, ensures a tasty and satisfying protein smoothie experience.

Why is Greek Yogurt The Preferred Choice for This Recipe?

It’s simple, Greek yogurt has almost double the amount of protein than regular yogurt. So, if you are looking for a higher protein smoothie, Greek yogurt is the better option. This article by Healthline gives a detailed breakdown of the nutrients in Greek yogurt vs. regular yogurt.

how to make a protein smoothie

Mixed Berry Protein Smoothie with Flaxseed

Looking for a delicious and nutritious way tokickstart your day or a post-workout treat? Look no further than this mixed berry protein smoothie recipe!
5 from 3 votes
Prep Time 5 minutes
Cook Time 3 minutes
Course Breakfast, Drinks, Snack
Cuisine American
Servings 3 12 oz servings

Equipment

  • Blender – I use a Vitamin 5200. Be sure your blender can handle frozen fruits and tough ingredients for the best results.

Ingredients
  

  • 1 Cup Mixed frozen berries Strawberries, blueberries, raspberries, blackberries)
  • 1 scoop Vanilla protein powder
  • 1 Tablespoon Ground flaxseed
  • 1 Cup 2% milk
  • 1/2 Cup Plain Greek yogurt
  • Honey (optional)
  • Ice cubes (optional)

Instructions
 

  • Prepare the Ingredients:
    If your berries are not already frozen, wash them and place them in the freezer for a few hours or overnight.
    Peel the ripe banana and break it into chunks.
  • Blend:
    In your blender, combine the mixed frozen berries, vanilla protein powder, ground flaxseed, banana chunks, Greek yogurt, and regular milk.
    If you prefer a thicker consistency, add a handful of ice cubes.
  • Blend Until Smooth:
    Use the high-speed setting to blend the ingredients until you achieve a smooth and creamy consistency.
    Ensure there are no visible chunks of berries or banana.
  • Taste and Adjust:
    Taste the smoothie and adjust the sweetness if necessary.
    You can add honey or maple syrup if you prefer a sweeter taste.

Notes

Optional Add-ins:
    • Customize your smoothie by adding other nutritious ingredients like spinach, kale, chia seeds, or a spoonful of almond butter for extra flavor and nutrients.  
Keyword berries, berry smoothie, breakfast drink, delicious smoothie recie, easy smoothie recipe, healthy drink option, healthy smoothie, nutritious drink, post-workout treat, protein powder, protein smoothie, smoothie, smoothie recipe

Conclusion:

Whether you enjoy this protein smoothie as a refreshing breakfast or indulge post-workout, this recipe is a versatile and nutritious addition to your routine. The optional add-ins allow you to personalize your drink, making it a perfect fit for your taste and dietary preferences.

Remember, a protein smoothie doesn’t have to compromise on taste. With the right ingredients and a high-quality blender, you can enjoy a delicious and satisfying treat that nourishes your body from within.

So, here’s to you – to the mornings you conquer, the workouts you smash, and the little moments of self-love. Grab your blender, whip up this Mixed Berry Protein Smoothie, and enjoy every sip of the goodness you’ve created.

Related Post: 25 Simple Self-Love Gifts Ideas For Your Best Year Ever!

Now, go ahead, make your smoothie, snap a pic, and share it in the comments. I’d love to see your beautiful faces and creations!

Cheers!!

Other Recipes You May Enjoy:

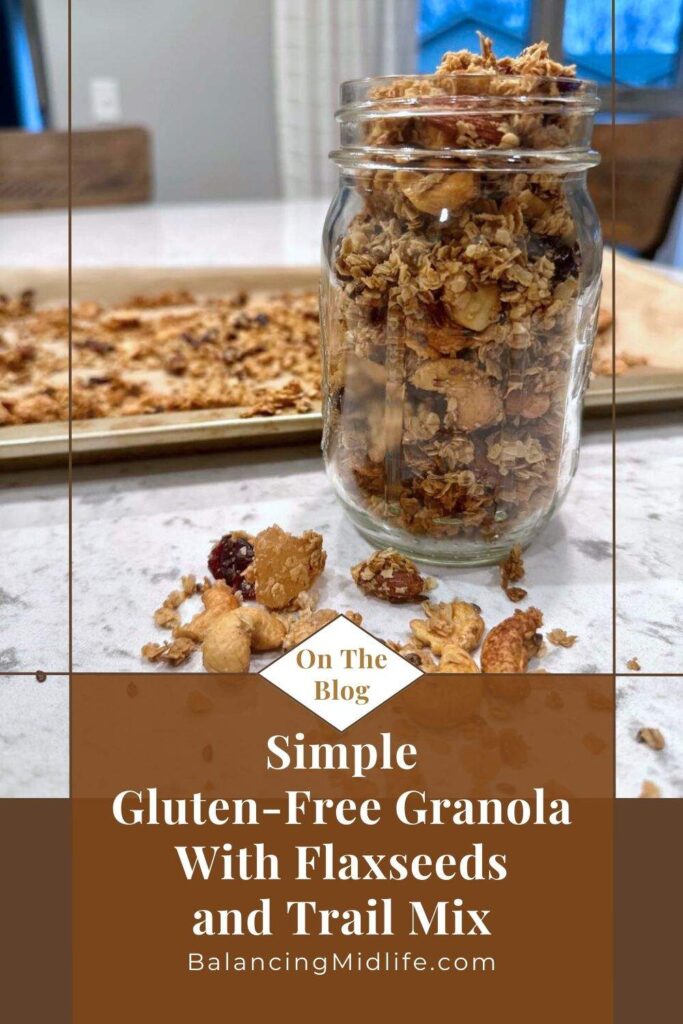
.The Best Gluten-Free Granola Recipe with Flaxseeds and Trail Mix

.Vanilla Coffee Recipe:  The Best Homemade Coffee to Make

.Simple Banana Bread Recipe: It’s So Easy Even The Kids Can Help

Be sure to Pin and share this delicious protein smoothie recipe with your friends!