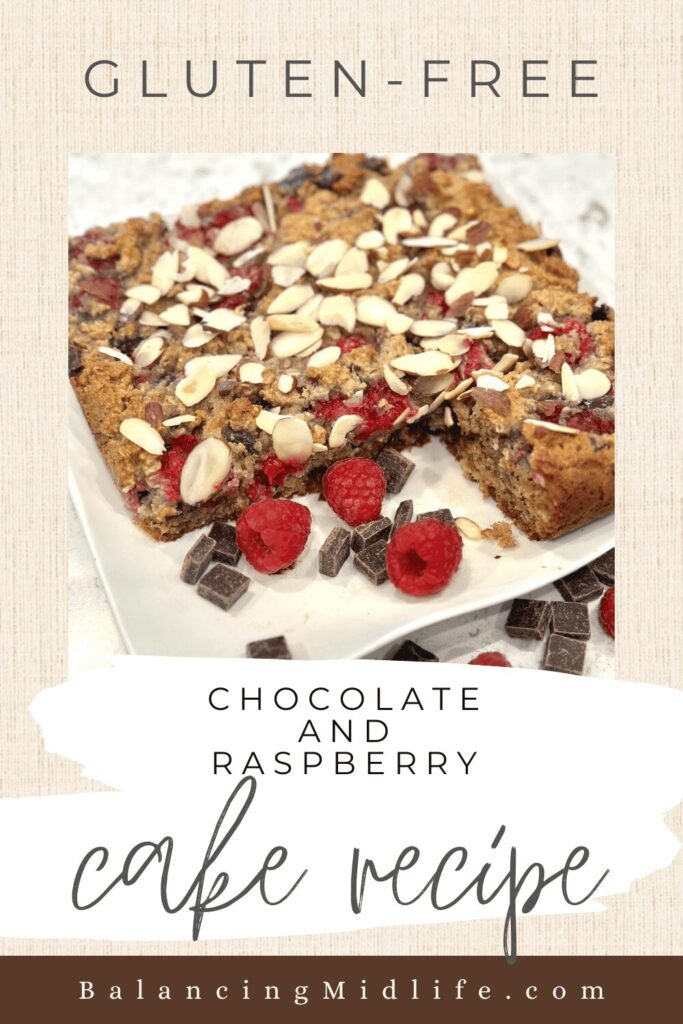
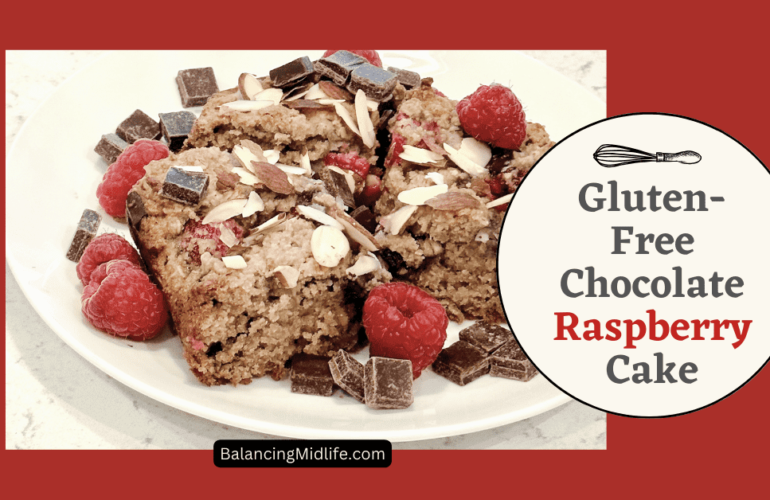
If you’re anything like me, you know the struggle of finding a scrumptious dessert that caters to your dietary needs without compromising on taste. Well, my friends, look no further! Today, I’m super excited to share with you a recipe for an easy gluten-free chocolate and raspberry cake that will knock your socks off with its flavor and texture.
Packed with wholesome ingredients and bursting with the delightful combination of chocolate chips and raspberries, this gluten-free cake is a true winner in my book.
My posts may contain affiliate links. If you purchase through one of these links, you will not pay a penny more, but I will receive a small commission. Please read my disclaimer for more information.
How to Make this Gluten-Free Chocolate and Raspberry Cake:
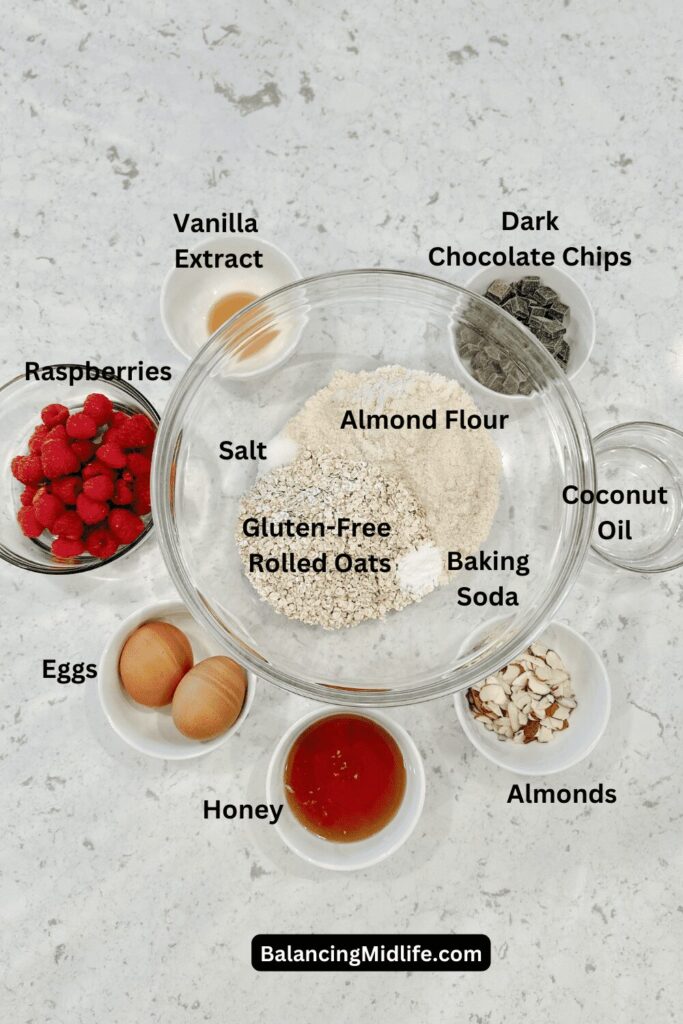
Ingredients:
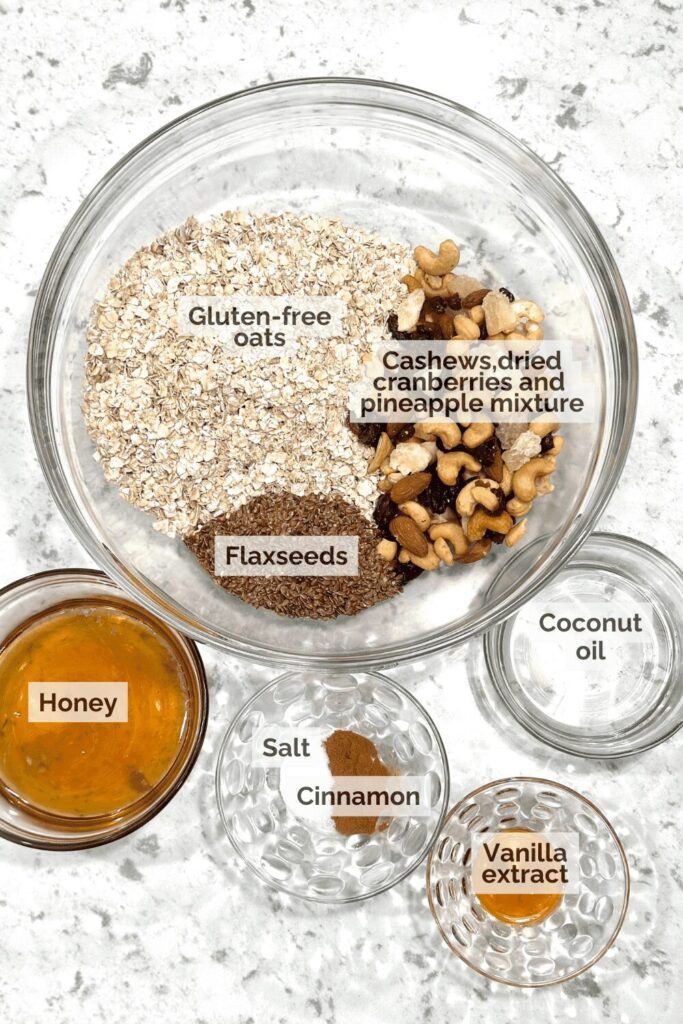
- 1 1/2 cups gluten-free almond flour
- 1 cup gluten-free rolled oats
- 1/2 teaspoon baking soda
- 1/4 teaspoon salt
- 1/4 cup melted coconut oil
- 1/4 cup honey or maple syrup
- 2 large eggs
- 1 teaspoon vanilla extract
- 1 cup fresh or frozen raspberries
- 1/2 cup dark chocolate chips
- 1/4 cup sliced almonds (for topping)
Instructions:
1. Preheat and prep: Preheat your oven to 350°F (175°C) and prepare your square baking pan with your favorite non-stick spray or use parchment paper!
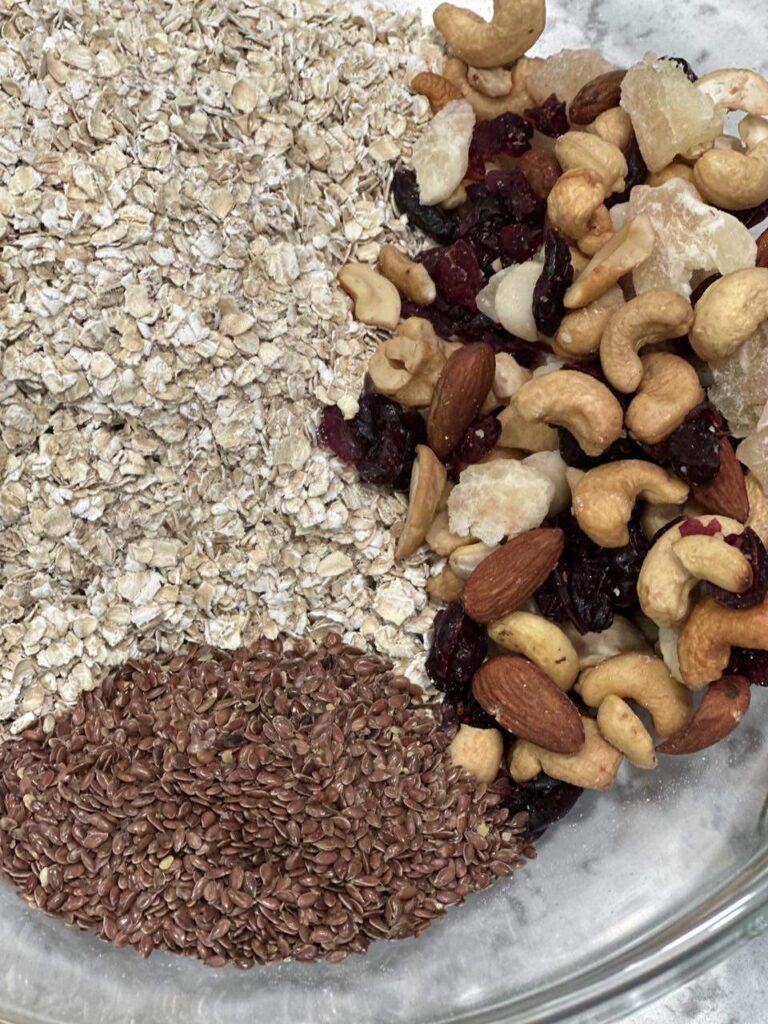
2. Mix Dry Ingredients: In a large mixing bowl, combine the almond flour, rolled oats, baking soda, and salt. Give it a good mix to ensure everything is nicely incorporated.
3. Mix Wet Ingredients: In another bowl, whisk together the melted coconut oil, honey or maple syrup, eggs, and vanilla extract until smooth and creamy.
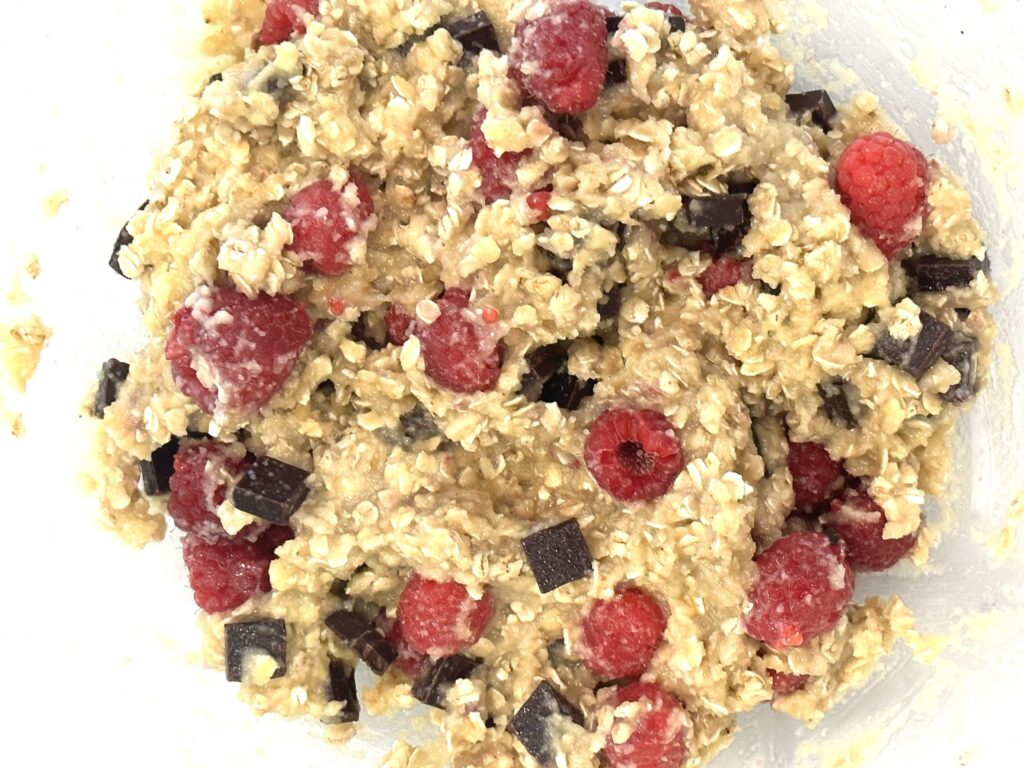
4. Combine Wet and Dry: Now, pour the wet mixture into the bowl of dry ingredients. Mix it up until you’ve got a thick, smooth batter.
5. Fold in Additions: Gently fold in the raspberries and dark chocolate chips until they’re evenly distributed throughout the batter.
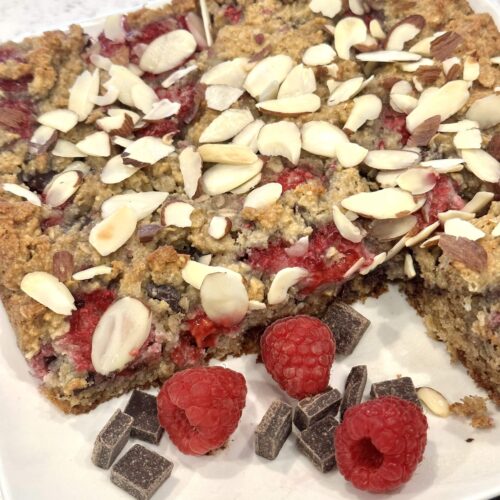
6. Transfer and Top: Transfer the batter to your prepared baking pan, spreading it out evenly. Sprinkle sliced almonds over the top for a delightful crunch that’ll take this cake to the next level.
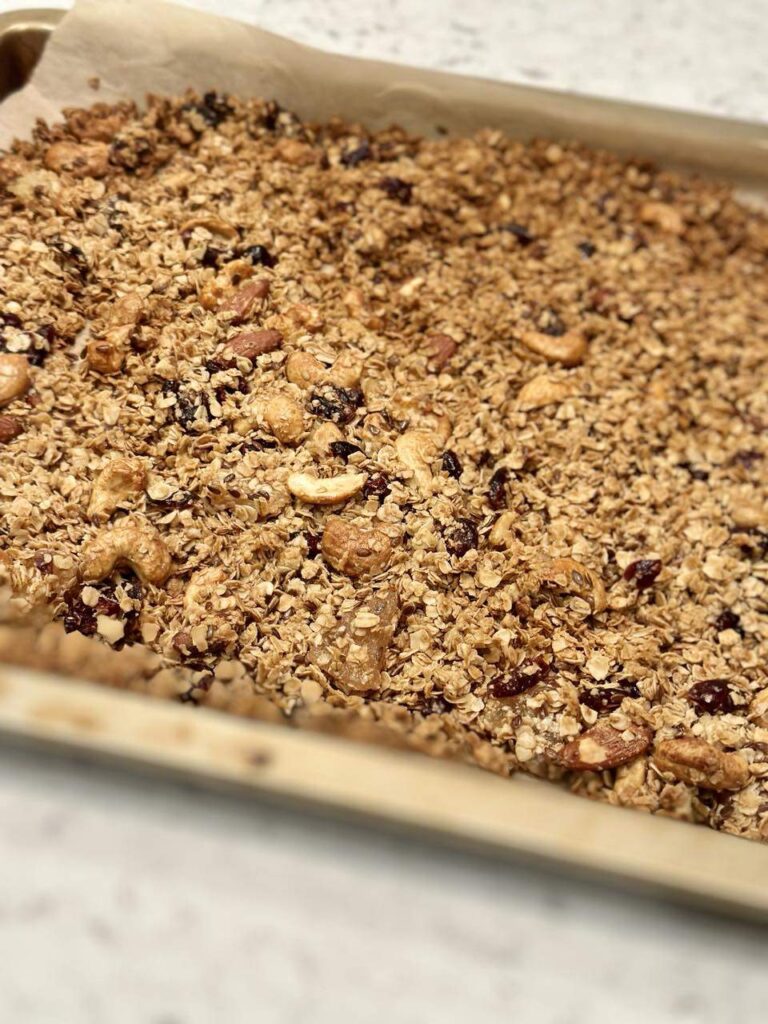
7. Bake: Place the pan in the oven and let the magic happen. Bake for 25-30 minutes, or until the edges are golden brown and a toothpick inserted into the center comes out clean.
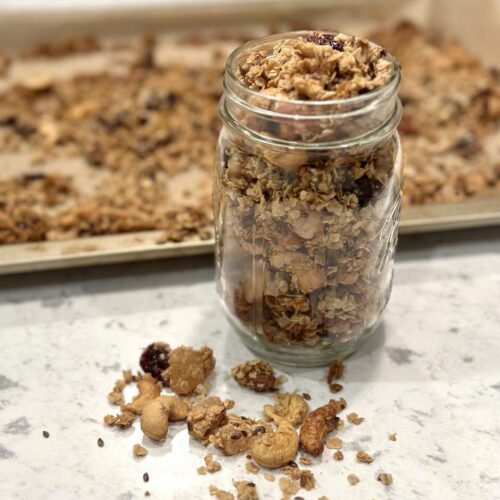
8. Cool and Serve: Once your cake is perfectly baked, let it cool in the pan for a bit before transferring it to a wire rack to cool completely. Slice into squares and enjoy!
9. Storage: If you manage to have any leftovers (which, let’s be honest, is a big if), store them in an airtight container in the refrigerator to keep them fresh and tasty for days to come.
Variations To This Gluten-Free Chocolate and Raspberry Cake:
- Swap out raspberries for other berries like strawberries or blueberries.
- Experiment with different types of chocolate chips such as milk chocolate or white chocolate.
- Add chopped nuts like pecans or walnuts for an extra crunch.
- To make a non-gluten-free version, replace almond flour with regular all-purpose flour using a 1:1 ratio.
Tips for Baking This Gluten-Free Chocolate Raspberry Cake Recipe:
- Use room temperature ingredients for better mixing and texture.
- Don’t overmix the batter to avoid a dense cake.
- Adjust the sweetness according to your preference by reducing or increasing the amount of honey or syrup.
- Allow the cake to cool completely before slicing to prevent it from crumbling.
Equipment:
- Mixing bowls
- Whisk or electric mixer
- Spatula
- 8″ x 8″ square Baking pan
- Parchment paper or non-stick spray
Storing Your Gluten-Free Chocolate Raspberry Cake:
- Store any leftover cake in an airtight container at room temperature for up to 2-3 days.
- Alternatively, you can store it in the refrigerator for a longer shelf life, up to a week.
- For longer storage, wrap individual slices tightly in freezer wrap and freeze for up to 1 month. Thaw in the refrigerator before serving.
FAQs:
Why Is Gluten-Free Cake Chewy?
Gluten-free cakes can sometimes turn out chewy due to the absence of gluten, which plays a crucial role in providing structure and elasticity to traditional cakes. Without gluten, gluten-free flours may not bind as effectively, resulting in a denser and chewier texture.

Why Is My Gluten-Free Cake Flat?
Gluten-free cakes may end up flat if they lack proper leavening agents or if the batter is overmixed. Using a combination of gluten-free flours, such as almond flour or rice flour, along with baking powder or baking soda, can help create a lighter and fluffier texture.
How Do You Keep Gluten-Free Cakes Moist?
To keep gluten-free cakes moist, consider adding ingredients like yogurt, applesauce, or mashed bananas into the batter. These moisture-rich ingredients help retain moisture and prevent the cake from drying out during baking. Additionally, storing the cake in an airtight container at room temperature or in the refrigerator can help maintain its moisture for longer.
Easy Gluten-Free Chocolate and Raspberry Cake
Equipment
- Mixing bowls
- Whisk or electric mixer
- Spatula
- Baking pan 8 x 8 "
- Parchment paper or non-stick spray
Ingredients
- 1 ½ cups gluten-free almond flour
- 1 cup gluten-free rolled oats
- ½ tsp. baking soda
- ¼ tsp. salt
- ¼ cup melted coconut oil
- ¼ cup honey or maple syrup
- 2 large eggs
- 1 tsp. vanilla extract
- 1 cup fresh or frozen raspberries
- ½ cup dark chocolate chips
- ¼ cup sliced almonds for topping
Instructions
- Preheat your oven to 350°F (175°C) and prepare your square baking pan with your favorite non-stick spray or use parchment paper.
- In a large mixing bowl, combine the almond flour, rolled oats, baking soda, and salt. Give it a good mix to ensure everything is nicely incorporated.
- In a separate bowl, whisk together the melted coconut oil, honey or maple syrup, eggs, and vanilla extract until smooth and creamy.
- Add the wet ingredients to the dry ingredients and stir until everything is well combined.
- Gently fold in the raspberries and dark chocolate chips until evenly distributed throughout the batter.
- Pressthe mixture firmly into the prepared baking pan, creating an even layer.
- Sprinklesliced almonds over the top of the batter for added crunch.
- Bake in the preheated oven for 25-30 minutes or until the edges are golden brown and a toothpick inserted into the center comes out with a few moist crumbs (not wet).
- Allow to cool for at least 15-20 minutes before transferring them to a wire rack to cool completely. Once cooled, cut into squares.
- Store the gluten-free chocolate and raspberry cake in an airtight container in the refrigerator for a longer shelf life.
Video
Conclusion:
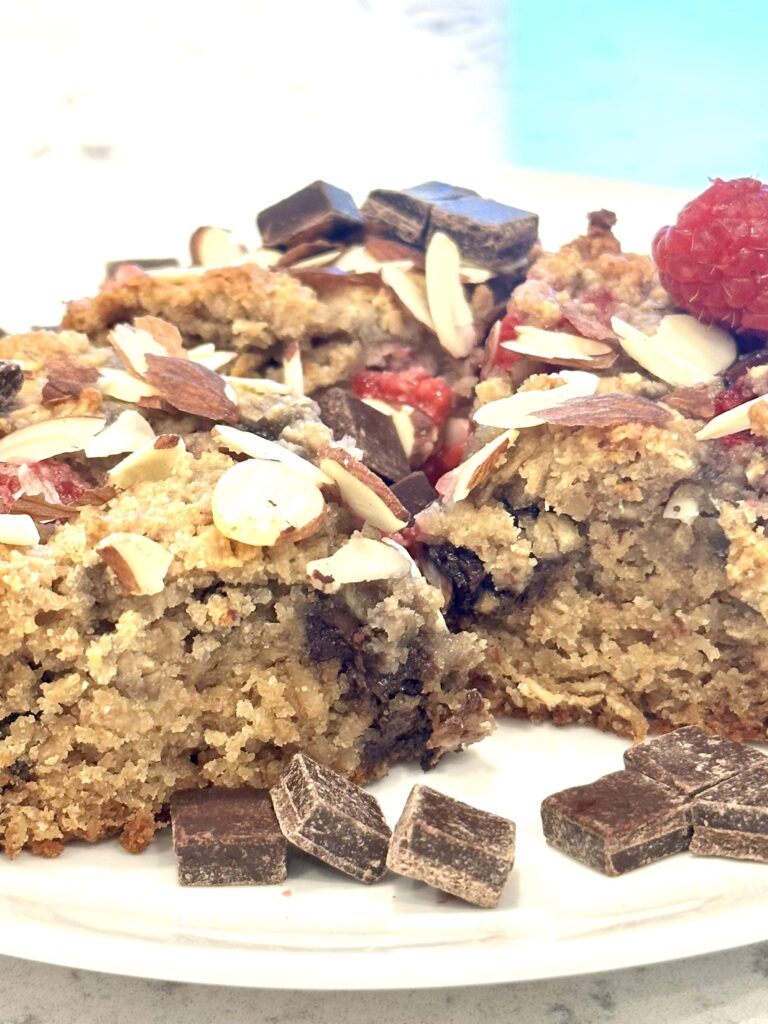
And there you have it, a simple yet irresistible gluten-free chocolate chip and raspberry cake that’s sure to become a staple when you are craving something sweet. With its wholesome ingredients, delicious flavors, and easy-to-follow instructions, this cake is perfect for any occasion, whether you’re celebrating a special event or just treating yourself to a little slice of happiness.
Enjoy the delightful combination of rich chocolate, tangy raspberries, and wholesome ingredients in every bite of this homemade gluten-free chocolate and raspberry cake!
Other Recipes You May Enjoy:
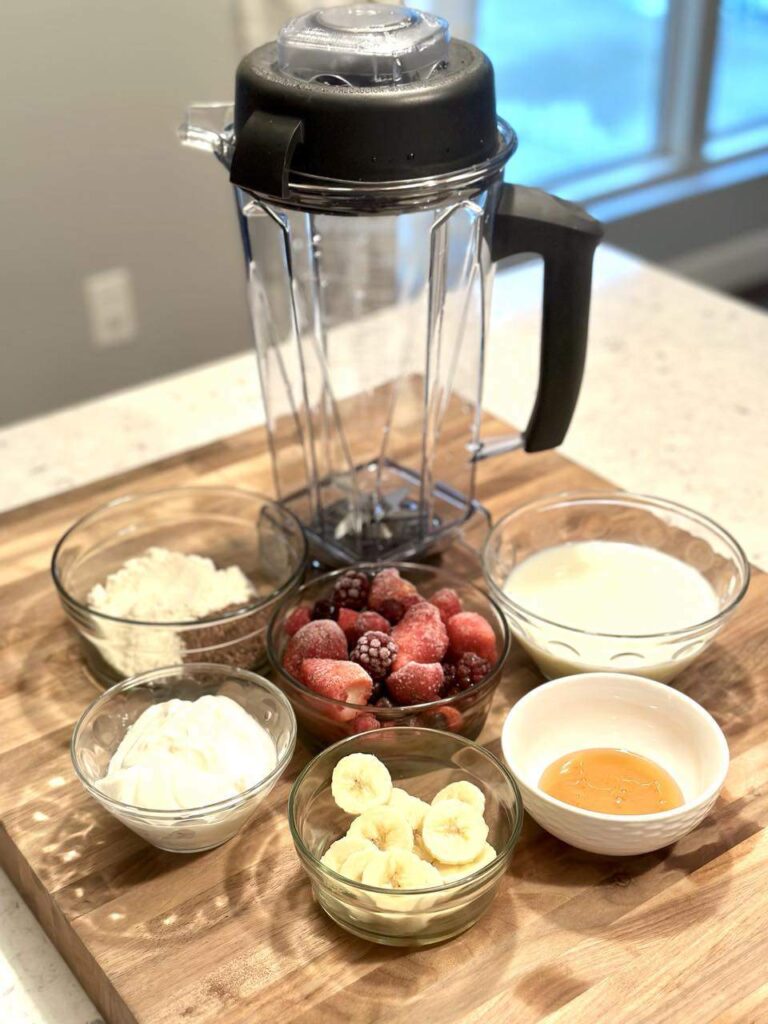
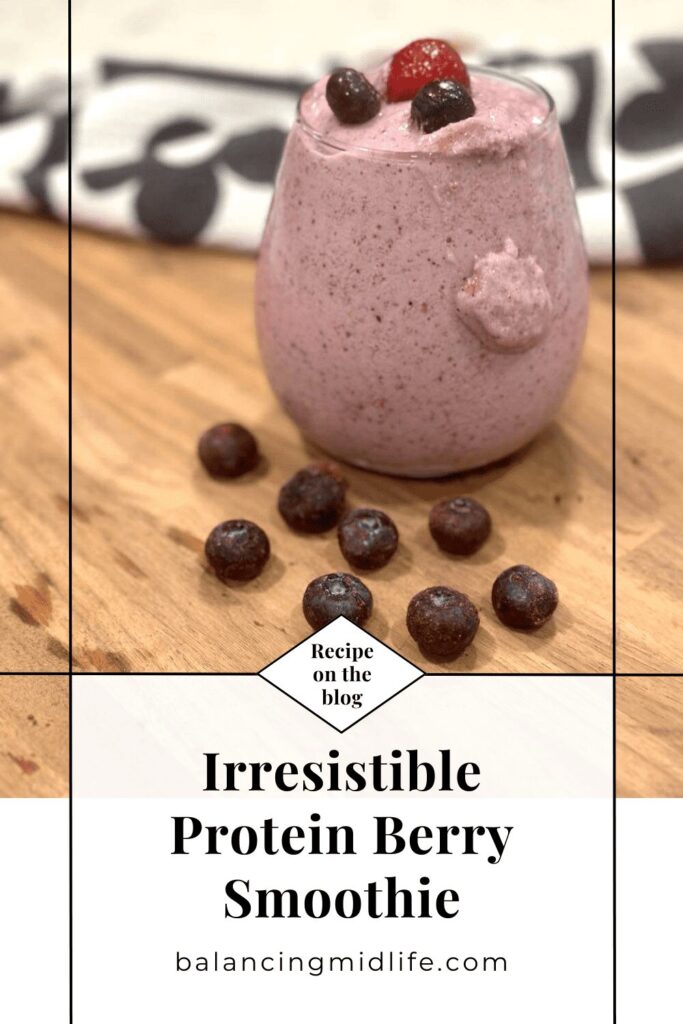
.How to Make a Protein Berry Smoothie That’s Irresistibly Delicious
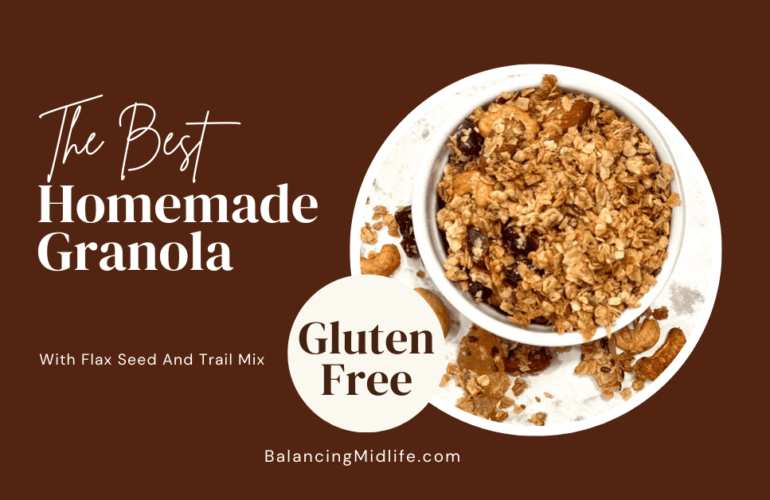
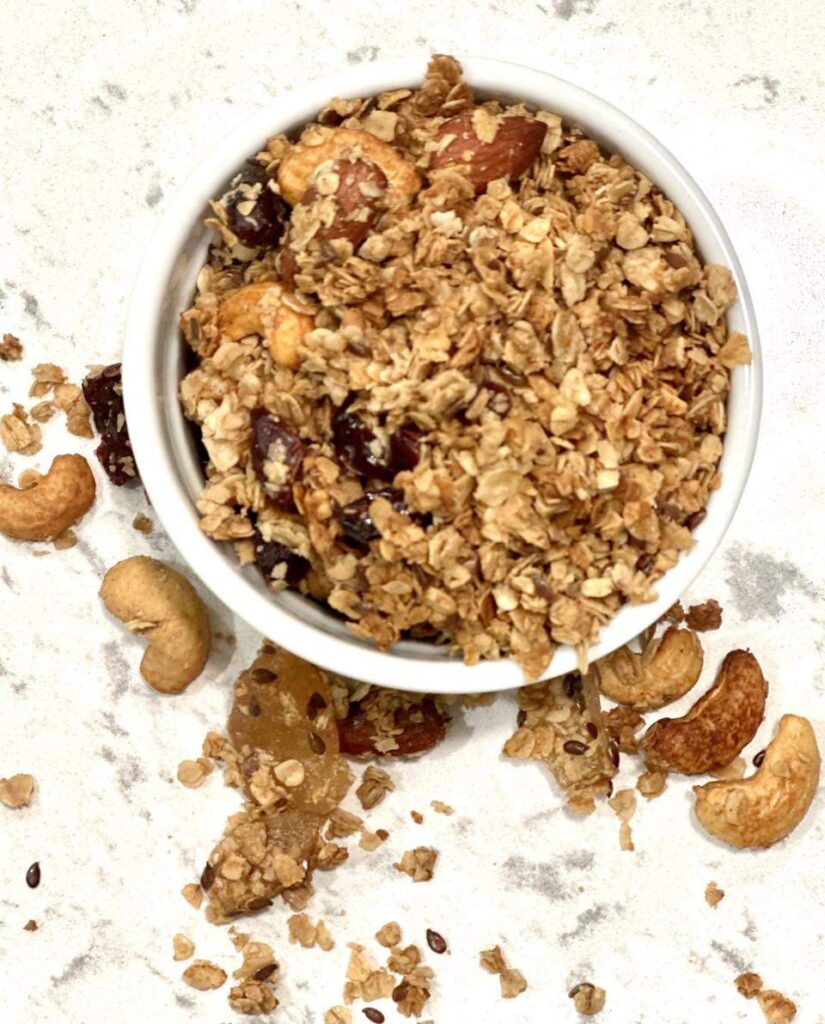
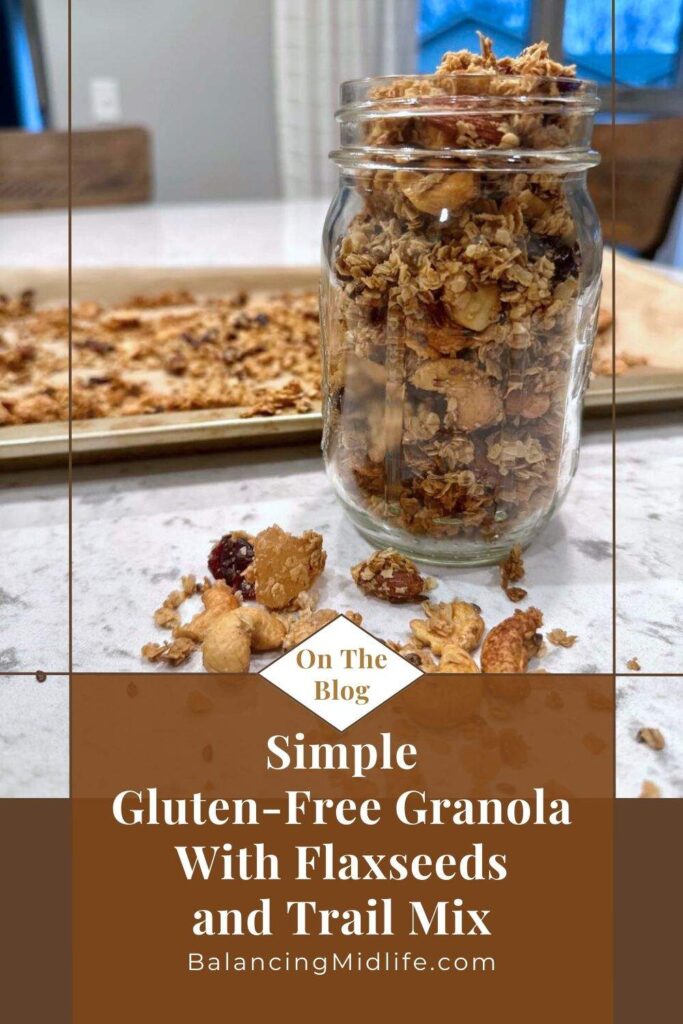
.The Best Gluten-Free Granola Recipe with Flaxseeds and Trail Mix
.Vanilla Coffee Recipe: The Best Homemade Coffee to Make