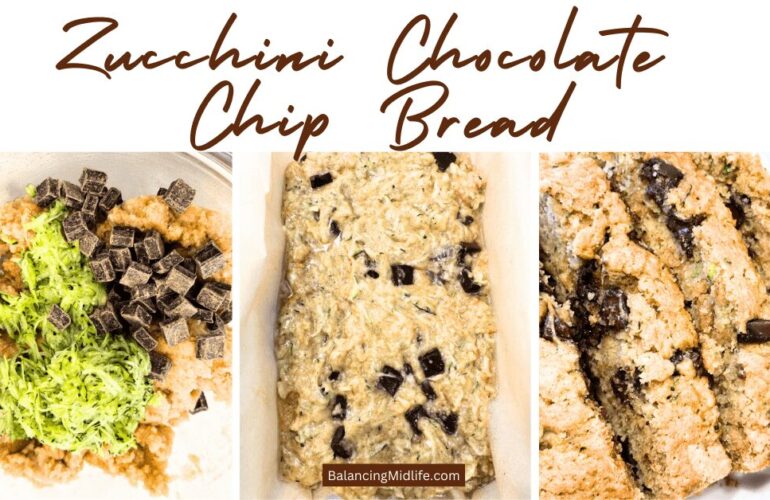
zucchini chocolate chip bread

Zucchini Chocolate Chip Bread Recipe Everyone Loves

If you’re looking for a yummy and easy treat, zucchini chocolate chip bread is the way to go! I’ve slightly altered this recipe from my mom’s cookbook to blend zucchini’s moist, mild taste with sweet chocolate chips, creating a delicious bread everyone will enjoy.
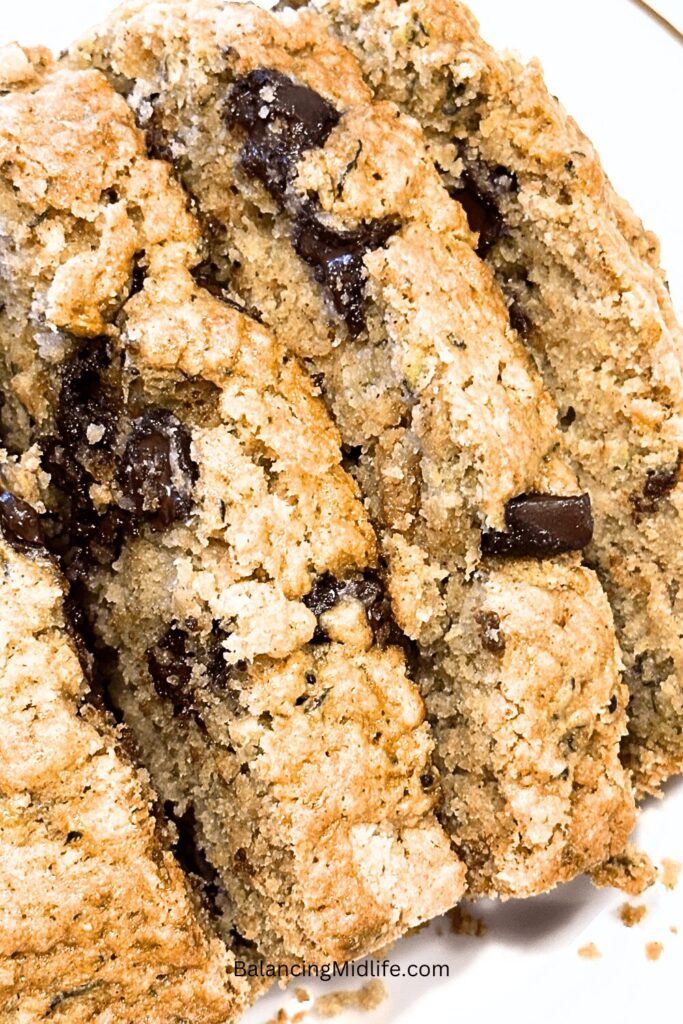
zucchini chocolate chip bread

It’s perfect for breakfast, a snack, or even dessert. Here’s how to make this simple and tasty bread that’s sure to become a new favorite!

My posts may contain affiliate links. If you purchase through one of these links, you will not pay a penny more, but I will receive a small commission. Please read my disclaimer for more information.
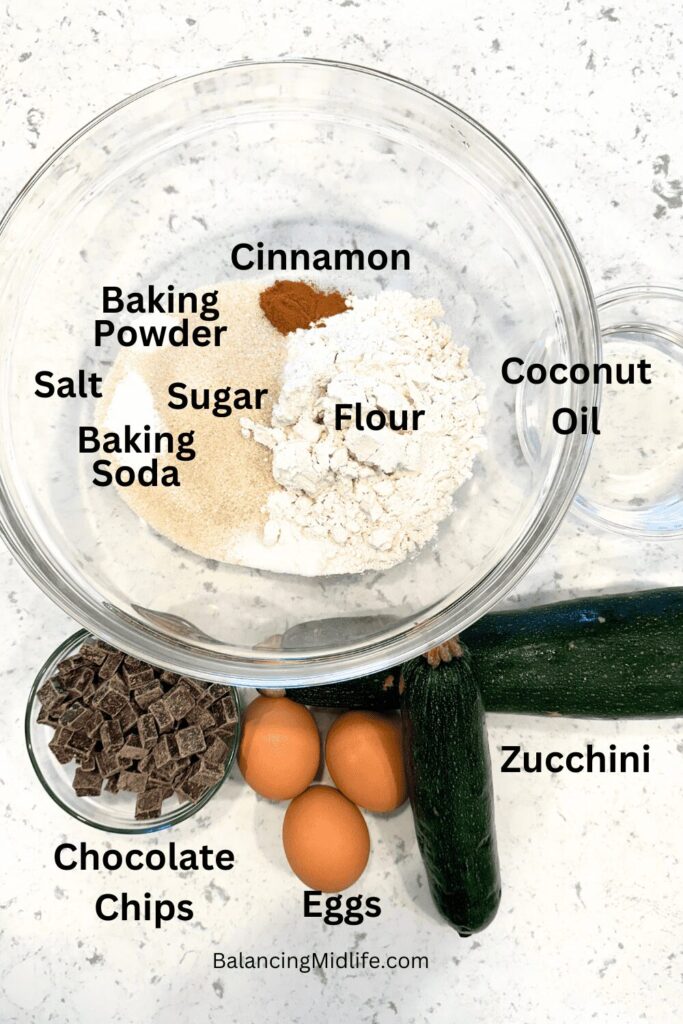
ingredients to make zucchini chocolate chip bread

Ingredients Needed to Make Zucchini Chocolate Chip Bread

  • 3 cups flour
  • 1 1/2 cup granulated sugar
  • 1 tsp cinnamon
  • 1 tsp salt
  • 1 tsp baking powder
  • 3/4 tsp baking soda
  • 2 cups shredded, unpeeled zucchini (squeeze out excess moisture)
  • 3 eggs
  • 1 cup oil (I prefer coconut oil)
  • 1 cup chocolate chips

Variations to This Zucchini Chocolate Chip Bread Recipe

Nuts:  Add 1/2 cup of chopped walnuts or pecans to the batter for a crunchy texture and extra flavor.

Spices: Mix in 1/2 tsp of nutmeg or a pinch of cloves along with the cinnamon to add a bit more spice to the bread.

Other Fruits: Fold in 1/2 cup of dried cranberries or raisins for a sweet surprise in each bite.

Vanilla Twist: Add 1 tsp of vanilla extract to the egg mixture to enhance the overall flavor of the bread.

Coconut Crunch: Mix in 1/2 cup of shredded coconut for added texture and a hint of tropical flavor.

Marble Magic: Swirl in a few tablespoons of cocoa powder to create a marbled effect and add a deeper chocolate flavor.
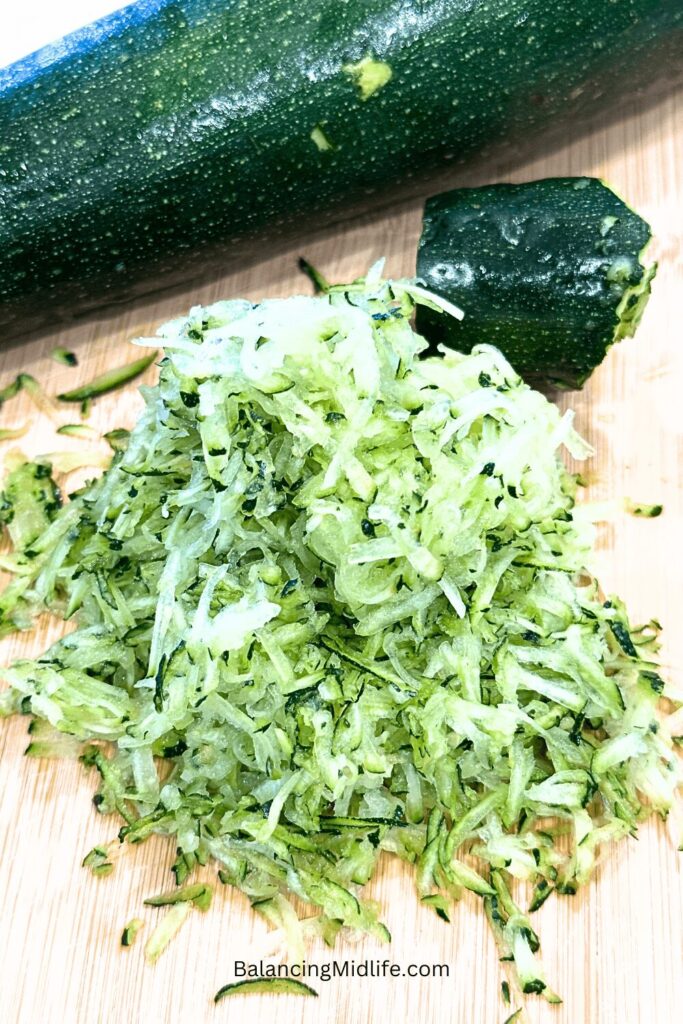
shredded zucchini

Tips for Making Zucchini Chocolate Chip Bread

1. Be sure you squeeze out excess moisture from the zucchini to avoid soggy bread.

2. Don’t overmix the batter; just stir until the ingredients are combined to keep the bread tender.

3. Use a toothpick to check for doneness; it should come out clean when inserted into the center.

4. Let the bread cool in the pan for a few minutes before transferring it to a wire rack to cool completely.

These tips will help you achieve a perfectly baked loaf!

Equipment Needed

.Mixing Bowls

.Grater

.Measuring Cups and Spoons

.Whisk

.Spatula

.Loaf Pans: Two 8×4-inch pans, greased or lined with parchment paper

.Toothpick or Cake Tester
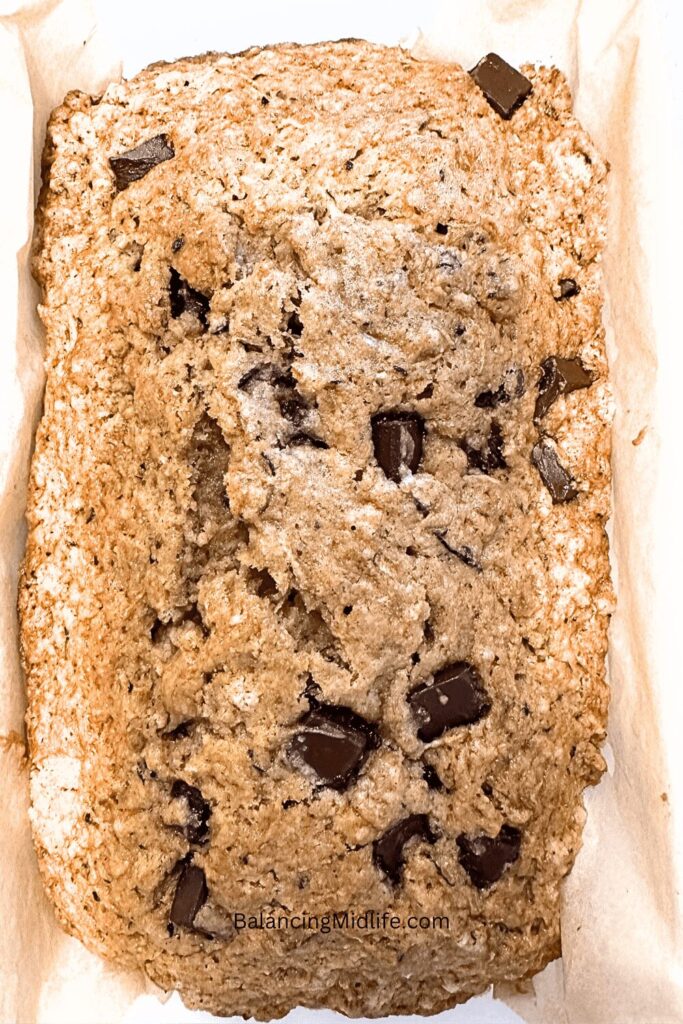
.Cooling Rack

zucchini chocolate chip bread

How to Make This Zucchini Chocolate Chip Bread

  1. Prepare the Ingredients:
    • Preheat your oven to 350°F (175°C).
    • Grease or line two 8×4-inch loaf pans with parchment paper.
    • Shred 2 cups of zucchini and squeeze out any excess moisture.
  2. Mix Dry Ingredients:
    • In a large bowl, whisk together 3 cups of flour, 1 ½ cups of sugar, 1 tsp of cinnamon, 1 tsp of salt, 1 tsp of baking powder, and ¾ tsp of baking soda.
  3. Combine Wet Ingredients:
    • In a separate bowl, beat together 3 eggs and 1 cup of oil (coconut oil works well).
  4. Combine Mixtures:
    • Add the egg mixture to the dry ingredients and stir until just moistened. Be careful not to overmix.
  5. Fold in Zucchini and Chocolate Chips:
    • Gently fold in the shredded zucchini and 1 cup of chocolate chips until evenly distributed.
  6. Pour and Bake:
    • Divide the batter evenly between the prepared loaf pans.
    • Bake in the preheated oven for 50 minutes, or until a toothpick inserted into the center comes out clean.
  7. Cool:
    • Allow the bread to cool in the pans for a few minutes before transferring to a wire rack to cool completely.

Enjoy your homemade zucchini chocolate chip bread with a delicious cup of coffee or your favorite blend of tea.
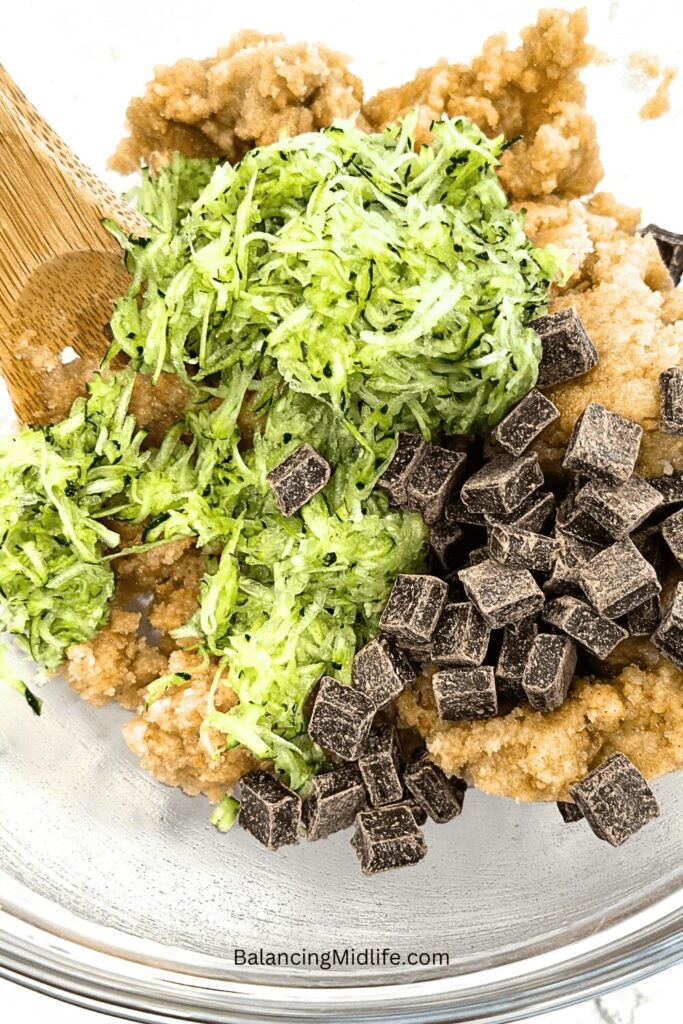
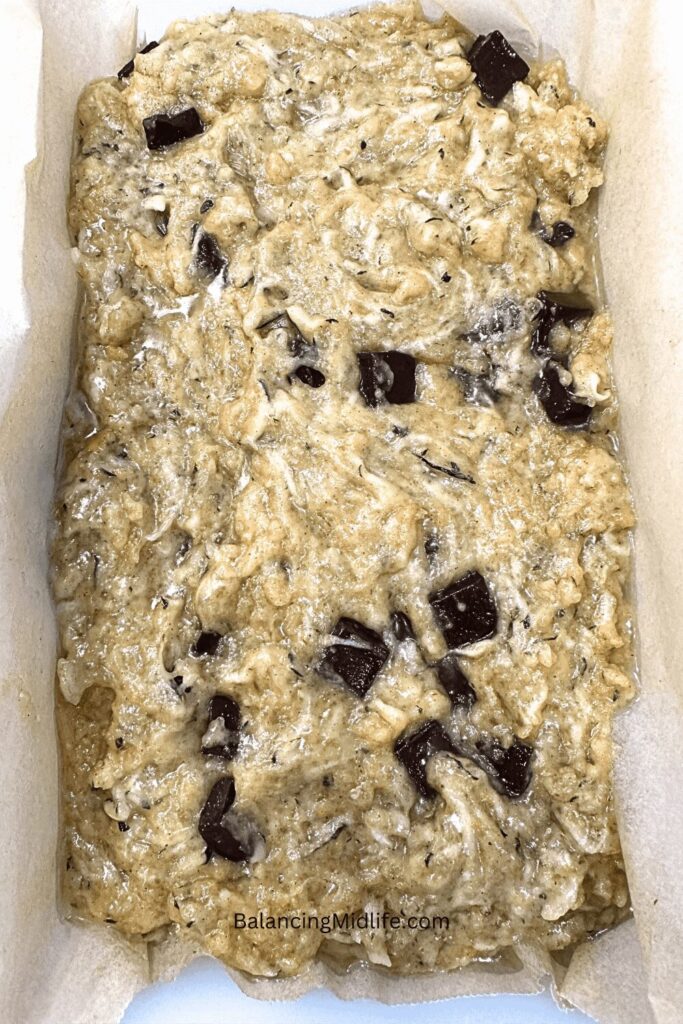
ingredients for zucchini chocolate chip bread
bread batter in pan

How to Store Your Zucchini Chocolate Chip Bread

To keep your zucchini chocolate chip bread fresh, follow these storage tips:

.Room Temperature: Store the cooled bread in an airtight container or wrap it tightly in plastic wrap. It can stay fresh at room temperature for up to 4 days.

.Refrigeration: For longer storage, wrap the bread well in plastic wrap or aluminum foil and place it in the refrigerator. It will last for up to a week.

.Freezing: If you want to keep the bread for a longer period, freeze it. Wrap the cooled bread tightly in plastic wrap and then in aluminum foil or place it in a freezer-safe bag. It can be frozen for up to 3 months. To thaw, leave it at room temperature for a few hours or overnight in the refrigerator.

These methods will help maintain the bread’s flavor and texture!

FAQ’s

Why does zucchini bread sink in the middle?

Zucchini bread can sink in the middle if it’s undercooked or if the oven temperature is too high. Make sure to bake it until a toothpick inserted in the center comes out clean and check your oven temperature with a thermometer if you suspect it might be inaccurate.

How do you keep zucchini bread from getting soggy?

To prevent sogginess, squeeze out excess moisture from the shredded zucchini before adding it to the batter. Also, avoid overmixing the batter, which can cause excess moisture.

What if the zucchini bread batter is too thick?

If the batter is too thick, you can add a couple of tablespoons of milk or water to loosen it. Mix gently until the consistency is better but avoid overmixing.

How many zucchinis does it take to make 2 cups grated?

It generally takes about 2 medium zucchini to make 2 cups of grated zucchini.

Other Recipes You May Enjoy
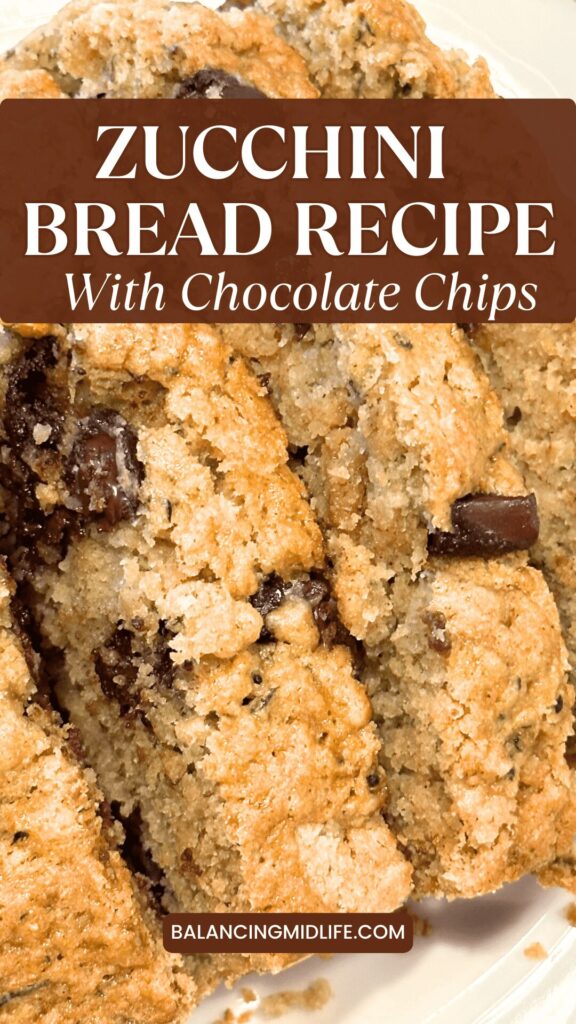
zucchini chocolate chip bread

Zucchini Chocolate Chip Bread

Looking for a delicious and easy treat? Zucchini chocolate chip bread is the perfect choice! This recipe combines the moist, mild flavor of zucchini with sweet chocolate chips to create a delightful bread that everyone will love. Perfect for breakfast, a snack, or dessert, this simple and tasty bread is sure to become a new favorite.
5 from 4 votes
Prep Time 20 minutes
Cook Time 50 minutes
Course Breakfast, brunch, Dessert, Snack
Cuisine American
Servings 2 loaves

Equipment

  • Mixing bowls
  • Grater
  • Measuring Spoons and Measuring Cups
  • Whisk
  • Spatula
  • 2 Loaf Pans 8"x 4"
  • Toothpick or Cake Tester
  • Cooling Racks

Ingredients
  

  • 3 cups All-purpose flour
  • 1 ½ cups Granulated sugar
  • 1 tsp Cinnamon
  • 1 tsp Salt
  • 1 tsp Baking powder
  • ¾ tsp Baking soda
  • 2 cups Unpeeled, shredded zucchini (squeeze out excess moisture)
  • 3 Eggs
  • 1 cup Oil (I use coconut oil)
  • 1 cup Chocolate Chips

Instructions
 

  • Preheat the oven to 350°F (175°C)
  • Grease or line two 8×4-inch loaf pans with parchment paper
  • Shred 2 cups of zucchini and squeeze out any excess moisture
  • In a large bowl, whisk together 3 cups of flour, 1 ½ cups of sugar, 1 tsp of cinnamon, 1 tsp of salt, 1 tsp of baking powder, and ¾ tsp of baking soda.
  • In a separate bowl, beat together 3 eggs and 1 cup of oil
  • Add the egg mixture to the dry ingredients and stir until just moistened. Be careful not to overmix
  • Gently fold in the shredded zucchini and 1 cup of chocolate chips until evenly distributed
  • Divide the batter evenly between the prepared loaf pans
  • Bake in the preheated oven for 50 minutes, or until a toothpick inserted into the center comes out clean
  • Allow the bread to cool in the pans for a few minutes before transferring to a wire rack to cool completely

Notes

Storage
To keep your zucchini chocolate chip bread fresh, follow these storage tips:
  1. Room Temperature: Store the cooled bread in an airtight container or wrap it tightly in plastic wrap. It can stay fresh at room temperature for up to 4 days.
  2. Refrigeration: For longer storage, wrap the bread well in plastic wrap or aluminum foil and place it in the refrigerator. It will last for up to a week.
  3. Freezing: If you want to keep the bread for a longer period, freeze it. Wrap the cooled bread tightly in plastic wrap and then in aluminum foil or place it in a freezer-safe bag. It can be frozen for up to 3 months. To thaw, leave it at room temperature for a few hours or overnight in the refrigerator.
Keyword chocolate chip bread, easy bread recipe, easy recipe, quick bread, simple bread recipe, zucchini bread, zucchini chocolate chip bread, zucchini loaf

Conclusion

Zucchini chocolate chip bread is a tasty way to enjoy a mix of healthy veggies and sweet chocolate. With this easy recipe and tips, you can be sure your bread turns out great every time. Whether it’s for breakfast, a snack, or a treat to share, it’s sure to be a hit.

Give it a try and see how delicious it is! We’d love to hear how it goes. Share your results or any fun changes you made in the comments below.

If you enjoyed this recipe, don’t forget to subscribe to our blog for more tasty ideas and tips. You can also follow us on Pinterest, Facebook, Instagram and Flipboard.

Happy baking!

Short on time? Save this recipe for later!
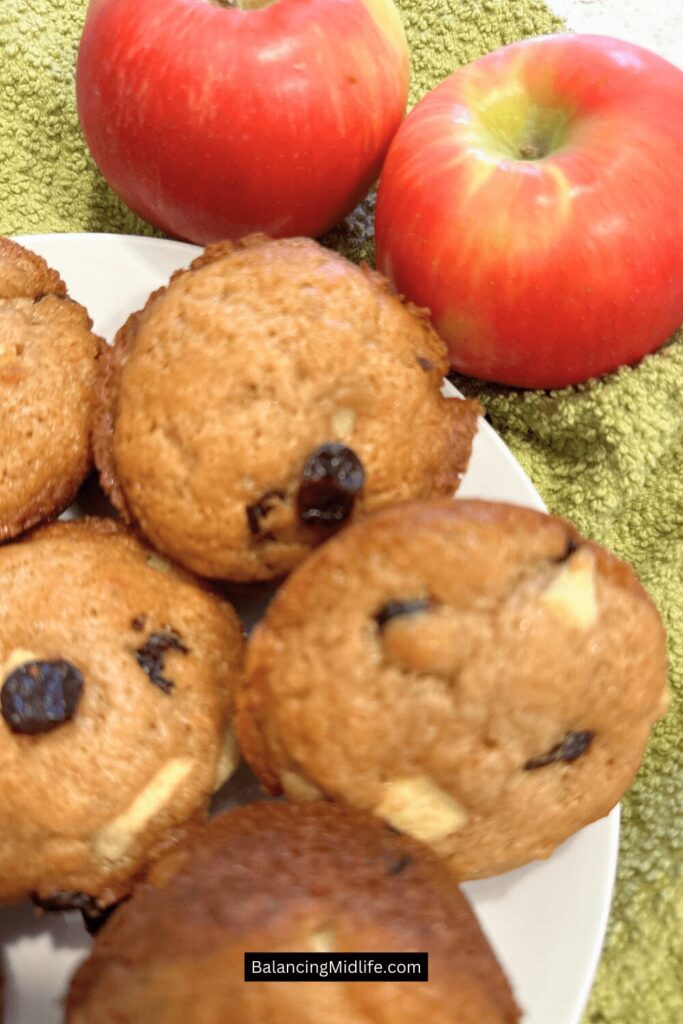
apple cranberry muffins

Irresistible Apple Cranberry Muffins: A Gluten-Free Delight!

Nothing beats the smell of freshly baked apple cranberry muffins drifting through your home. This fall muffin recipe is a delicious blend of sweet apples and tart cranberries, perfect for enjoying a moment of homemade goodness.

Whether you enjoy them on a crisp fall morning, serve them as part of a holiday brunch, or bake a batch to share with friends, these muffins are a simple and delicious way to celebrate the season.

My posts may contain affiliate links. If you purchase through one of these links, you will not pay a penny more, but I will receive a small commission. Please read my disclaimer for more information.

ingredients to make apple cranberry muffins

Ingredients Needed To Bake Apple Cranberry Muffins (Gluten-Free Recipe)

  • 1 cup granulated sugar
  • 1 cup coconut oil, melted (I prefer Kirkland brand)
  • 2 large eggs
  • 1 tsp vanilla extract
  • 2 cups gluten-free all-purpose flour (ensure it contains xanthan gum or add 1 tsp xanthan gum)
  • 1 1/2 tsp baking soda
  • 1/8 tsp salt
  • 1 tsp ground cinnamon
  • 1 cup plain Greek yogurt
  • 1 1/2 cups diced apples (peeled and cored)
  • 1 cup dried cranberries

Variations To This Apple Cranberry Muffin Recipe

Add Nuts or Seeds:  Fold in 1/2 cup of chopped walnuts or pecans for added crunch and flavor. Incorporate 2-3 tablespoons of chia seeds or flaxseeds for a nutritional boost.

Spices: Add 1/2 tsp ground nutmeg, 1/4 tsp ground cloves, or 1/4 tsp ground allspice for a more complex spice profile. Add 1/2 tsp ground ginger for a subtle zing.

Different Fruits: Substitute dried cranberries with raisins or currants. Exchange apples with pears for a different fruit flavor.

Healthy Swaps: Use 3/4 cup honey, maple syrup, or coconut sugar instead of granulated sugar.

Dairy Alternatives: Substitute Greek yogurt with non-dairy yogurt like almond or coconut yogurt for a dairy-free option.

Toppings: Make a simple streusel with gluten-free flour, brown sugar, and butter to sprinkle on top before baking. Or, drizzle with a simple glaze made from powdered sugar and lemon juice after baking. Find the crumble topping recipe here.

For a non-gluten-free version: Substitute the gluten-free all-purpose flour with an equal amount of regular all-purpose flour.

apples

Tips for Making These Apple Cranberry Muffins

1. Use a Good Gluten-Free Flour Blend: Choose a high-quality gluten-free all-purpose flour blend that contains a mix of flours (such as rice flour, potato starch, and tapioca flour) and xanthan gum or guar gum for structure. I prefer King Arthur’s all-purpose gluten-free flour.

If you make your own flour blend, be sure to include xanthan gum or guar gum (usually about 1 tsp per cup of flour) to mimic the elasticity of gluten.

2. Measure Accurately:

Weigh Ingredients: For the best results, use a kitchen scale to weigh your gluten-free flour. This ensures accuracy and consistency.

3. Avoid Overmixing:

Mix the batter just until the ingredients are combined. Overmixing can lead to dense and gummy muffins.

When adding fruits, nuts, or other mix-ins, gently fold them into the batter to avoid overmixing.

4. Use Room Temperature Ingredients: Ensure that eggs, yogurt, and other dairy products are at room temperature for smoother mixing and better rise.

apple cranberry muffin mixture

Equipment You May Need

Measuring Cups and Spoons

Peeler and Knife

Mixing Bowls

Whisk and Spatula

Muffin Tin

Paper Liners

Cooling Rack

Additional Optional Equipment:

Kitchen Scale: For accurately measuring flour and other ingredients.

Ice cream scoop, cookie scoop or large spoon for evenly portioning the batter into the muffin cups.

Toothpick or Cake Tester for checking the doneness of the muffins.

How to Make Apple Cranberry Muffins

Follow these steps to create your own batch of delicious muffins.

Instructions:

  1. Preheat the Oven to 350°F (175°C).
  2. Mix the Wet Ingredients:
    • In a large mixing bowl, whisk the granulated sugar and melted coconut oil until well combined.
    • Add the eggs one at a time, beating well after each addition.
    • Stir in the vanilla extract.
  3. Prepare the Dry Ingredients:
    • In a separate bowl, whisk together the gluten-free all-purpose flour, baking soda, salt, and ground cinnamon. Ensure the ingredients are evenly mixed to avoid clumps.
  4. Combine Wet and Dry Ingredients:
    • Gradually add the dry ingredients to the wet mixture, alternating with the Greek yogurt. Begin and end with the dry ingredients. Mix until just combined, being careful not to overmix to maintain a light texture.
  5. Fold in the Additions:
    • Gently fold in the diced apples and dried cranberries until they are evenly distributed throughout the batter.
  6. Portion the Batter:
    • Divide the batter evenly among the prepared muffin cups, filling each about 2/3 full. You can use paper liners or grease the pan (I use avocado oil spray). This ensures the muffins have room to rise without overflowing. 
  7. Bake:
    • Place the muffin tin in the preheated oven and bake for 18-22 minutes, or until a toothpick inserted into the center of a muffin comes out clean. The tops should be lightly golden brown.
  8. Cool and Serve:
    • Allow the muffins to cool in the pan for about 10 minutes before transferring them to a wire rack to cool completely. This helps prevent them from becoming soggy.
Freshly baked gluten-free apple cranberry muffins on a cooling rack

How to Store Your Apple Cranberry Muffins

To keep your apple cranberry muffins fresh and delicious, follow these storage methods:

Room Temperature:

  • Cool completely on a wire rack.
  • Store in an airtight container or resealable bag with a paper towel at the bottom (and between layers if stacking) to absorb moisture.
  • Shelf life: Up to 2 days.

Refrigeration:

  • Cool completely on a wire rack.
  • Store in an airtight container or resealable bag with paper towels as above.
  • Shelf life: Up to 1 week.
  • To enjoy, warm in the microwave for 10-15 seconds or let them come to room temperature.

Freezing:

  • Cool completely on a wire rack.
  • Wrap each muffin in plastic wrap or aluminum foil.
  • Store in a resealable freezer bag or airtight container.
  • Shelf life: Up to 3 months.
  • To enjoy, thaw at room temperature for a few hours or overnight in the refrigerator. Microwave for 20-30 seconds or reheat in the oven at 350°F (175°C) for about 10 minutes.

Using these methods, you can enjoy your fresh muffins for days or months!

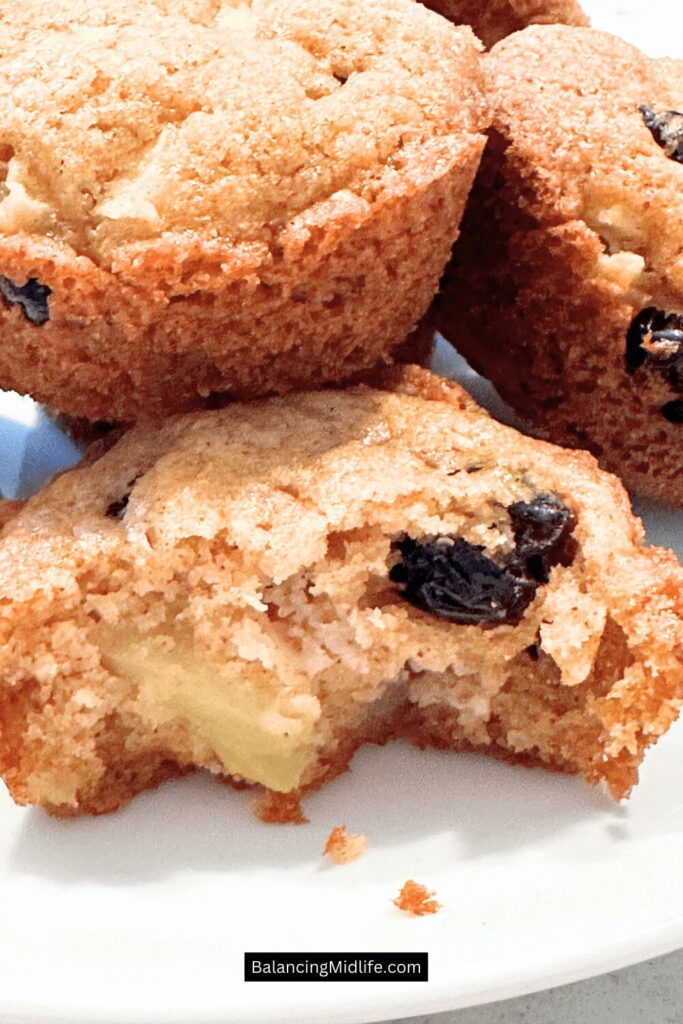
Moist apple cranberry muffins with dried cranberries and diced apples

Serving Ideas for Fall & Holidays

These muffins aren’t just delicious on their own. They’re even better when paired with cozy fall favorites:

  • With a Warm Drink – Enjoy your apple cranberry muffins alongside a cup of my homemade vanilla coffee for the ultimate fall morning treat.
  • For Seasonal Gatherings – Serve them at Thanksgiving brunch, Christmas breakfast, or any cozy weekend get-together.
  • As a Homemade Gift – Bake a batch, then package them with my printable fall-inspired recipe cards. It’s a thoughtful and tasty gift idea for neighbors, teachers, or friends.

Apple Cranberry Muffin FAQ’s

Can you freeze apple cranberry muffins?

Yes, you can freeze apple cranberry muffins! Freezing muffins is a great way to extend their shelf life and enjoy them at a later time. To freeze your muffins, make sure they are completely cooled to room temperature. This helps preserve their texture and flavor during freezing.

How do you freeze muffins so they don’t get soggy?

To freeze muffins without them getting soggy, follow these steps:

  1. Cool Completely: Ensure the muffins are completely cooled on a wire rack. Freezing warm muffins can create excess moisture, leading to sogginess.
  2. Wrap Individually: Wrap each muffin individually in plastic wrap or aluminum foil. This prevents freezer burn and keeps them fresh.
  3. Store in an Airtight Container: Place the wrapped muffins in a resealable freezer bag or an airtight container. Remove as much air as possible from the bag before sealing.
  4. Label and Freeze: Label the container with the date and type of muffins. Place the container in the freezer.

To thaw and enjoy:

  • Thaw the muffins at room temperature for a few hours or overnight in the refrigerator.
  • To quickly warm, microwave the muffins for about 20-30 seconds or reheat them in the oven at 350°F (175°C) for about 10 minutes.

How do you keep muffins moist and fluffy?

To keep muffins moist and fluffy, follow these tips:

  1. Use the Right Ingredients: Ingredients like Greek yogurt, apples, and cranberries add moisture to the muffins.
  2. Don’t Overmix: Mix the batter just until the ingredients are combined. Overmixing can lead to dense and dry muffins.
  3. Bake at the Right Temperature: Preheat the oven properly and bake the muffins at the correct temperature to ensure even cooking.
  4. Cool Properly: Allow the muffins to cool completely before storing them to prevent condensation from making them soggy.
  5. Store Correctly: Store muffins in an airtight container at room temperature for up to 2 days. For longer storage, refrigerate or freeze them as described above.

What is the most important rule to follow when baking muffins?

The most important rule to follow when baking muffins is to avoid overmixing the batter. Overmixing can lead to tough, dense muffins because it overdevelops the gluten (even in gluten-free baking, overmixing can affect the structure negatively). Mix the wet and dry ingredients together just until they are combined. It’s okay if the batter is a bit lumpy—this helps ensure that the muffins will be light and fluffy.

By following these tips and rules, you can enjoy perfect apple cranberry muffins every time!

Other Recipes You May Enjoy

Gluten-Free Apple Cranberry Muffins

Enjoy the comforting aroma of homemade apple cranberry muffins—sweet apples and tart cranberries make these treats irresistible! Perfect for breakfast or a cozy snack, this easy gluten-free recipe guarantees homemade goodness every time.
5 from 7 votes
Prep Time 20 minutes
Cook Time 22 minutes
Course Breakfast, Dessert, Snack
Cuisine American
Servings 24 muffins

Equipment

  • Mixing bowls
  • measuring cups and spoons
  • muffin tin (standard 12 muffin tin)
  • cooling rack
  • kitchen scale optional

Ingredients
  

  • 1 cup granulated sugar
  • 1 cup melted coconut oil
  • 2 large eggs
  • 1 tsp vanilla extract
  • 2 cups gluten-free all-purpose flour
  • 1 ½ tsp baking soda
  • tsp salt
  • 1 tsp ground cinammon
  • 1 cup plain Greek yogurt
  • 1 ½ cup diced and peeled apples
  • 1 cup dried cranberries

Instructions
 

  • Preheat your oven to 350°F (175°C).
  • Line a muffin tin with paper liners or grease the muffin cups.
  • In a large bowl, whisk together the granulated sugar and melted coconut oil until well combined.
  • Add the eggs one at a time, beating well after each addition.
  • Stir in the vanilla extract.
  • In a separate bowl, whisk together the gluten-free all-purpose flour, baking soda, salt, and ground cinnamon.
  • Gradually add the dry ingredients to the wet mixture, alternating with the Greek yogurt. Begin and end with the dry ingredients. Mix until just combined.
  • Gently fold in the diced apples and dried cranberries until evenly distributed.
  • Divide the batter evenly among the prepared muffin cups, filling each about 2/3 full.
  • Bake for 18-22 minutes, or until a toothpick inserted into the center comes out clean.
  • Allow the muffins to cool in the pan for about 10 minutes before transferring them to a wire rack to cool completely.
Keyword apple cranberry muffins, apple muffins, cranberry muffins, easy recipe, family friendly recipe, fruit filled muffins, gluten-free baking, gluten-free muffins, gluten-free recipe, gluten-free treats, muffin recipe, muffins

Conclusion

Baking apple cranberry muffins at home is simple and provides delicious results. These easy muffins, with their perfect balance of sweet apples and tart cranberries, are ideal for breakfast, snacks, or any time you crave a tasty treat.  Follow these easy tips to ensure your muffins turn out moist, fluffy, and irresistible every time.

Don’t keep the deliciousness to yourself. Share this recipe with friends and family so they can enjoy it too! 

If you enjoyed this recipe, don’t forget to subscribe to the blog for more tasty ideas and tips. You can also follow us on PinterestFacebookInstagram and Flipboard.

Do you love baking with apples and cranberries? Let me know in the comments if you tried this recipe, and share your favorite muffin add-ins!

Until next time…

In a hurry? Save this recipe for later!
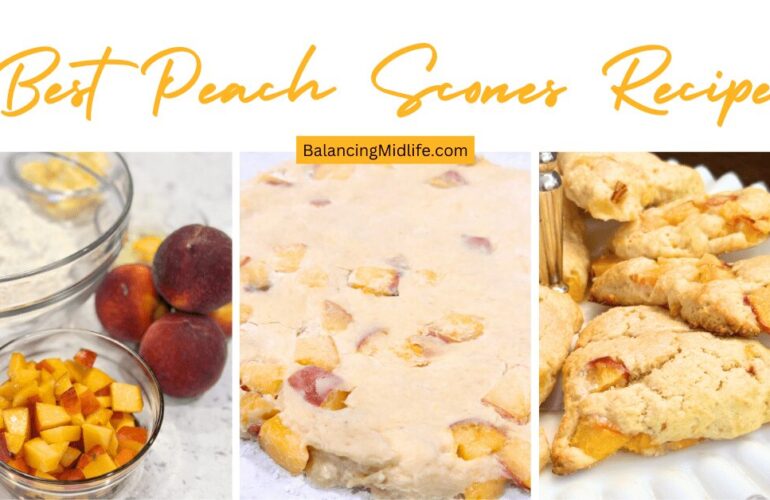
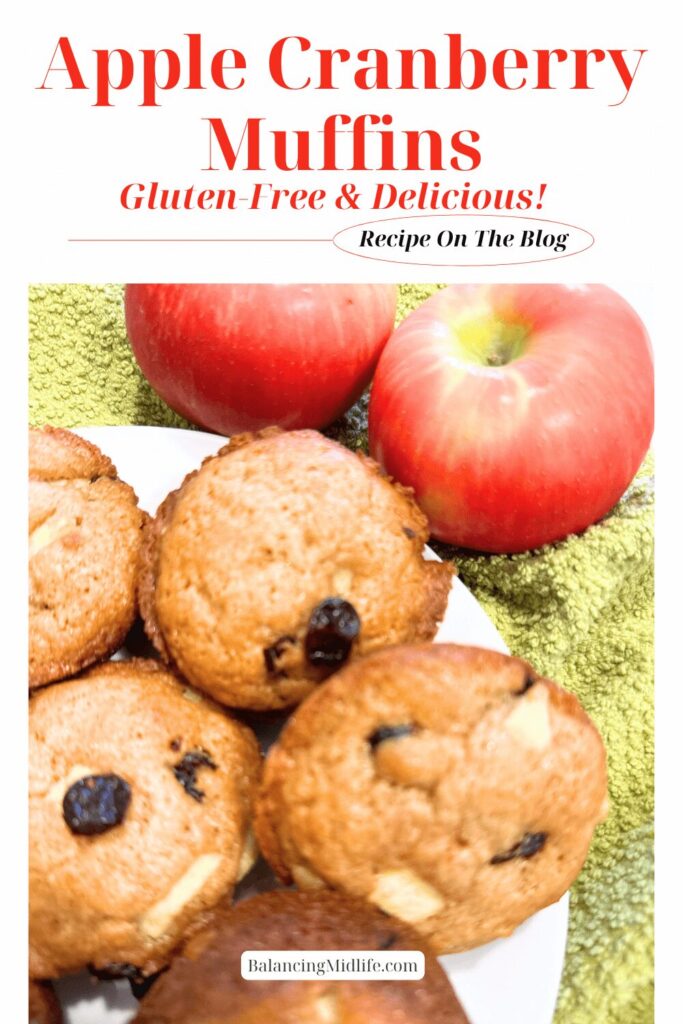
apple cranberry muffins
peach scones recipe

Easy Peach Scones Recipe with Fresh Peaches

Craving a soft, buttery scone packed with juicy summer peaches? This easy peach scones recipe is everything you love about homemade baked goods: flaky texture, golden tops, and bursts of fresh peach in every bite. Whether you’re planning a cozy brunch or just want a delicious snack, these scones come together in no time!

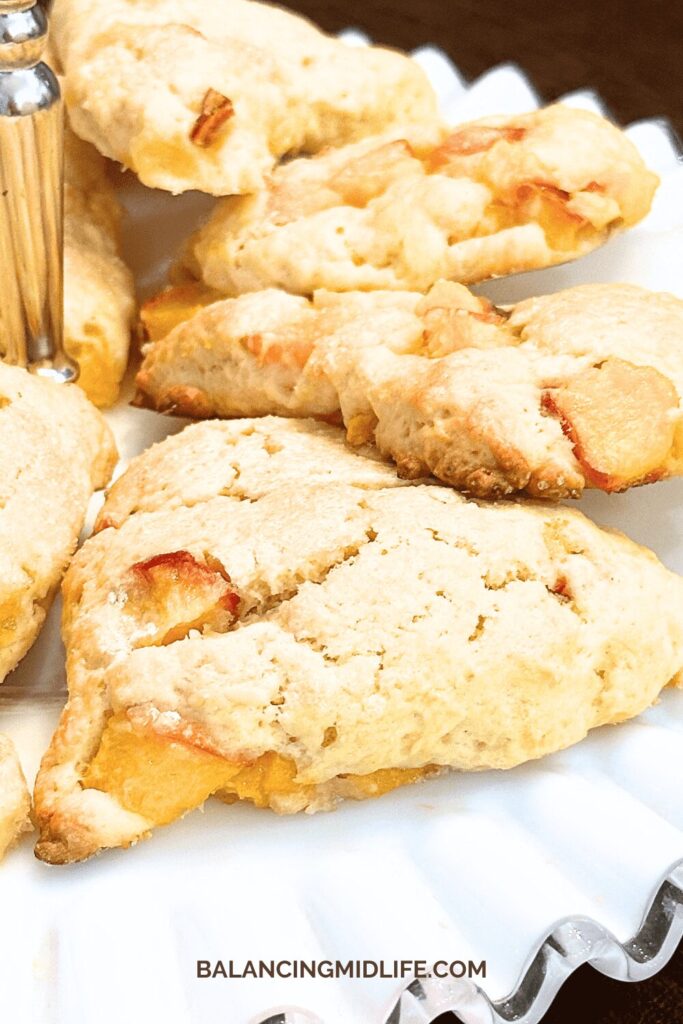
peach scones on a plate

Let’s get started creating the best peach scones you’ve ever had!

My posts may contain affiliate links. If you purchase through one of these links, you will not pay a penny more, but I will receive a small commission. Please read my disclaimer for more information.

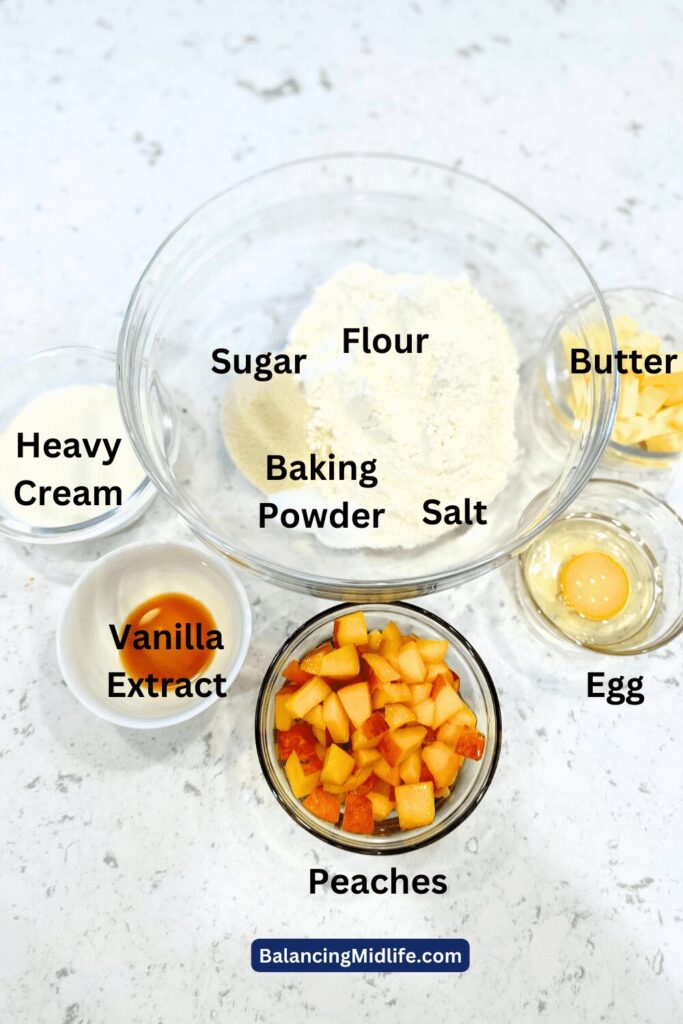
Ingredients:

  • 2 cups all-purpose flour
  • 1/4 cup granulated sugar
  • 1 tablespoon baking powder
  • 1/2 teaspoon salt
  • 1/2 cup cold unsalted butter, cubed
  • 1/2 cup heavy cream, plus more for brushing
  • 1 large egg
  • 1 teaspoon vanilla extract
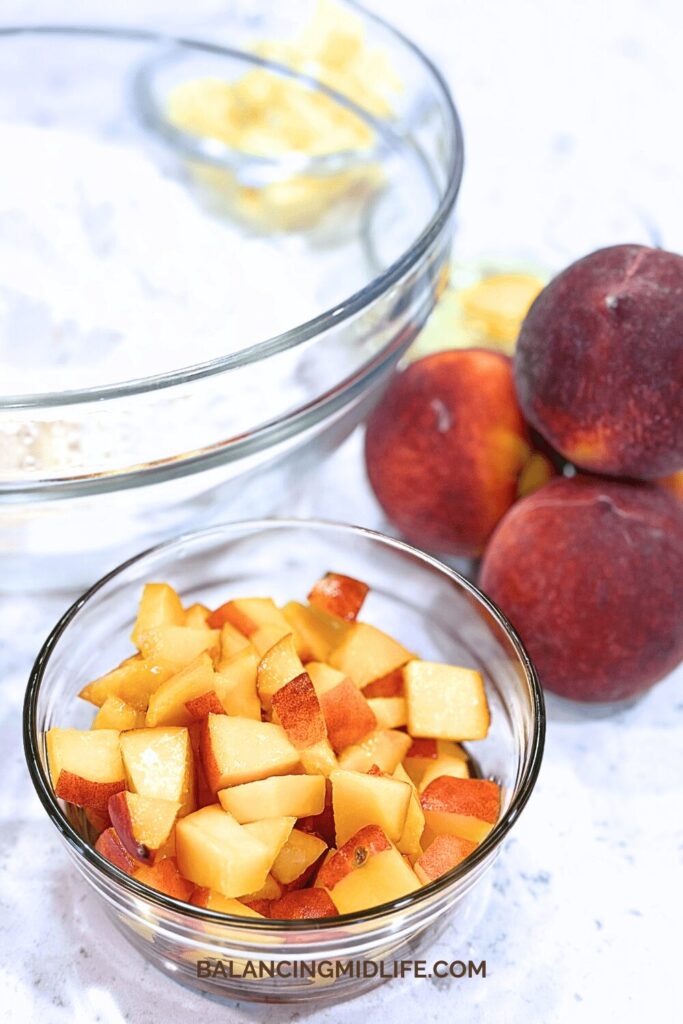
  • 1 cup fresh peaches, diced
  • 1 tablespoon sugar (optional, for sprinkling)
ingredients to make peach scones recipe

Variations To This Peach Scones Recipe

Feel free to customize these peach scones to suit your taste:

Add Nuts: Incorporate chopped almonds or pecans for extra crunch.

Spice It Up: Sprinkle cinnamon or nutmeg into the dry ingredients for a warm, cozy flavor.

Glaze Options: Drizzle with a simple vanilla glaze or sprinkle with powdered sugar after baking for a sweeter finish.

Gluten-Free Option – Swap out the all-purpose flour for gluten-free all-purpose flour – 1:1 ratio.

ingredients laid out for fresh peach scones recipe

Tips for Baking The Best Peach Scones

Achieve scone perfection with these tips:

1. Cold Butter: Be sure your butter is cold for flaky scones. Freeze it for 15 minutes before using.

2. Gently Mix: Avoid overmixing to keep the scones tender.

3. Even Distribution: When folding in peaches, distribute them evenly to balance flavor throughout each bite.

Equipment Needed to Make This Peach Scones Recipe

You’ll need:

How to Make Peach Scones From Scratch

Instructions:

  1. Preheat the oven to 400°F (200°C) and line a baking sheet with parchment paper.
  2. Mix the dry ingredients: In a large bowl, whisk together flour, sugar, baking powder, and salt.
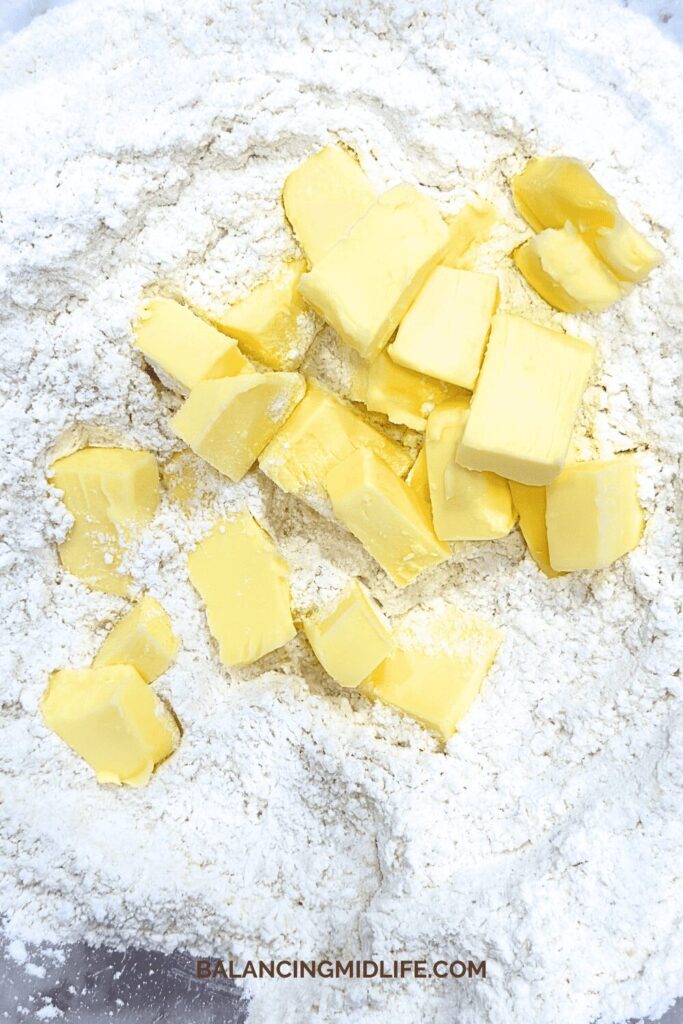
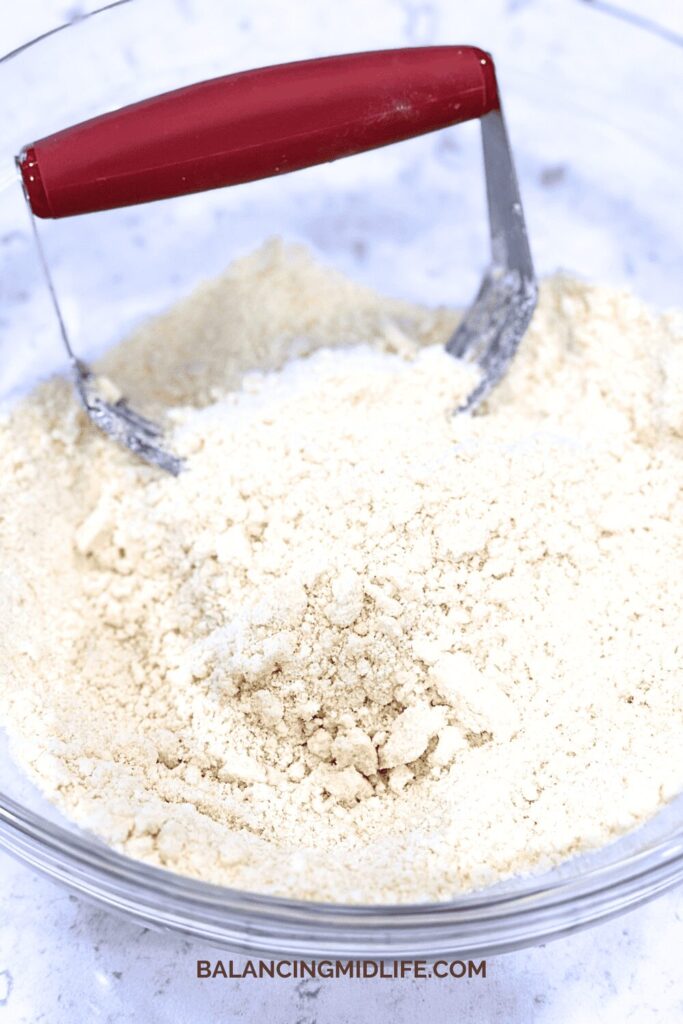
  3. Cut in the butter: Add cold, cubed butter to the flour mixture. Use a pastry cutter or fingers to cut until crumbs form.
  4. Prepare the wet ingredients: In a separate bowl, whisk together heavy cream, egg, and vanilla extract.
  5. Combine wet and dry ingredients: Pour the wet mixture into the flour mixture and stir until just combined.
  6. Add peaches: Gently fold in diced peaches until evenly distributed.
  7. Shape the dough: Turn the dough onto a floured surface, and shape it into a 1-inch thick disk. Cut into 8 wedges and place on a baking sheet.
  8. Brush and sprinkle: Brush scones with heavy cream, and sprinkle with sugar.
  9. Bake: Bake for 15-20 minutes until golden brown and a toothpick comes out clean.
  10. Cool and enjoy: Let scones cool on a baking sheet, then transfer to a wire rack. Enjoy warm or at room temperature.
butter cut up in bowl of flour
dry ingredients for peach scones recipe
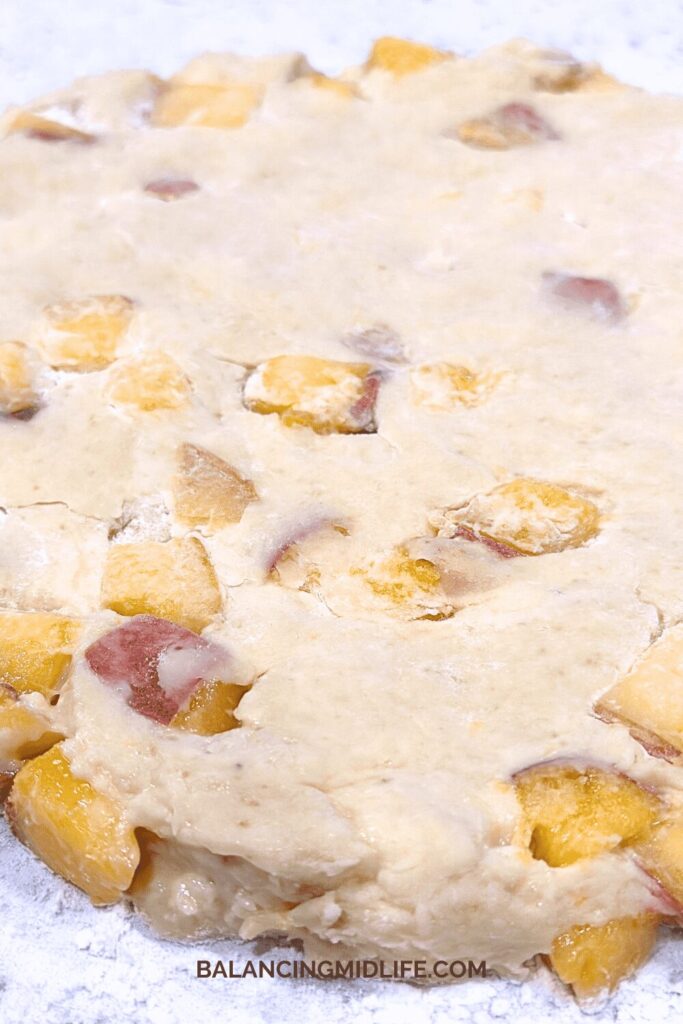
peach scone dough ready to be shaped and cut

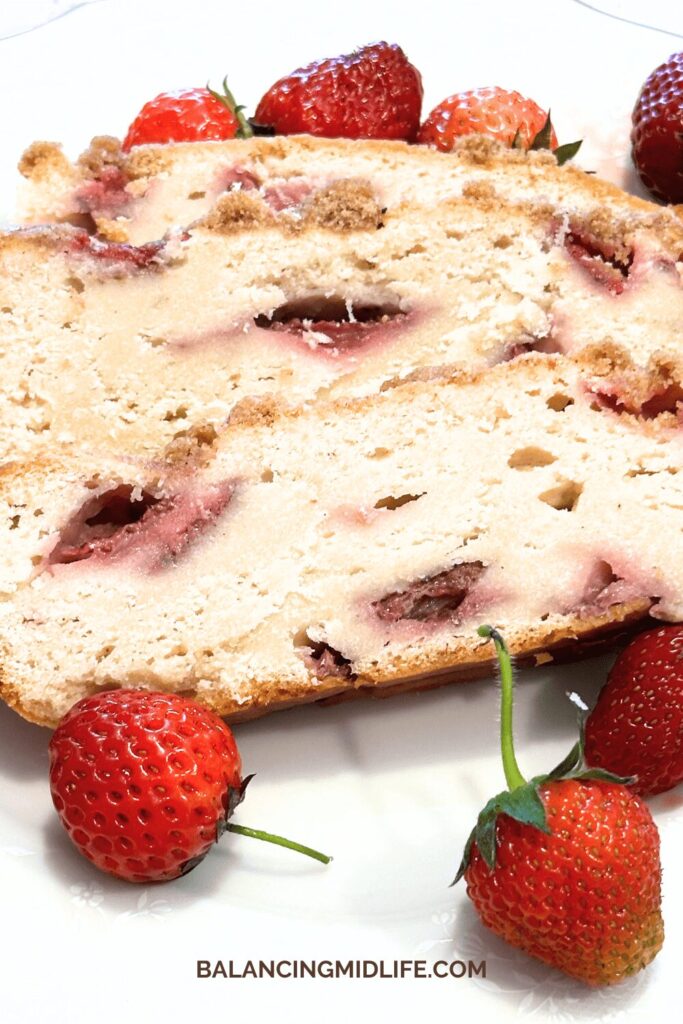
If you love fruity baked goods, be sure to try my Fresh Strawberry Bread with Crumble Topping or this Lemon Blueberry Cream Cheese Cake next!

Storing Your Peach Scones

Store leftover scones in an airtight container at room temperature for up to 2 days. Reheat briefly in the oven or microwave for a fresh-from-the-oven taste.

FAQ

What is the secret to good scones?

The secret lies in using cold butter and avoiding overmixing.

Is heavy cream or buttermilk better for scones?

Heavy cream adds richness, while buttermilk offers a tangy flavor. Use heavy cream for a classic, buttery taste.

What to avoid when making scones?

Avoid overmixing the dough and ensure your butter is cold for flakiness.

Should you chill scone dough before baking?

Chilling the dough briefly (about 15 minutes) before baking helps the scones hold their shape and rise better in the oven.

flakey peach scones on white platter

More Recipes You May Enjoy:

Be sure to Pin this recipe for later!
baked peach scone

Fresh Peach Scones

If you're looking for the best peach scones recipe, you'vecome to the right place! Using fresh, juicy peaches, this recipe will guide youthrough creating tender and flavorful scones that are perfect for breakfast,brunch, or an afternoon treat.
5 from 2 votes
Prep Time 20 minutes
Cook Time 20 minutes
Course Breakfast, brunch, Dessert, Snack
Cuisine American
Servings 8 servings

Equipment

  • Large mixing bowls
  • 1 Pastry cutter
  • 1 Baking Sheet
  • 1 Wire rack

Ingredients
  

  • 2 cups all-purpose flour
  • ¼ cup granulated sugar
  • 1 tbsp. baking powder
  • ½ tsp. salt
  • ½ cup cold unsalted butter, cubed
  • ½ cup heavy cream (plus more for brushing onto pastry)
  • 1 large egg
  • 1 tsp. vanilla extract
  • 1 cup fresh peaches, diced
  • 1 tbsp. sugar (optional for sprinkling onto pastry)

Instructions
 

  • Preheat the oven to 400°F (200°C) and line a baking sheet with parchment paper.
  • In a large bowl, whisk together the flour, granulated sugar, baking powder, and salt.
  • Add the cold, cubed butter to the flour mixture. Use a pastry cutter or your fingers to cut the butter into the flour until the mixture resembles coarse crumbs.
  • In a separate bowl, whisk together the heavy cream, egg, and vanilla extract.
  • Pour the wet ingredients into the flour mixture and stir until just combined. Be careful not to overmix.
  • Gently fold in the diced peaches until evenly distributed throughout the dough.
  • Turn the dough out onto a lightly floured surface and shape it into a disk about 1 inch thick. Cut the disk into 8 wedges and place them on the prepared baking sheet.
  • Brush the tops of the scones with a little heavy cream and sprinkle with sugar, if using.
  • Bake for 15-20 minutes, or until the scones are golden brown and a toothpick inserted into the center comes out clean.
  • Allow the scones to cool on the baking sheet for a few minutes before transferring to a wire rack to cool completely. Enjoy warm or at room temperature.
Keyword best scone recipe, buttery scones, easy scone recipe, fresh peach recipe, fruit scone recipe, homemade scones, peach scones, quick scone recipe, scones

Conclusion

These peach scones are a perfect treat to brighten your day. They’re easy to make and even easier to enjoy with friends and family.

If you enjoyed this recipe, don’t forget to subscribe to the blog for more tasty ideas and tips. You can also follow us on PinterestFacebookInstagram and Flipboard.

Save this easy peach scone recipe for your next summer brunch!

easy summer salads

30 Easy Summer Salads for Light and Delicious Meals

Feeling stuck in a salad slump and on the hunt for refreshing, easy summer salads everyone will enjoy? You’re in the right place! This blog post is packed with 30 easy summer salad recipes that your family and friends will love.

These delicious salads are perfect for weekday meals, weekend BBQs, or picnics. Whether you’re looking for something quick and light or a dish that will impress at your next gathering, we’ve got you covered.

My posts may contain affiliate links. If you purchase through one of these links, you will not pay a penny more, but I will receive a small commission. Please read my disclaimer for more information.

The Perfect Serving Dish for Your Summer Salads

Looking for the perfect serving dish to showcase your summer salad? This stunning glass bowl with an acacia wood base and matching serving utensils is sure to wow your guests. Its elegant design not only highlights the vibrant colors of your salads but also adds a touch of sophistication to any table setting.

Take Your Summer Salads Anywhere in Style

Need to store your summer salad or take it to a party? This salad bowl, crafted from sturdy acacia wood with a secure acacia lid, ensures your salad stays fresh and safe during transport. Paired with serving utensils made from eco-friendly bamboo fibers, this set combines style and practicality, making it a perfect choice for any summer gathering.

Let’s get into these tasty summer salad recipes!

30 Easy Summer Salads

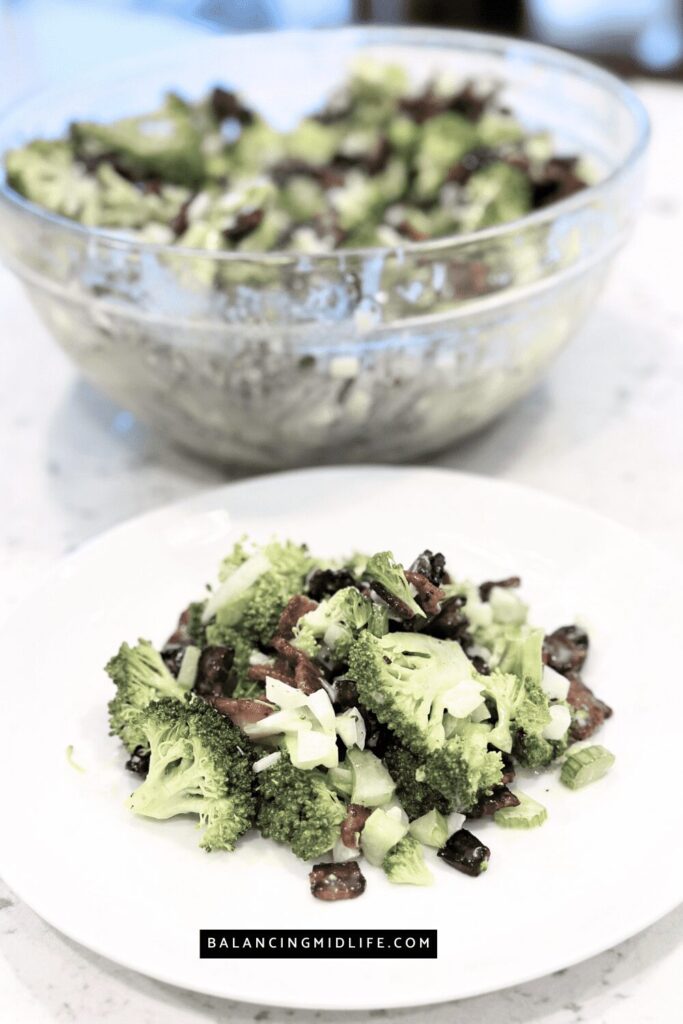
Broccoli Cranberry Salad:  The Perfect Salad for Any Occasion – Balancingmidlife.com

broccoli cranberry salad

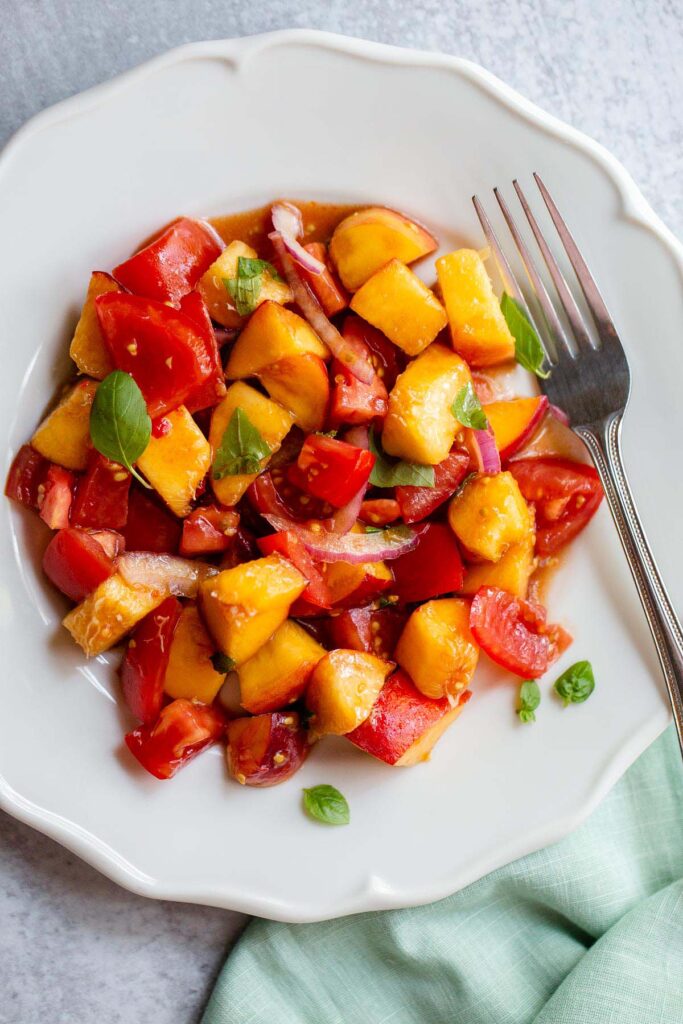
Calabrian Peach Tomato Salad – Food Banjo

calabrian peach salad - easy summer salads

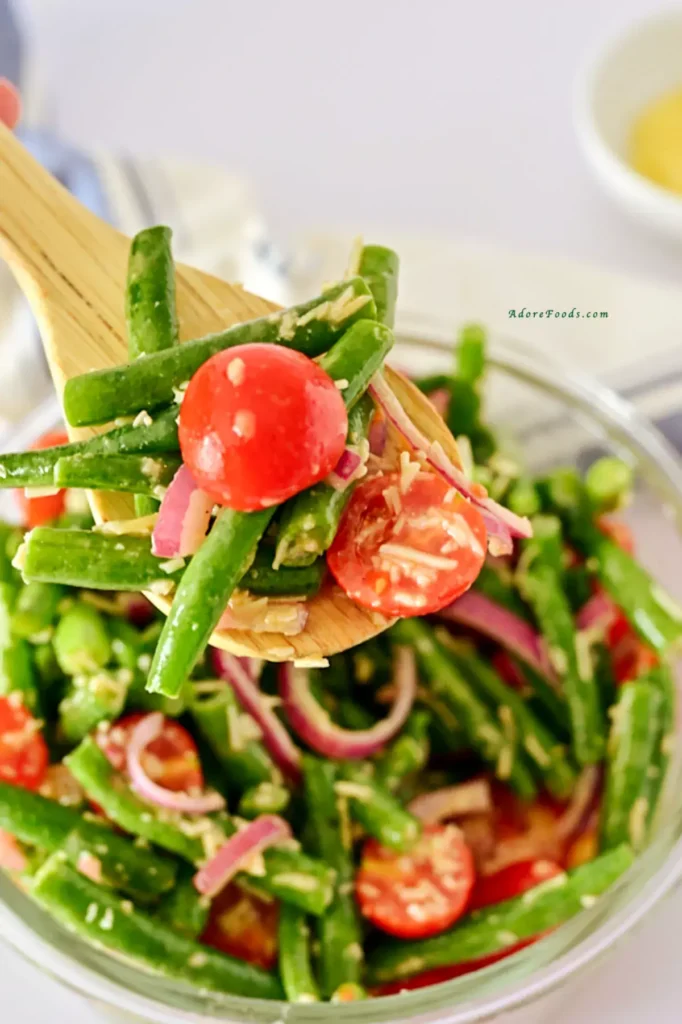
Italian Cold Green Bean Salad – Adore Foods

Italian Cold Bean Salad

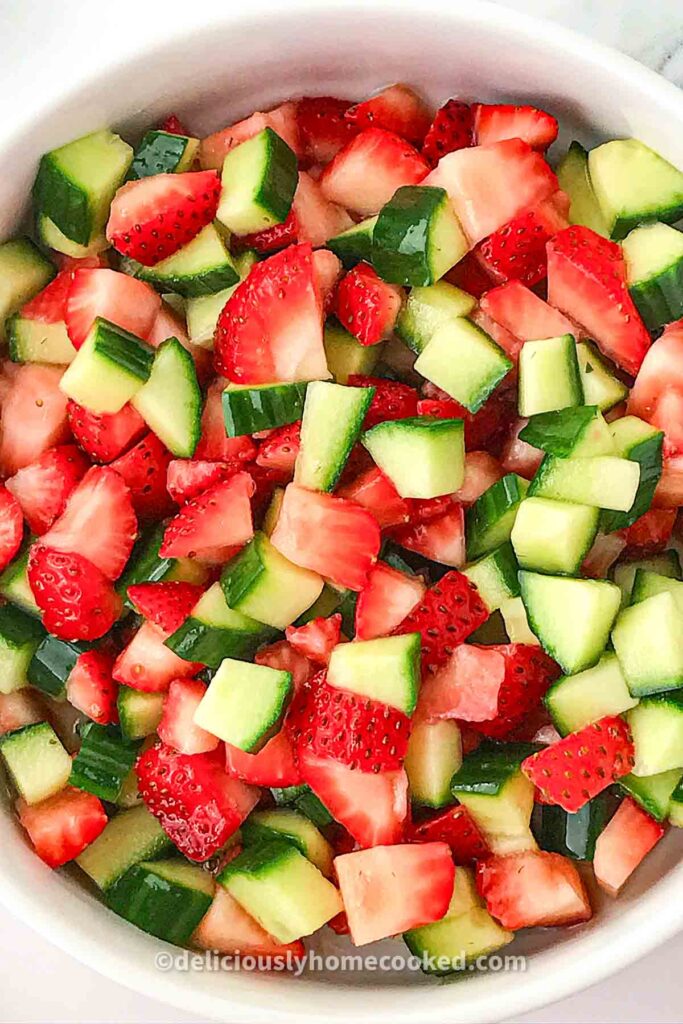
Strawberry cucumber salad – Deliciously Home Cooked

strawberry cucumber salad - easy summer salads

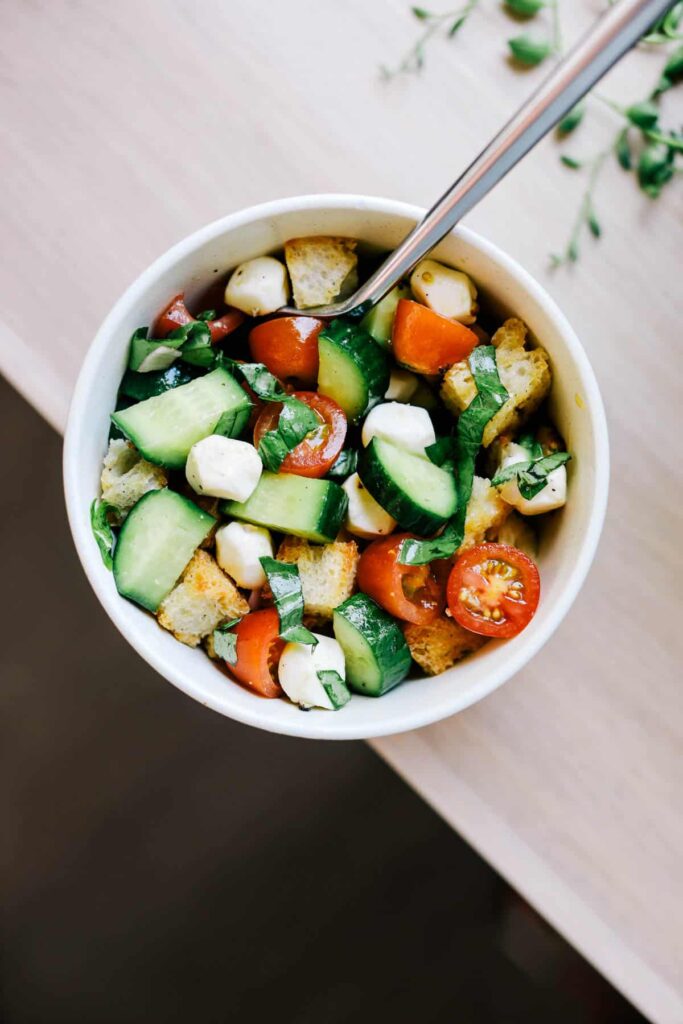
Panzanella Salad with Mozzarella – Emily Laurae

panzanella salad with mozzarella

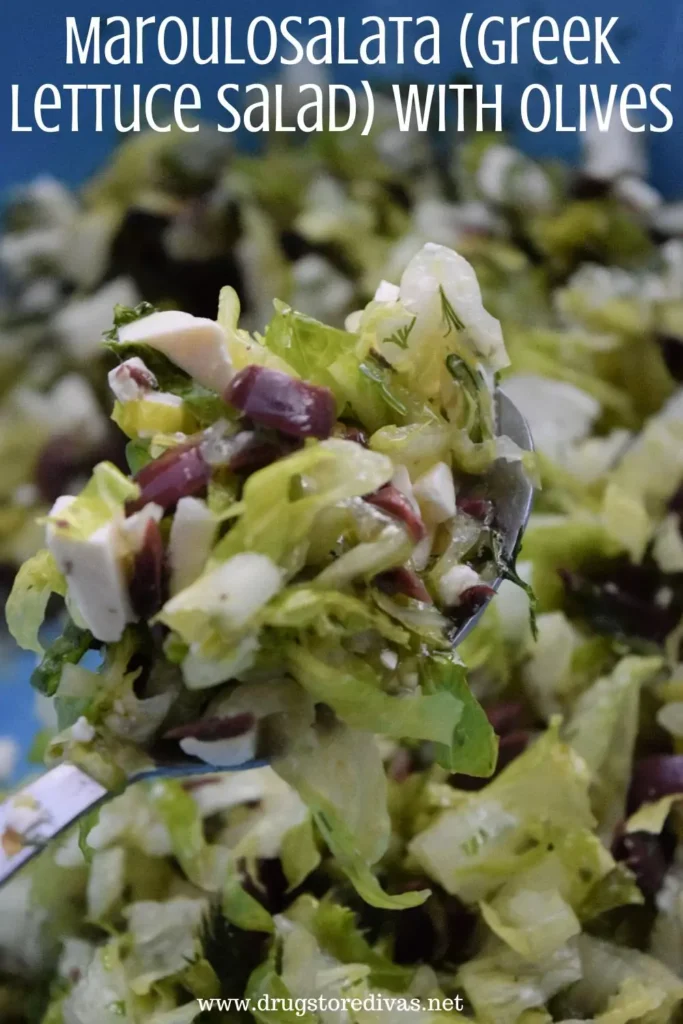
Maroulosalata (Greek Lettuce Salad) With Olives Recipe | Drugstore Divas

Maroulosalata (Greek Lettuce Salad) With Olives Recipe

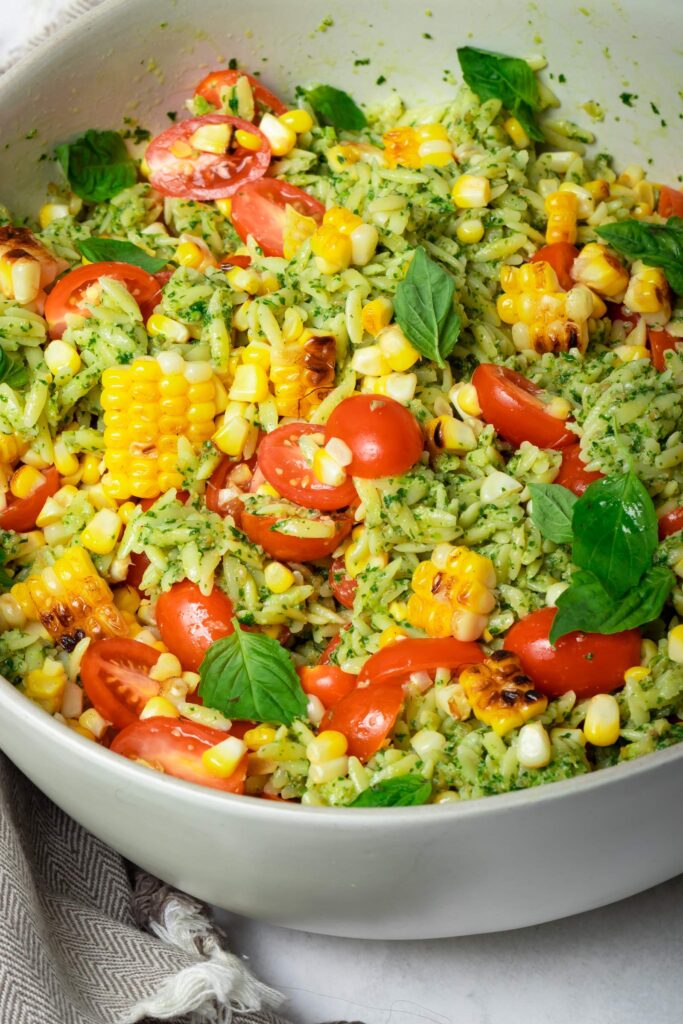
Orzo Pesto Salad – ZardyPlants

orzo pesto salad- easy summer salads

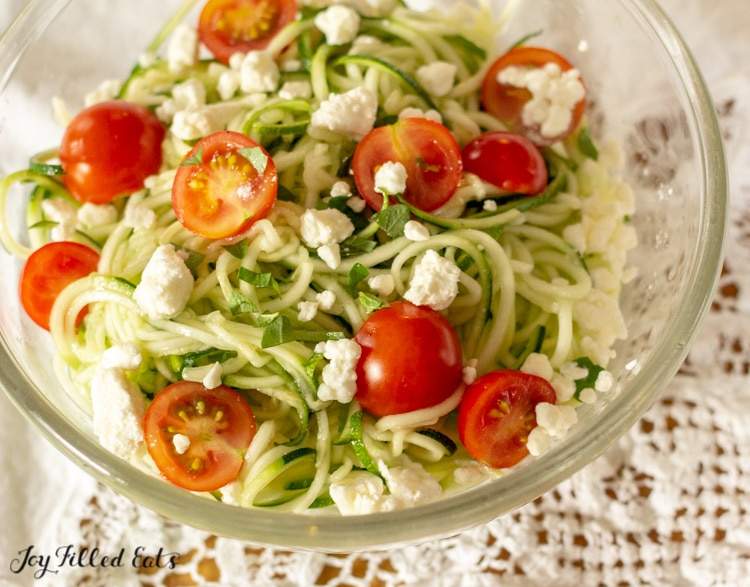
Zucchini Salad with Lemon & Feta – Keto, Low Carb, Gluten-Free (joyfilledeats.com)

zucchini salad

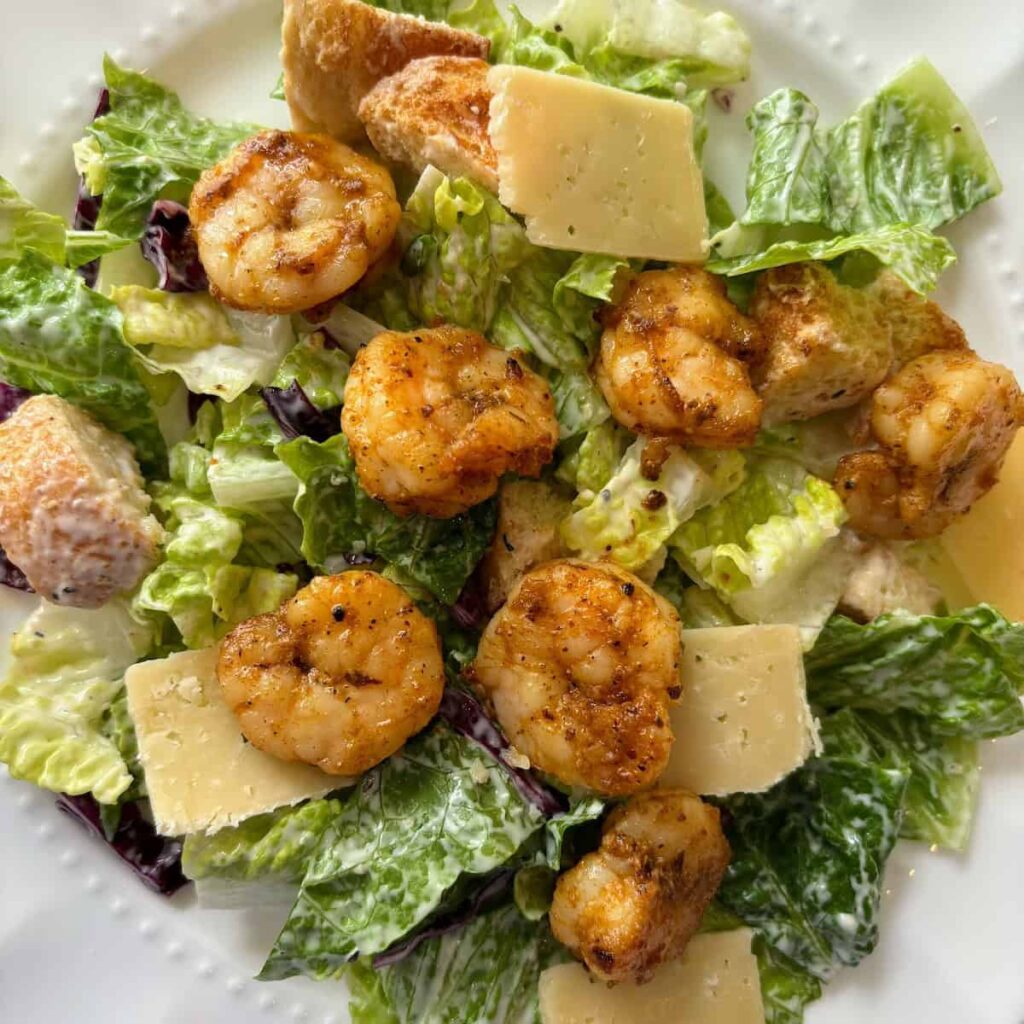
Blackened Shrimp Caesar Salad – Platein28

Blackened shrimp easy summer  salads

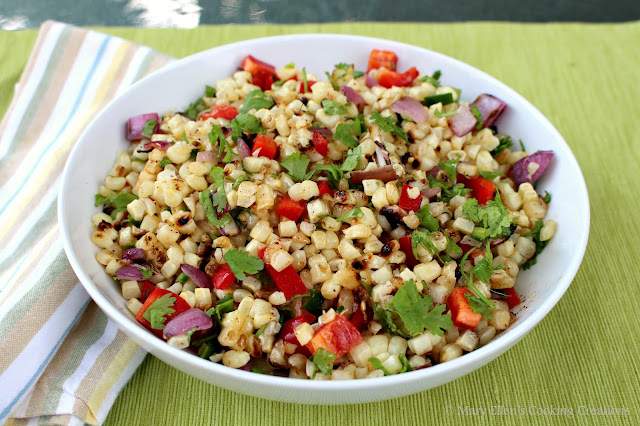
Mary Ellen’s Cooking Creations: Grilled Corn Salad with a Chili-Lime Vinaigrette (maryellenscookingcreations.com)

grilled corn salad

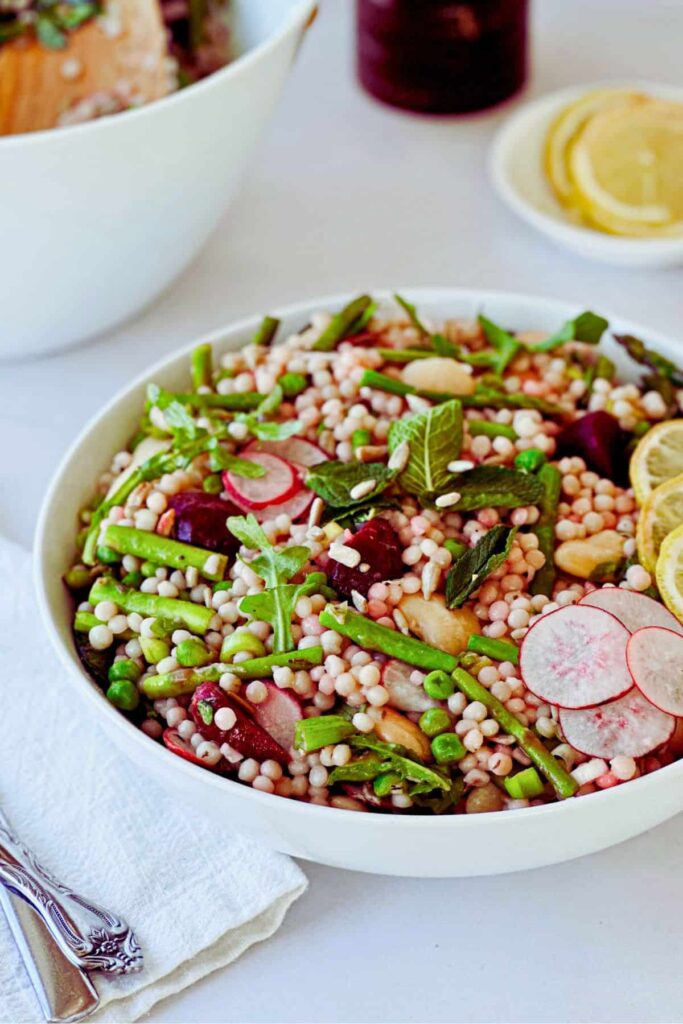
Vegan Couscous Salad – Nuts and Twigs

vegan couscous salad

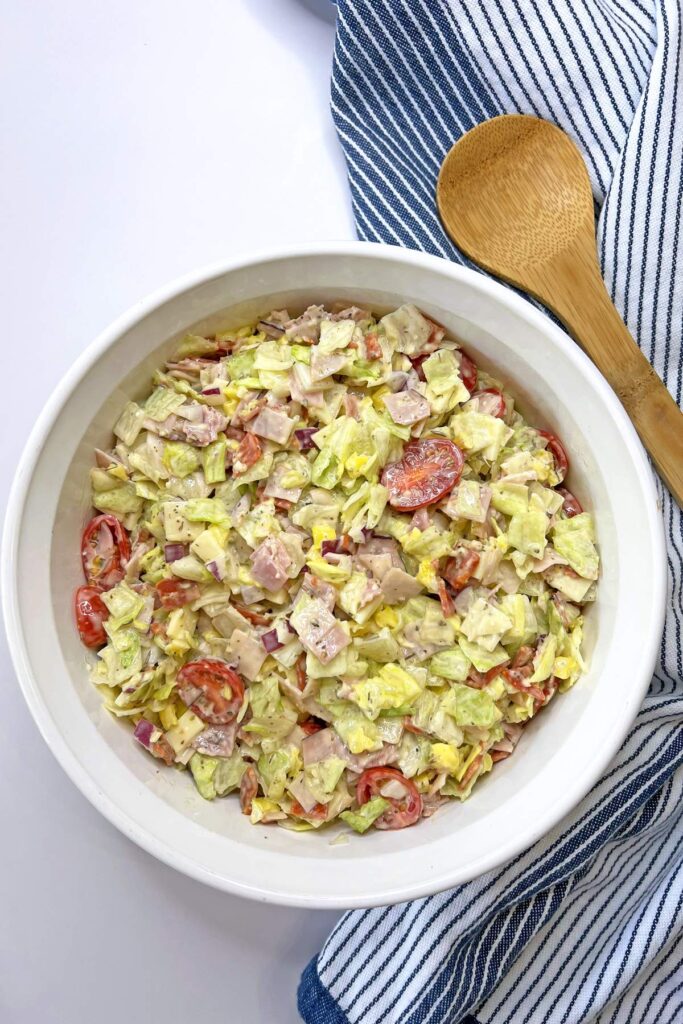
Easy Italian Grinder Salad Recipe (Chopped Sub Salad) – Finding Time To Fly

Italian grinder salad

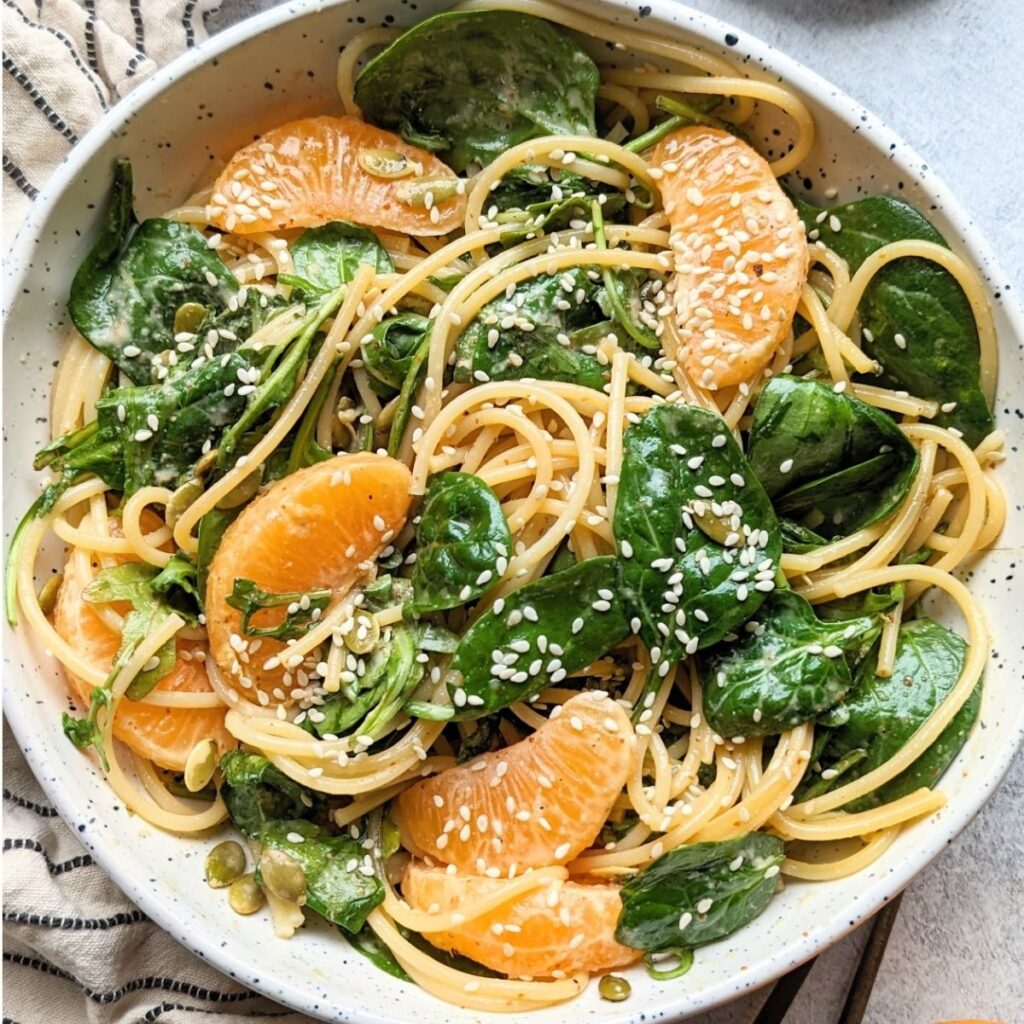
Orange Sesame Noodle Salad Recipe – The Herbeevore

orange sesame noodle salad - easy summer salads

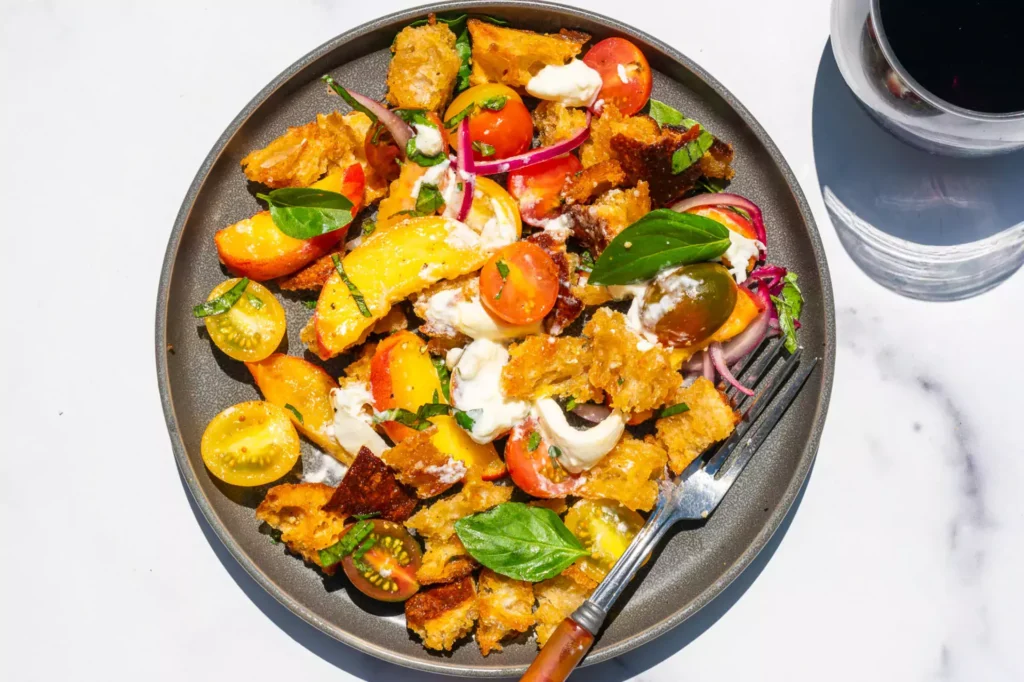
Sourdough Panzanella with Peaches & Burrata (sourdoughbrandon.com)

sourdogh panzanella with burrata and peaches salad

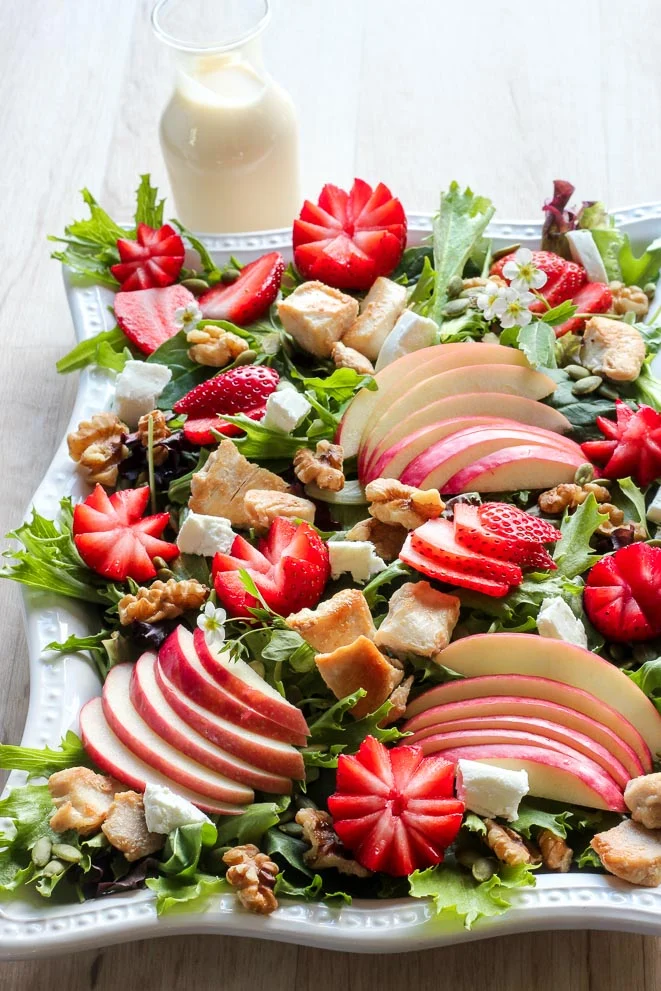
Strawberry Chicken Salad with Creamy Maple Dressing – Delicious on a Dime

strawberry chicken salad - easy summer salads

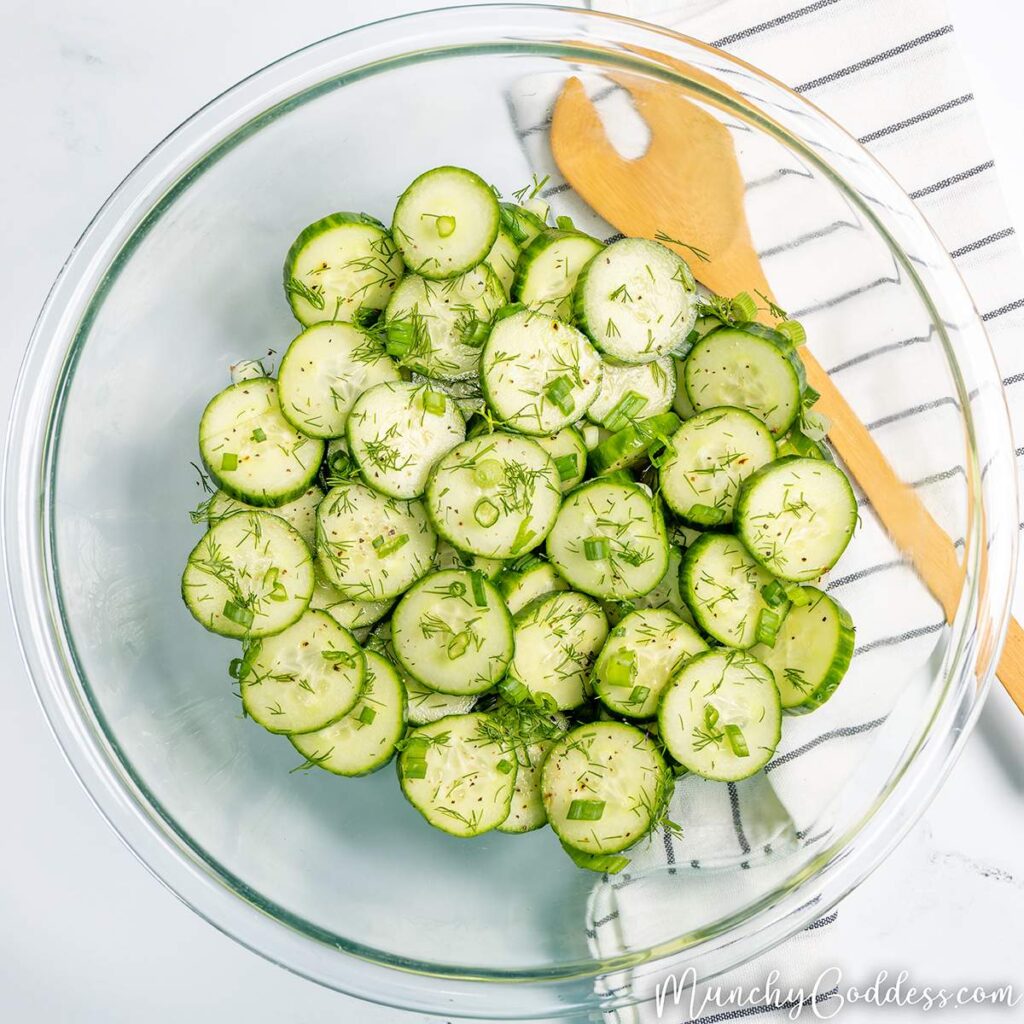
Refreshing Cucumber Salad Recipe + Video | Munchy Goddess

cucumber salad

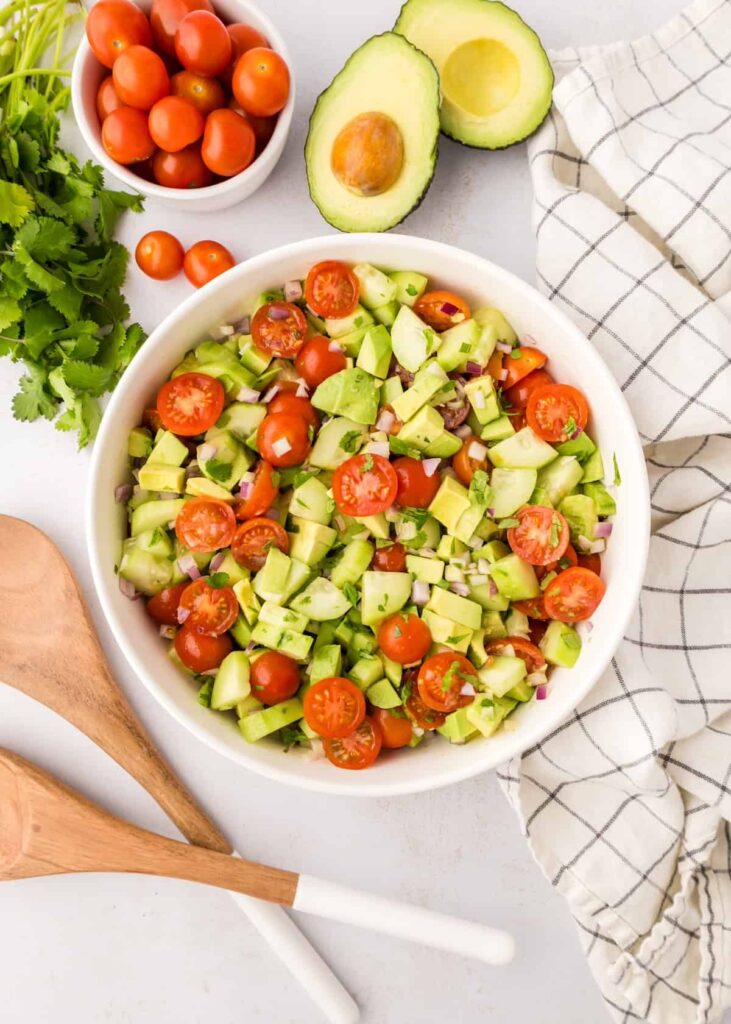
Avocado Tomato Cucumber Salad | Living Chirpy

avacado cucumer salad

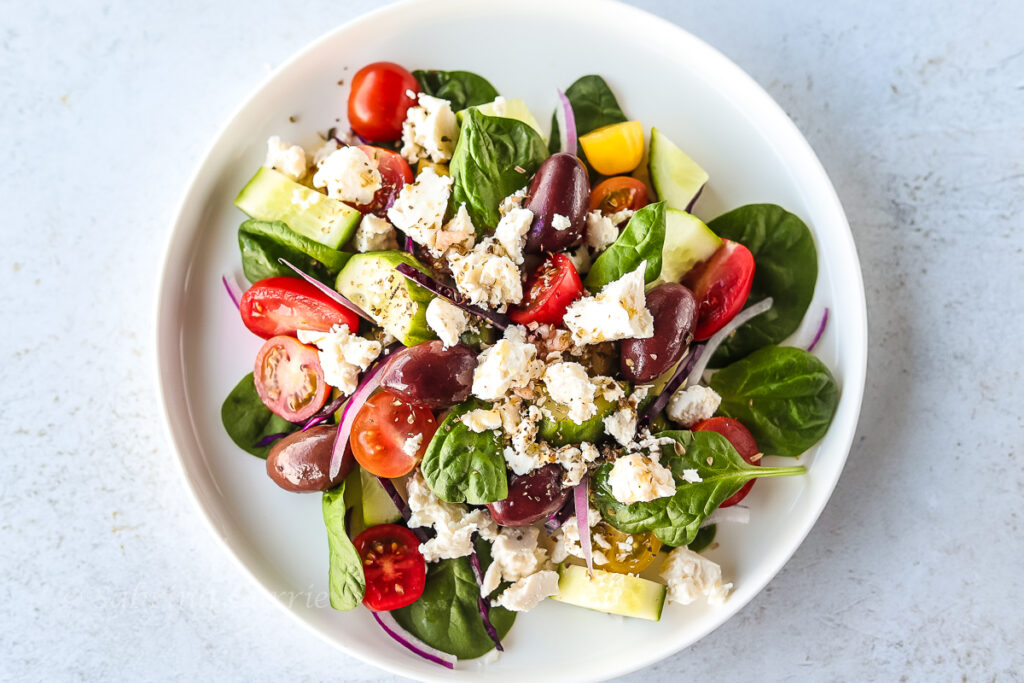
Greek Spinach Salad With Feta + Fresh Lemon Dressing – West Coast Kitchen Garden (sabrinacurrie.com)

easy greek spinach salad

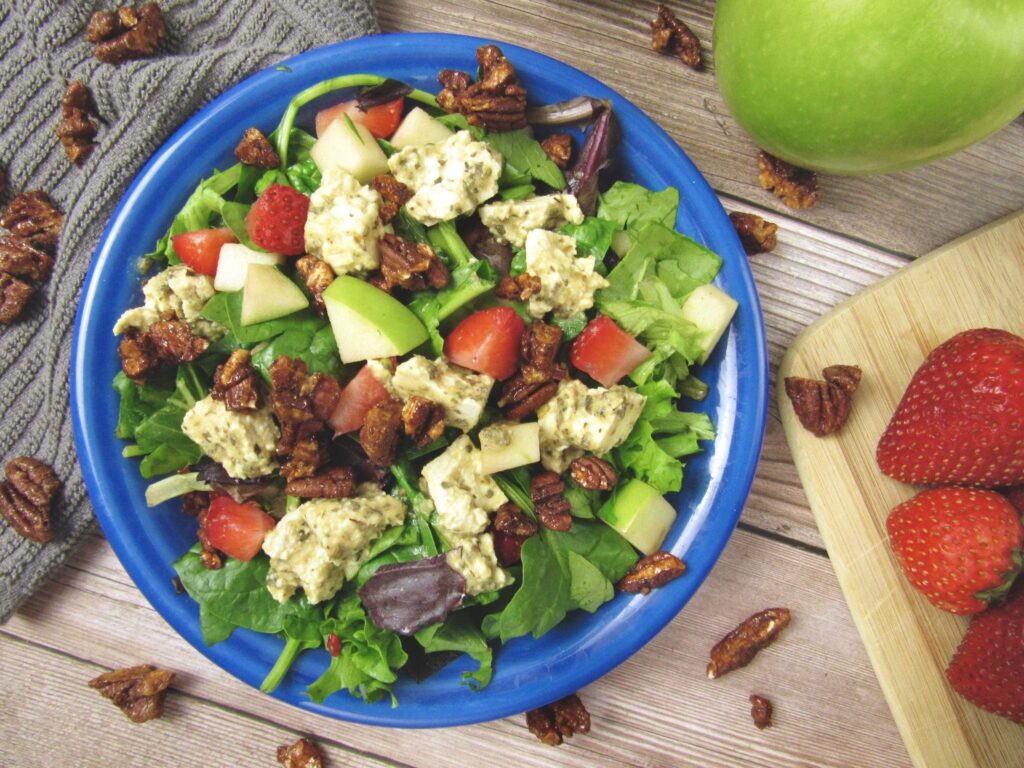
Strawberry Apple Cider Salad – Joyful Balance (joyfulbalanceonline.com)

strawberry apple cider salad

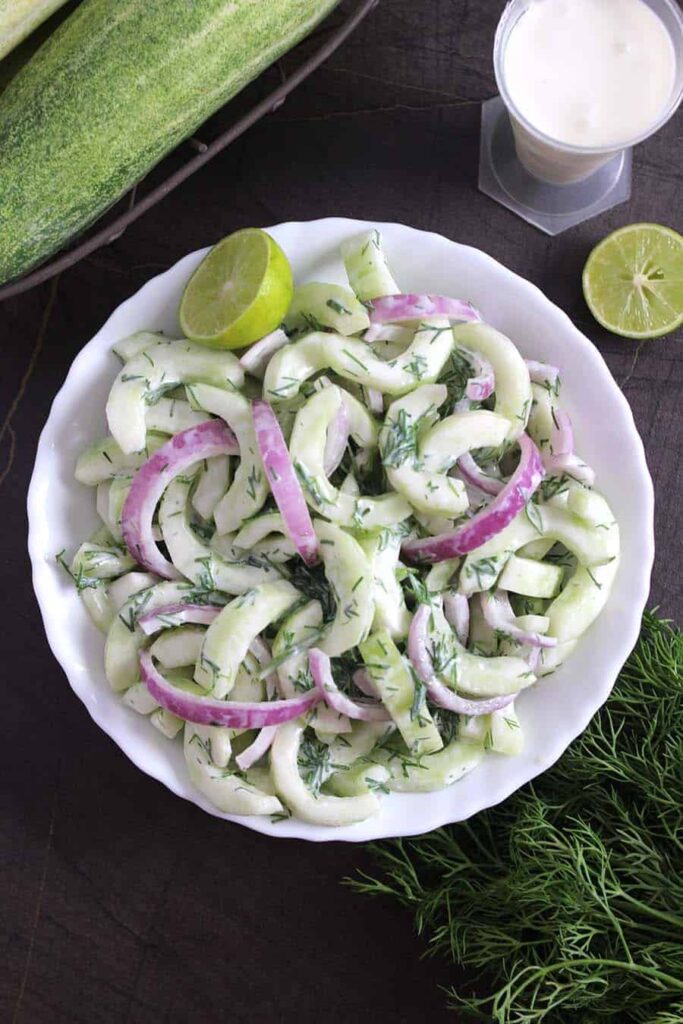
Dill Cucumber Salad | How To Make Creamy Cucumber Salad – Cook with Kushi

creamy cucumber salad

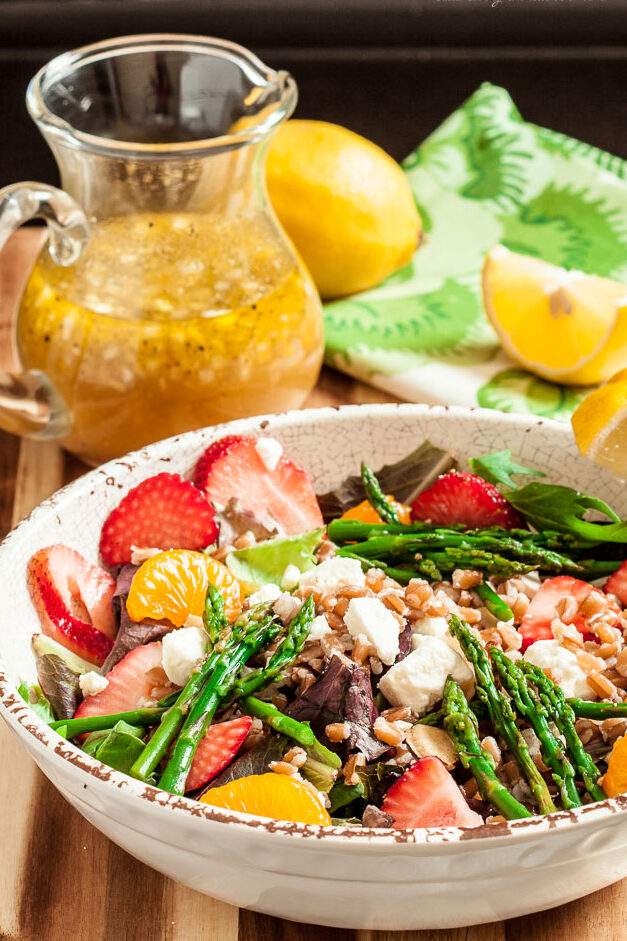
Strawberry Salad With Asparagus | Chew Out Loud

strawberry asparagus salad

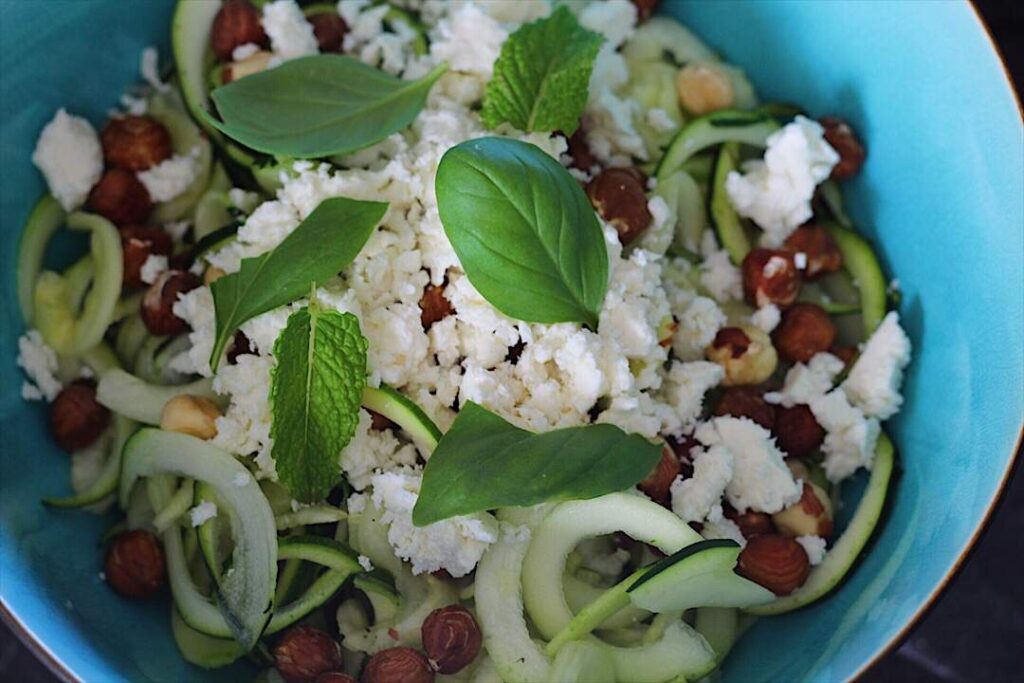
Zucchini Feta Salad With Nuts And Lemon (Courgette Salad) (sabrinacurrie.com)

zucchi feta easy summer salads

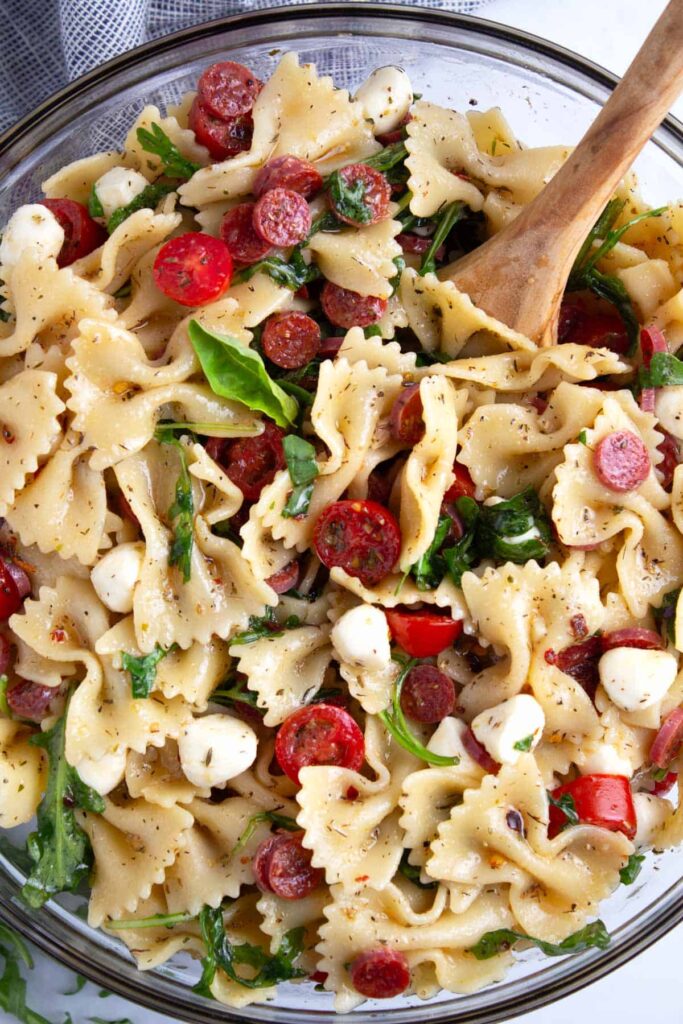
Hot Honey Pasta Salad Recipe – Borrowed Bites

hot honey pasta salad

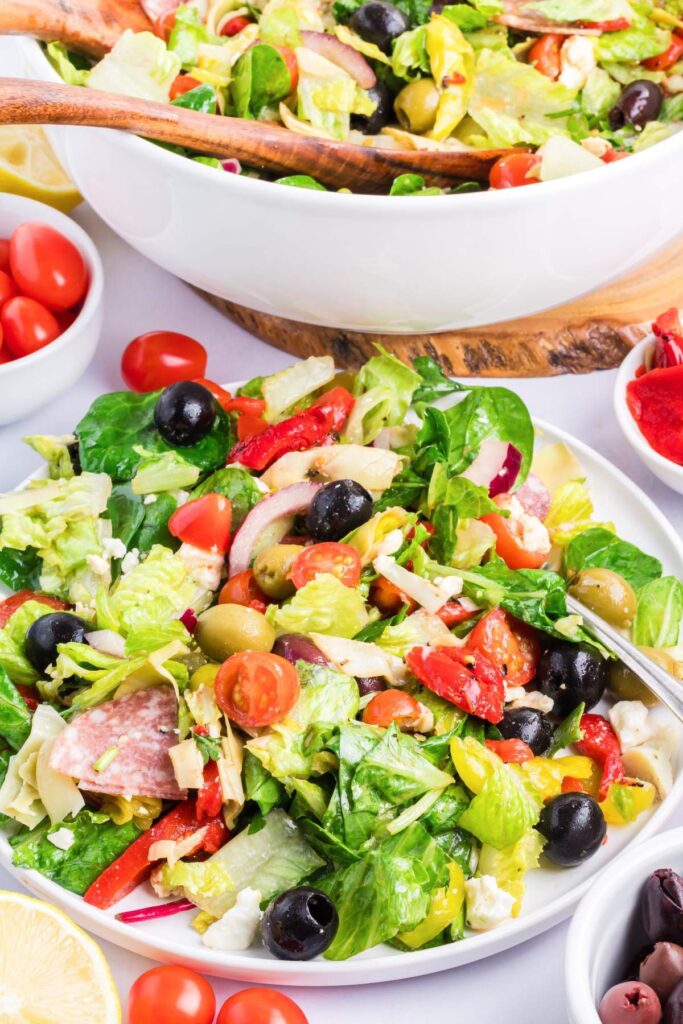
Antipasto Salad – xoxoBella

Italian antipasta salad

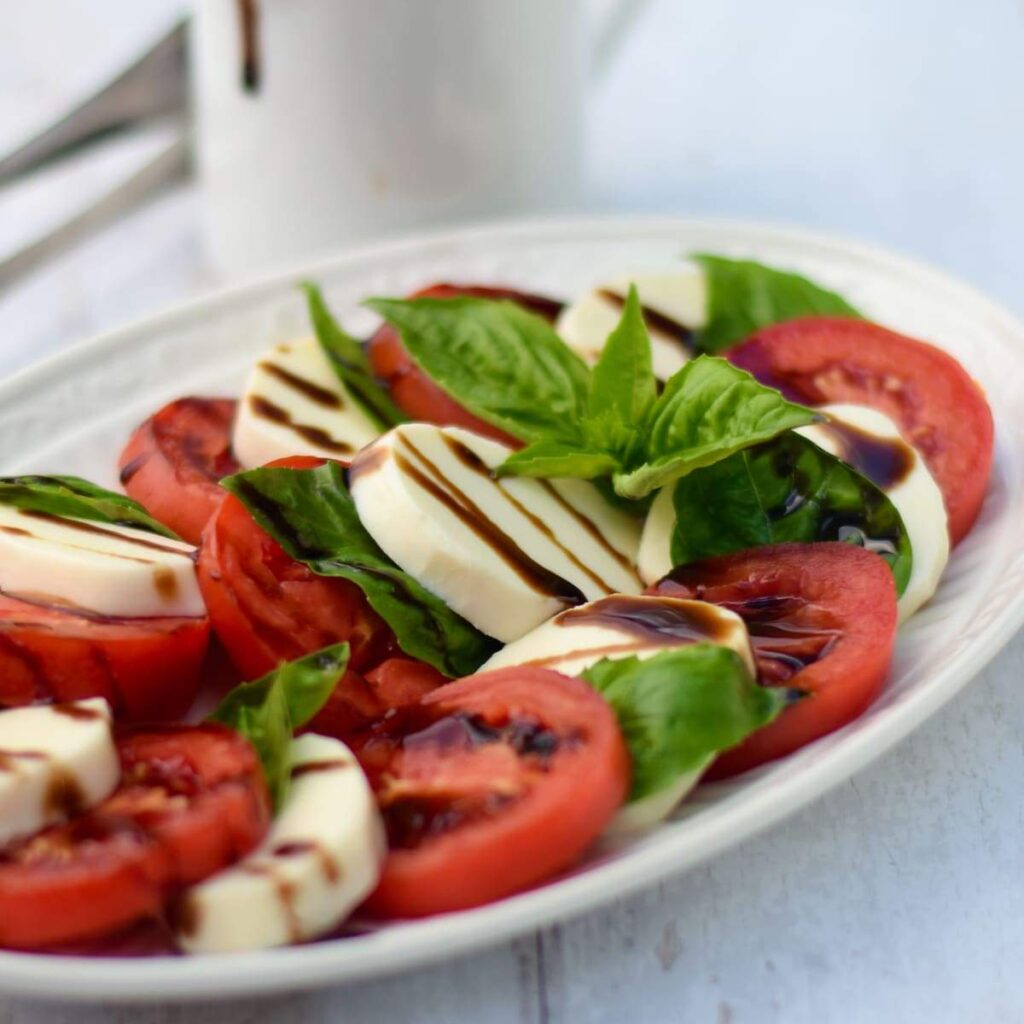
Mozzarella Tomato Basil Salad – Grits and Gouda

mozzarella tomato basil easy summer salad

The Best Easy Taco Salad Recipe – Fluxing Well

taco salad

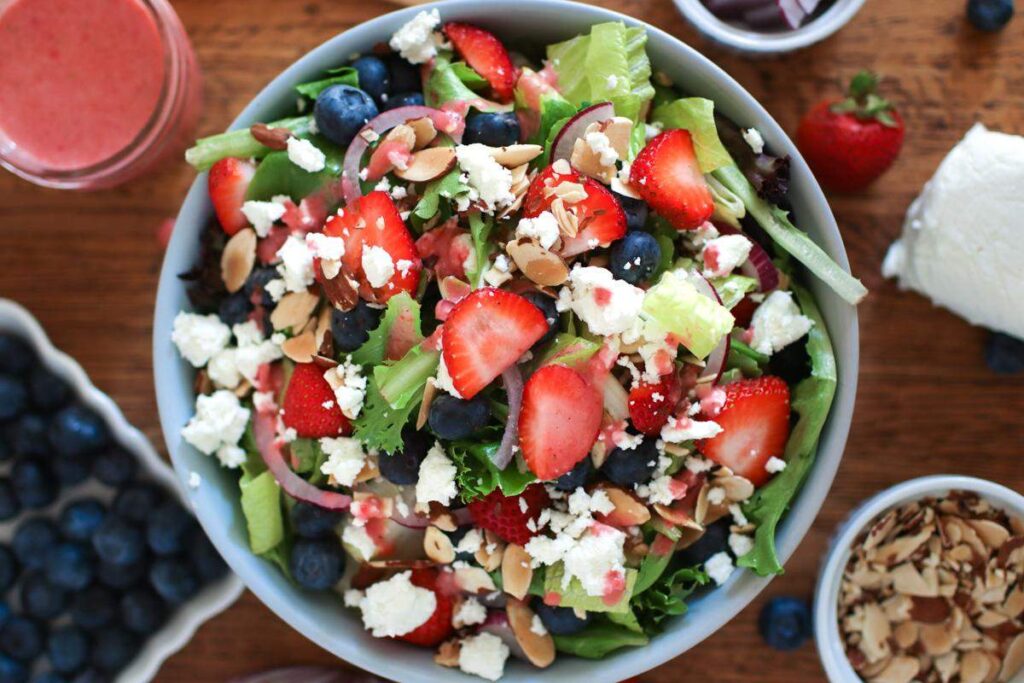
Fresh Summer Berry Salad with Strawberry Vinaigrette | Sprig & Spoon (sprigandspoon.com)

summer berry salad

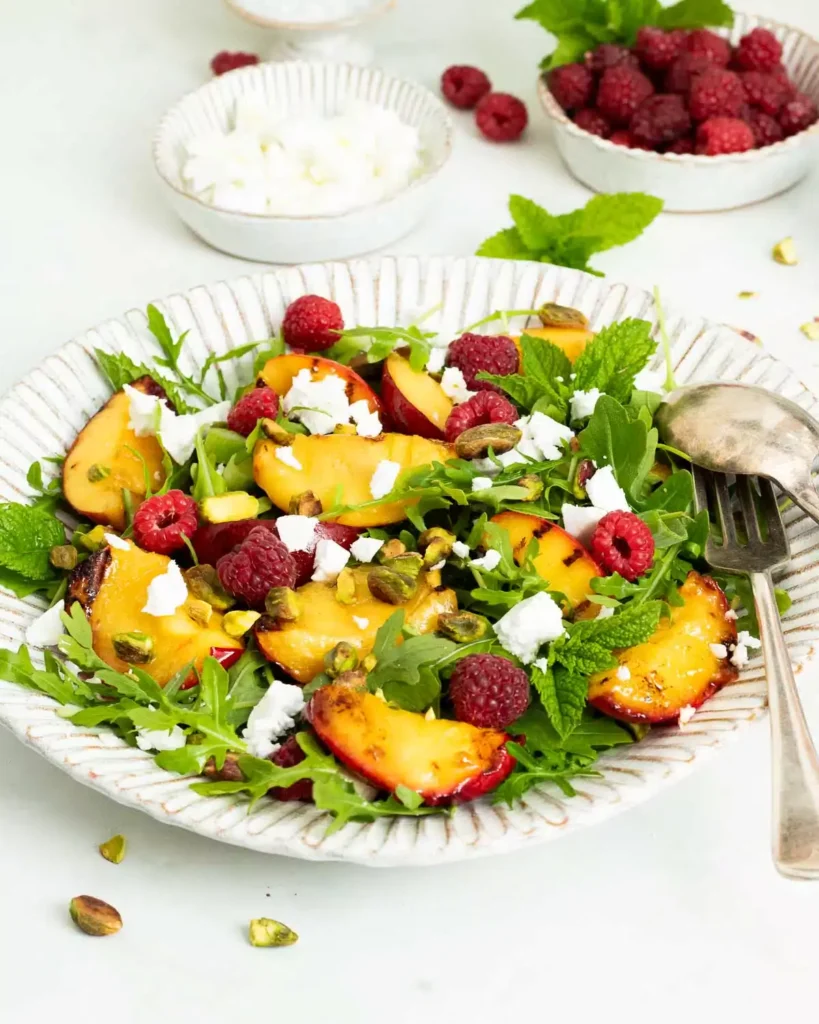
Grilled Nectarine (or Peach) Arugula Salad – The Vegan Larder

grilled nectarine salad

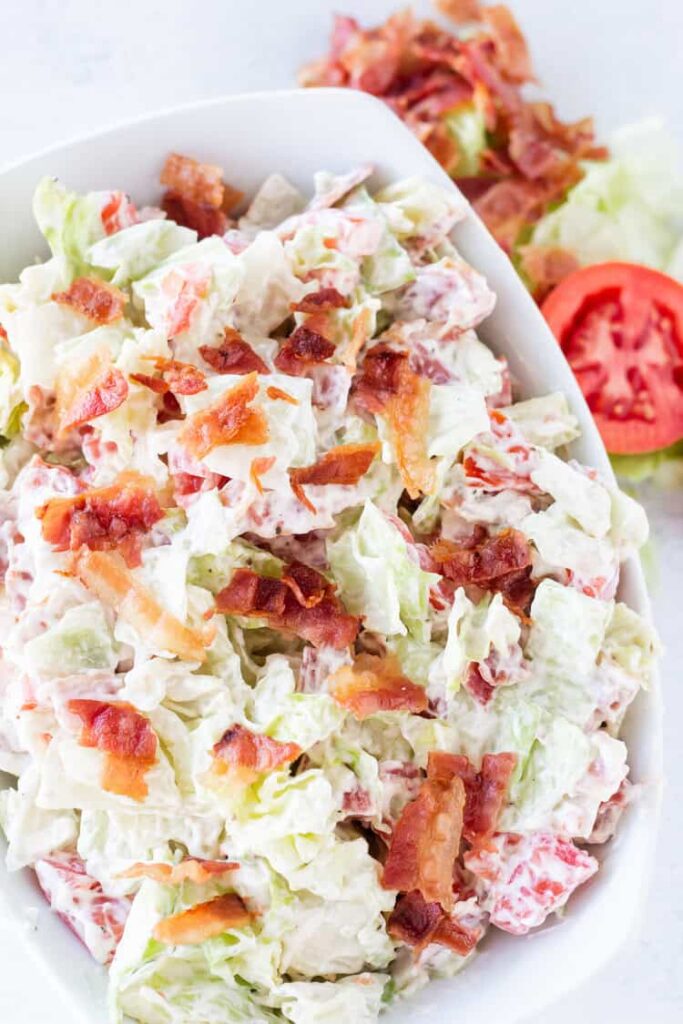
5 Ingredient BLT Salad (Breadless!) (rosebakes.com)

BLT salad

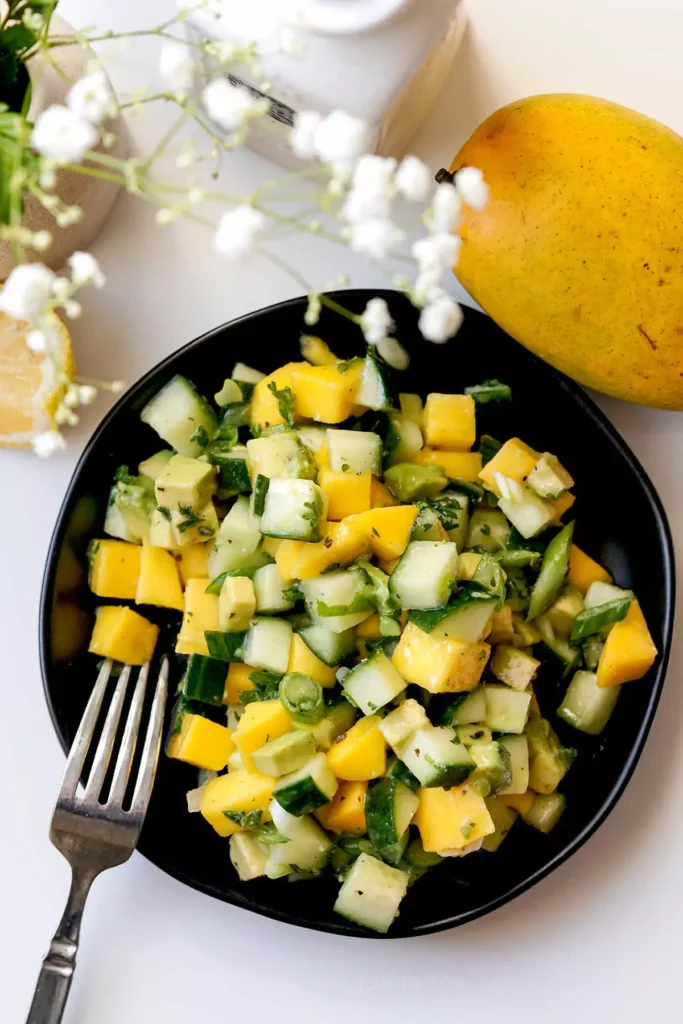
Cucumber Mango Salad With Avocado | Healthy Taste Of Life

mango cucumer easy summer salads

More Delicious Recipes:

Wrapping Up These Easy Summer Salads

These 30 easy summer salads give you plenty of tasty and healthy options for your meals this season. Whether you like something light and refreshing or more filling, there’s a salad here for everyone. Perfect for barbecues, picnics, or quick meals, these recipes are sure to please.

Feel free to change things up and make these salads your own. You can switch ingredients, add your favorite toppings, or try new dressings. The fun of making salads is in the variety and creativity!

Which easy summer salad recipes are you most excited to try? Share them in the comments below.

If you enjoyed this post, don’t forget to subscribe to our blog for more tasty ideas and tips. You can also follow us on PinterestFacebookInstagram and Flipboard.

Pin These Recipes To Enjoy Later!
easy summer salads