
lemon blueberry cream cheese cake

How to Make a Perfect Lemon Blueberry Cream Cheese Cake

Looking for a deliciously easy way to brighten your baking routine? This Lemon Blueberry Cream Cheese Cake is the answer. Imagine a moist, tender cake bursting with tangy lemon, sweet blueberries, and a luscious cream cheese swirl that adds a touch of indulgence to each bite. Whether for a special occasion or a simple treat, this cake is sure to become a new favorite.
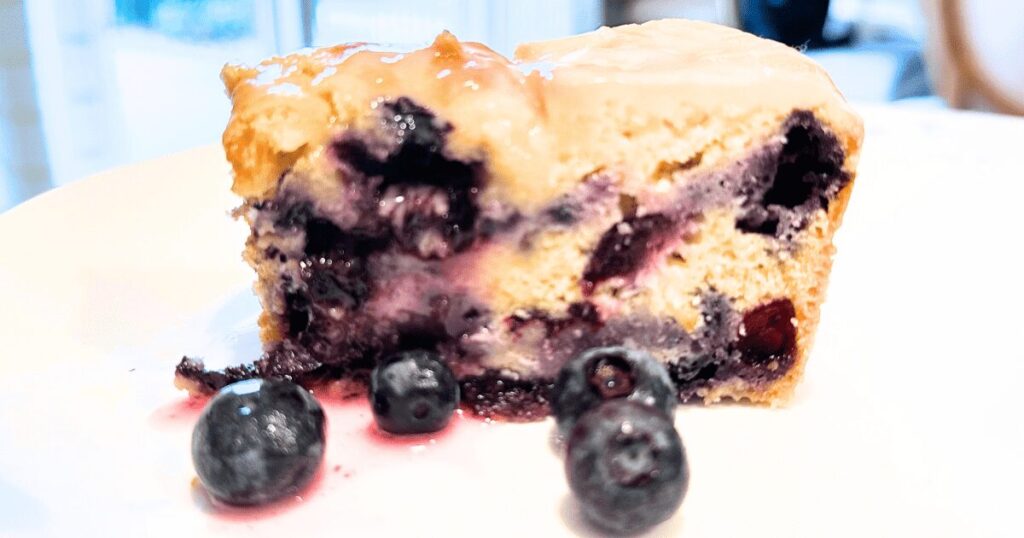
lemon blueberry cream cheese cake on a plate

In this post, we’ll walk you through each step to ensure your Lemon Blueberry Cream Cheese Cake turns out perfectly every time.

Ready to make your kitchen smell amazing and delight your taste buds? Let’s get started!

My posts may contain affiliate links. If you purchase through one of these links, you will not pay a penny more, but I will receive a small commission. Please read my disclaimer for more information.

Ingredients Need to Bake This Lemon Blueberry Cream Cheese Cake

For the Cake:

  • 2 cups all-purpose flour
  • 1 1/2 tsp baking powder
  • 1/2 tsp baking soda
  • 1/4 tsp salt
  • 1/2 cup unsalted butter, softened
  • 1 cup granulated sugar
  • 2 large eggs
  • 1 tsp vanilla extract
  • Zest of 1 lemon
  • 1/4 cup lemon juice (about 1-2 lemons)
  • 1/2 cup sour cream or plain Greek yogurt
  • 1/2 cup milk
  • 1 1/2 cups fresh or frozen blueberries (if using frozen, do not thaw)
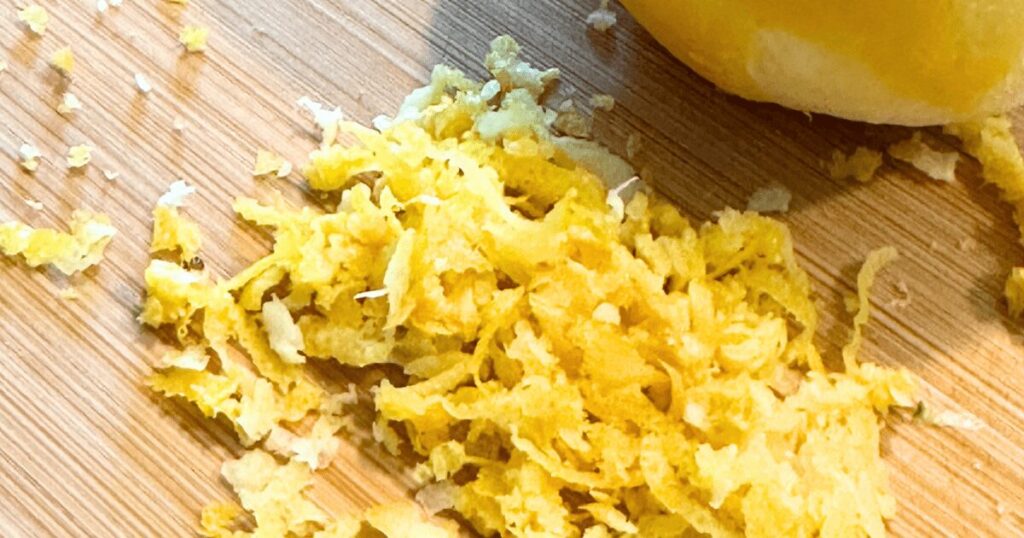
lemon zest

Ingredients for the Cream Cheese Swirl:

  • 8 oz cream cheese, softened
  • 1/4 cup granulated sugar
  • 1 large egg
  • 1 tsp vanilla extract

For the Lemon Glaze (optional):

  • 1 cup powdered sugar
  • 2-3 tbsp fresh lemon juice
  • 1/2 tsp lemon zest
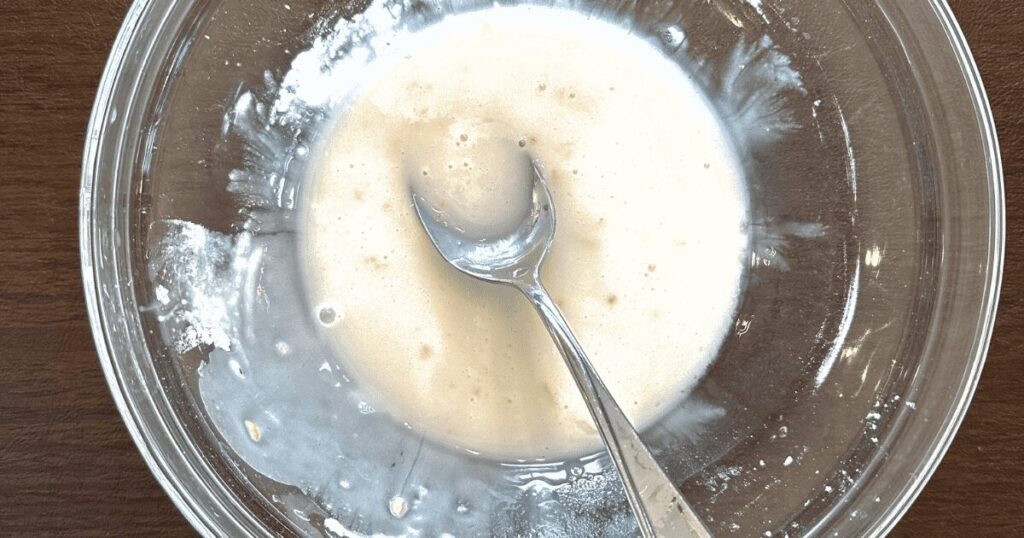
lemon glaze

Variations to This Recipe

Here are some simple variations you can make to this Lemon Blueberry Cream Cheese Cake recipe:

Add Nuts: Fold in 1/2 cup of chopped walnuts or pecans with the blueberries for extra crunch.

Use Other Berries: Swap the blueberries for raspberries, strawberries, or blackberries, adjusting the amount to match the size of the berries.

Change the Citrus: Substitute lime or orange juice and zest for lemon to create a different citrus flavor.

Add Spices: Mix in 1/2 teaspoon of cinnamon or cardamom to the cake batter for a hint of spice.

Top with Fruit: Garnish the top of the cake with extra fresh or lightly sugared berries before baking for a decorative touch.

Try a Different Glaze: Use an almond glaze or vanilla glaze instead of the lemon glaze for a different flavor.
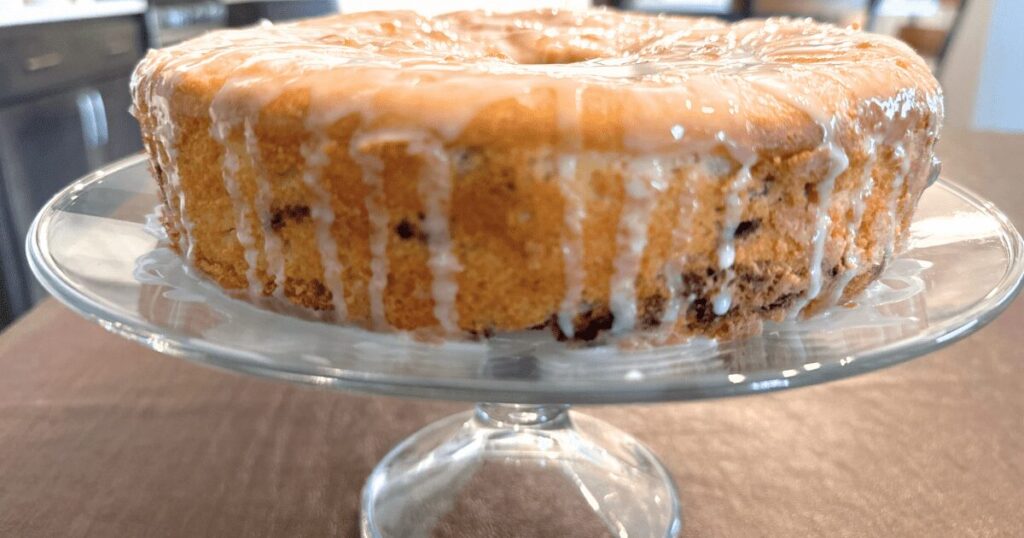
Lemon Blueberry Cream Cheese Cake

Tips for Making This Lemon Blueberry Cream Cheese Cake

To ensure your Lemon Blueberry Cream Cheese Cake turns out perfect every time, try these simple tips:

  1. Room Temperature Ingredients: Make sure your butter, eggs, and cream cheese are at room temperature before mixing. This helps them blend smoothly.
  2. Don’t Overmix: Mix the cake batter just until the ingredients are combined. Overmixing can make the cake dense.
  3. Fold in Blueberries Gently: Gently fold in the blueberries to avoid breaking them up, which can cause the batter to turn blue.
  4. Cool Properly: Allow the cake to cool in the pan for 10-15 minutes before transferring it to a wire rack. This prevents it from breaking apart.
  5. Grease and Flour the Pan: Properly grease and flour your pan to ensure the cake releases easily after baking.

By following these tips, you can achieve a beautifully baked and delicious cake every time!
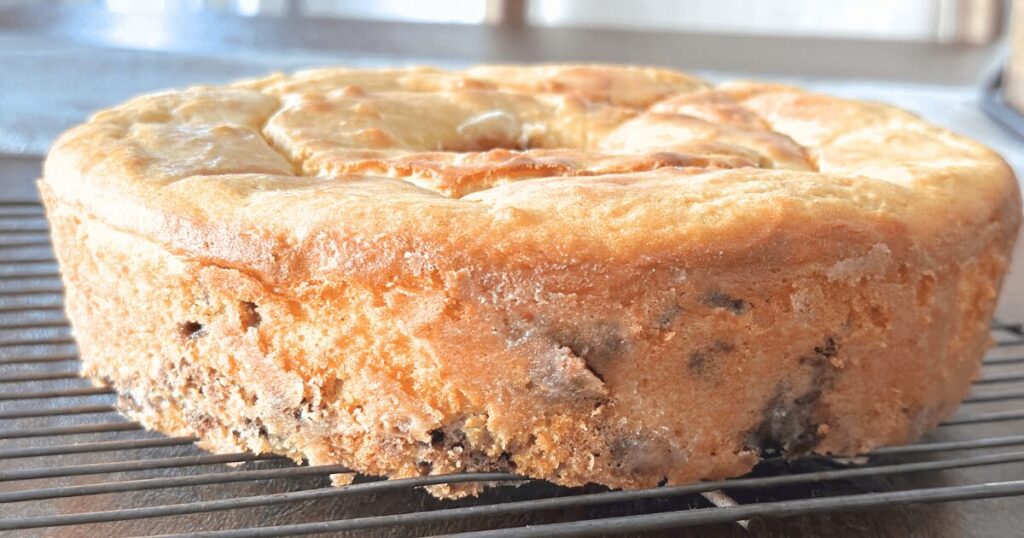
Lemon Blueberry Cream Cheese Cake

Equipment Needed

To bake the Lemon Blueberry Cream Cheese Cake, you’ll need the following basic equipment:

Having these tools on hand will make baking easier and help your cake turn out perfectly!

How to Make Lemon Blueberry Cream Cheese Cake

  1. Preheat the Oven: Set your oven to 350°F (175°C). Grease and flour a 9-inch bundt pan.
  2. Prepare the Cream Cheese Swirl: In a bowl, beat 8 oz of softened cream cheese with 1/4 cup sugar, 1 egg, and 1 tsp vanilla extract until smooth. Set aside.
  3. Make the Cake Batter:
    • In a large bowl, mix 2 cups flour, 1 1/2 tsp baking powder, 1/2 tsp baking soda, and 1/4 tsp salt.
    • In another bowl, cream together 1/2 cup softened butter and 1 cup sugar until light and fluffy. Add 2 eggs, one at a time, beating well after each.
    • Stir in 1 tsp vanilla extract, zest of 1 lemon, and 1/4 cup lemon juice.
    • Mix in 1/2 cup sour cream or Greek yogurt and 1/2 cup milk.
    • Gradually add the dry ingredients to the wet mixture, mixing until just combined.
    • Gently fold in 1 1/2 cups blueberries.
  4. Assemble the Cake:
    • Pour half of the cake batter into the prepared pan.
    • Spoon the cream cheese mixture over the batter and swirl with a knife.
    • Add the remaining batter and smooth the top.
    • Swirl slightly again for a marbled effect.
  5. Bake: Bake for 55-65 minutes, or until a toothpick inserted in the center comes out clean. Let the cake cool in the pan for 10-15 minutes before transferring to a wire rack to cool completely.

How to Make Lemon Glaze

  1. Prepare Ingredients: Gather 1 cup powdered sugar, 2-3 tablespoons fresh lemon juice, and 1/2 teaspoon lemon zest.
  2. Mix the Glaze: In a bowl, whisk together the powdered sugar and lemon juice until smooth. Adjust the consistency by adding more lemon juice if needed. The glaze should be thick but pourable.
  3. Add Zest: Stir in the lemon zest for extra flavor and a bit of texture.
  4. Drizzle Over Cake: Once your cake is completely cooled, drizzle the glaze over the top. You can use a spoon or a small piping bag to achieve the desired effect.
  5. Let Set: Allow the glaze to set for a few minutes before serving to let it harden slightly.
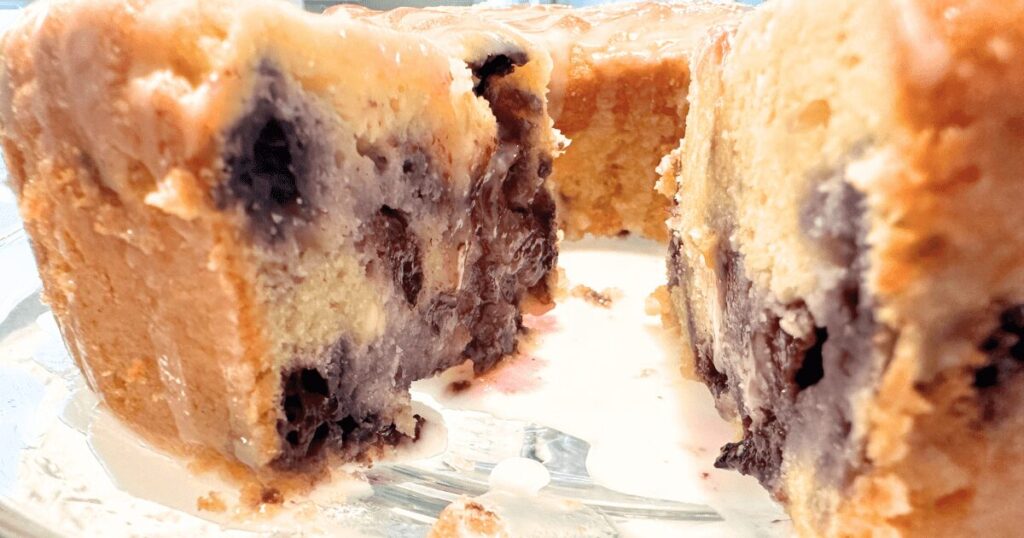
Lemon Blueberry Cream Cheese Cake

Storing Your Lemon Blueberry Cream Cheese Cake

If you plan to eat the cake within a few days, store it in an airtight container at room temperature to keep it fresh and prevent drying out. If the cake has a cream cheese glaze or you want to keep it fresh for a longer time, store it in the refrigerator, covered with plastic wrap or in an airtight container.

For even longer storage, freeze the cake by wrapping it tightly in plastic wrap and then in aluminum foil, or placing it in a freezer-safe container. To thaw, leave it at room temperature for a few hours before serving.

FAQ’s

Why do lemon and blueberry go together?

Lemon and blueberry are a great pair because lemon adds a tangy, fresh flavor that balances the sweet and slightly tart taste of blueberries. This combination creates a delicious contrast that enhances both flavors, making them taste even better together.

What is the difference between cream cheese and cheesecake?

Cream cheese is a soft, spreadable cheese made from milk and cream, used in many recipes, including frosting and dips. Cheesecake, on the other hand, is a dessert made with cream cheese (and sometimes other cheeses) mixed with sugar and eggs, and baked to create a rich, creamy filling in a pie crust.

More Recipes You May Enjoy
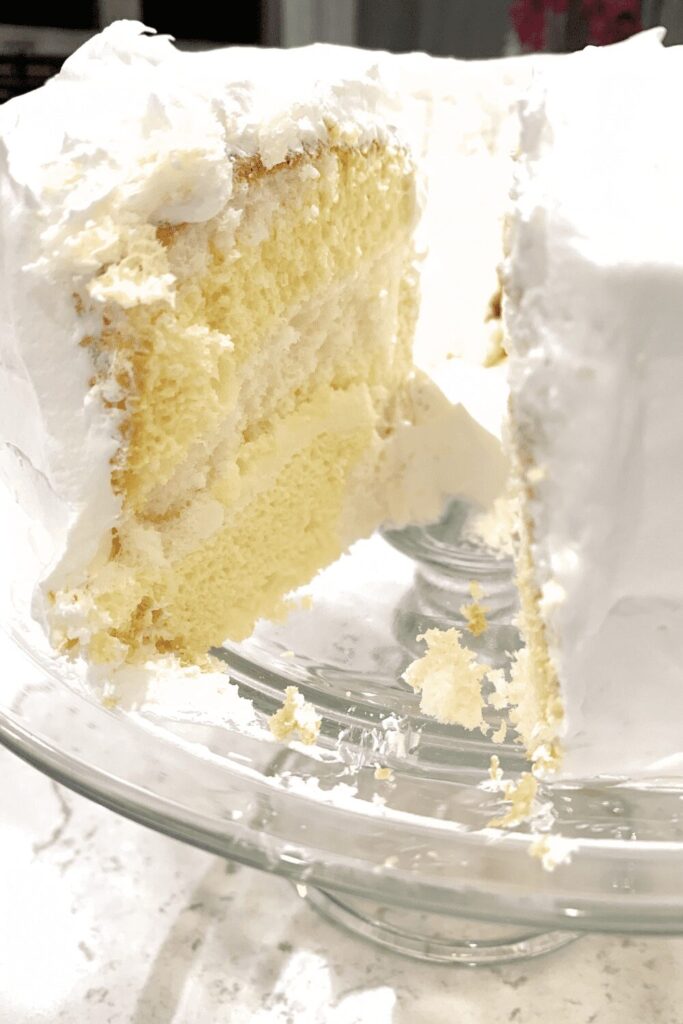
lemon blueberry cream cheese cake on a plate

Lemon Blueberry Cream Cheese Cake

This Lemon Blueberry Cream Cheese Cake combines tangy lemon, sweet blueberries, and a creamy swirl in a moist, flavorful cake. It’s easy to make and perfect for any occasion.
5 from 5 votes
Prep Time 20 minutes
Cook Time 2 hours
Course brunch, Dessert, Snack
Cuisine American
Servings 12 people

Ingredients
  

  • 2 cups all-purpose flour
  • 1 ½ tsp baking powder
  • ½ tsp baking soda
  • ¼ tsp salt
  • ½ cup unsalted butter, softened
  • 1 cup granulated sugar
  • 2 large eggs
  • 1 tsp vanilla extract
  • zest of 1 lemon
  • ¼ cup lemon juice (about 2-3 lemons)
  • ½ cup sour cream or Greek yogurt
  • ½ cup milk
  • cup fresh or frozen blueberries (if using frozen, do not thaw)

Cream Cheese Swirl Ingredients

  • 8 ouces cream cheese, softened
  • ¼ cup granulated sugar
  • 1 large egg
  • 1 tsp vanilla extract

Lemon Glaze Ingredients

  • 1 cup powdered sugar
  • 2-3 tbsp. fresh lemon juice
  • ½ tsp lemon zest

Instructions
 

  • Preheat the oven to 350°F (175°C)
  • Grease and flour a 9-inch bundt pan

Prepare the Cream Cheese Swirl

  • In a bowl, beat 8 oz of softened cream cheese with 1/4 cup sugar, 1 egg, and 1 tsp vanilla extract until smooth. Set aside.

Make the Cake Batter

  • In a large mixing bowl, whisk together the flour, baking powder, baking soda, and salt.
  • In another bowl, cream the softened butter and 1 cup sugar until light and fluffy. Add the eggs one at a time, beating well after each addition.
  • Mix in the vanilla extract, lemon zest, and lemon juice.
  • Add the sour cream (or Greek yogurt) and milk, mixing until combined.
  • Gradually add the dry ingredients to the wet ingredients, mixing until combined.
  • Gently fold in the blueberries.

Assemble the Cake

  • Pour half of the cake batter into the prepared pan.
  • Spoon the cream cheese mixture over the batter, then swirl lightly with a knife or skewer.
  • Add the remaining cake batter on top and smooth the surface.
  • Swirl the batter and cream cheese mixture slightly again to create a marbled effect.
  • Bake in the preheated oven for 55-65 minutes, or until a toothpick inserted into the center of the cake comes out clean or with a few moist crumbs.
  • Allow the cake to cool in the pan for 10-15 minutes before transferring it to a wire rack to cool completely.

Lemon Glaze

  • While the cake is cooling, whisk together the powdered sugar, lemon juice, and lemon zest to make the glaze.
  • Drizzle the glaze over the cooled cake for extra lemony sweetness.

Notes

To store your Lemon Blueberry Cream Cheese Swirl Cake:
  1. Room Temperature: If you plan to eat the cake within a few days, store it in an airtight container at room temperature. This keeps the cake fresh and prevents it from drying out.
  2. Refrigeration: If you have a cream cheese glaze or want to keep the cake fresh for a longer period, store it in the refrigerator. Cover it well with plastic wrap or place it in an airtight container to prevent it from absorbing other flavors.
  3. Freezing: For longer storage, you can freeze the cake. Wrap it tightly in plastic wrap and then in aluminum foil, or place it in a freezer-safe container. To thaw, leave it at room temperature for a few hours before serving.
Make sure the cake is completely cool before storing to avoid moisture buildup, which can affect texture and flavor.
Keyword blueberry cake, blueberry dessert recipe, brunch, bundt cake, bundt cake recipe, dessert, dessert made with cream cheese, homemade cake, lemon blueberry cake, lemon blueberry cream cheese cake, lemon cake, lemon dessert recipe

Conclusion

This Lemon Blueberry Cream Cheese Cake is a delicious and simple way to brighten up any day. With its perfect blend of tangy lemon, sweet blueberries, and creamy swirl, it’s a treat that’s hard to resist.

Give this recipe a try for your next get-together or simply to enjoy a homemade dessert. We’d love to hear how it turns out! Share your baking photos and experiences with us in the comments.

If you enjoyed this recipe, don’t forget to subscribe to our blog for more tasty ideas and tips. You can also follow us on PinterestFacebookInstagram and Flipboard.

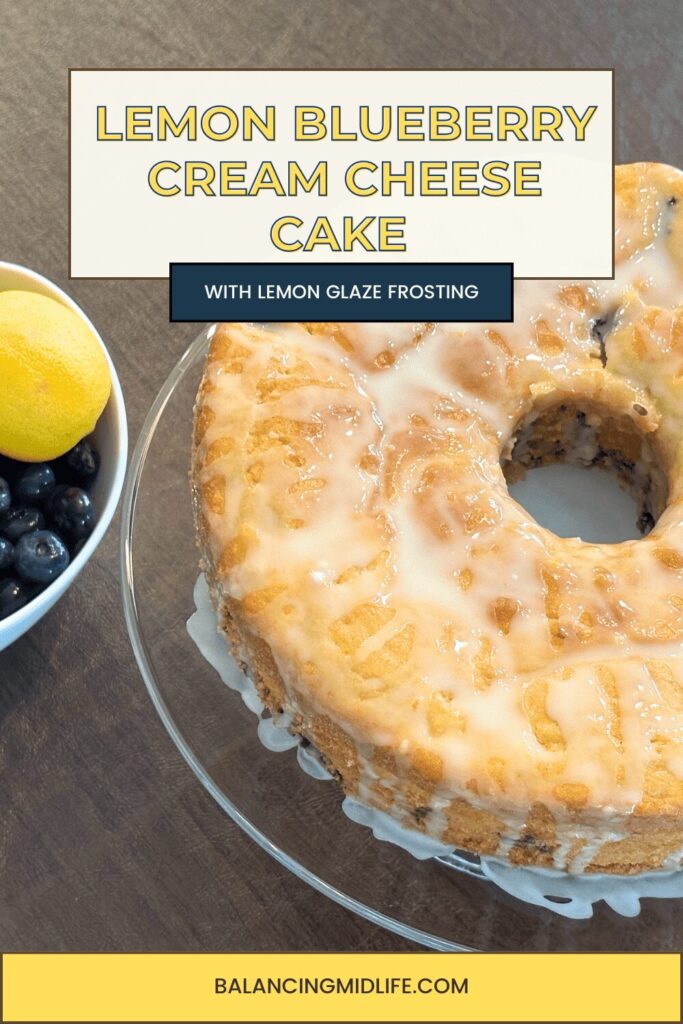
Short on time? Pin for later!
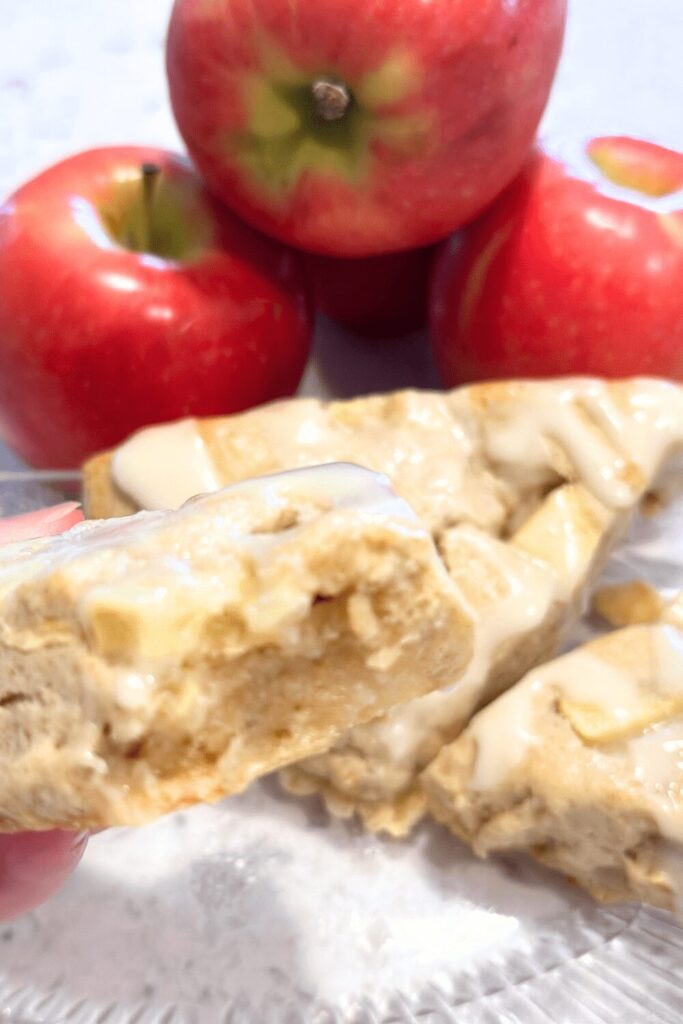
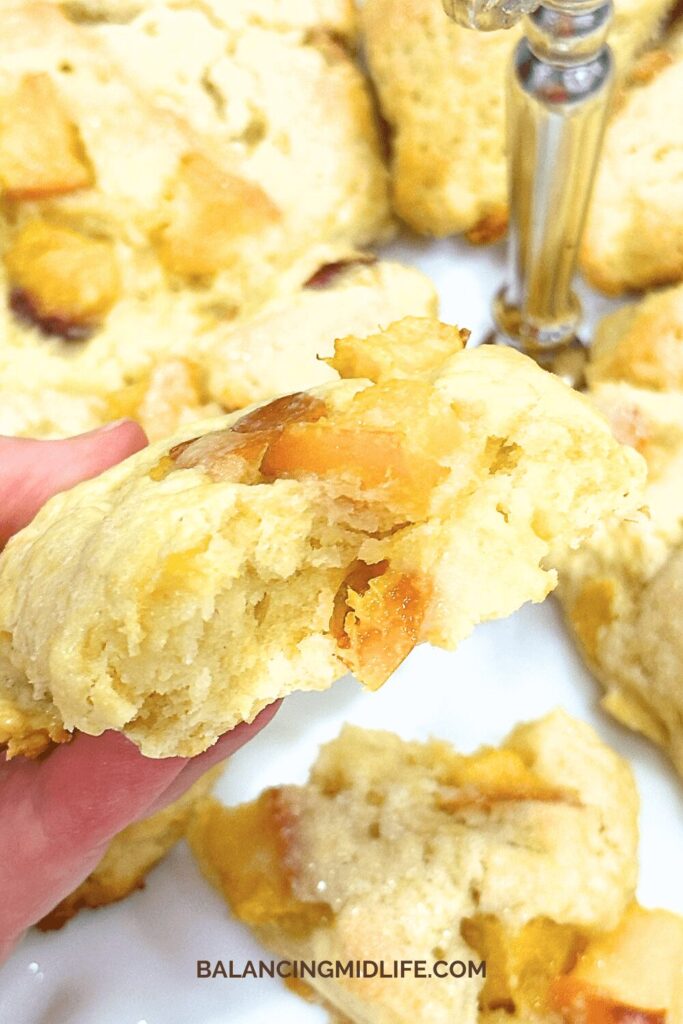
Apple Cinnamon Scones Recipe: How to Bake the Best Scones at Home

Nothing beats the smell of warm, freshly baked scones, especially when they’re packed with apple and cinnamon. With this apple cinnamon scones recipe, you’ll learn how to make the best scones right at home.

Get ready to impress your family and friends with homemade scones that taste just like they came from a bakery!

apple cinnamon scones recipe

My posts may contain affiliate links. If you purchase through one of these links, you will not pay a penny more, but I will receive a small commission. Please read my disclaimer for more information.

Ingredients Needed to Make This Apple Cinnamon Scone Recipe

  • 2 cups all-purpose flour
  • 1/4 cup granulated sugar
  • 1 tablespoon baking powder
  • 1/2 teaspoon salt
  • 1/2 cup cold unsalted butter, cubed
  • 1/2 cup heavy cream, plus more for brushing on the scones
  • 1 large egg
  • 1 teaspoon vanilla extract
  • 1 ½ tsp cinnamon
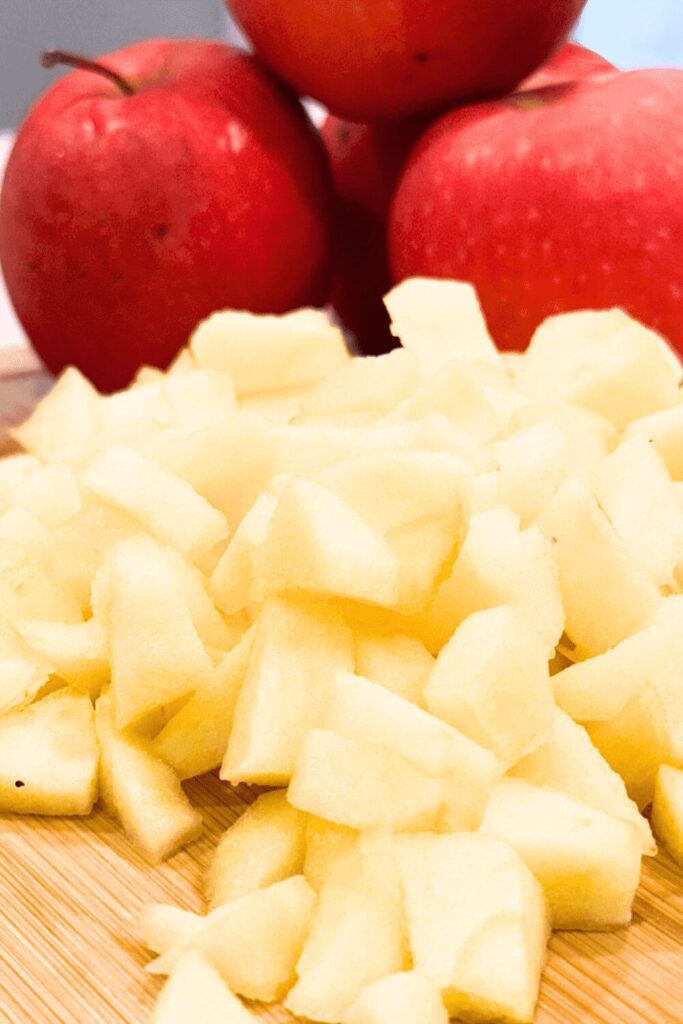
  • 1 cup fresh apples, diced
apple cinnamon scones recipe

Powdered Sugar Glaze Ingredients

  • 1 cup powdered sugar
  • 2-3 tablespoons milk (or cream)
  • 1/2 teaspoon vanilla extract (optional)

Variations to This Apple Cinnamon Scone Recipe

Apple Cinnamon Streusel Scones: Add a crumbly streusel topping made from flour, brown sugar, butter, and a bit of cinnamon. This adds a crunchy texture and extra sweetness to your scones.

Apple Cinnamon Walnut Scones: Incorporate chopped walnuts into the scone dough for added crunch and a nutty flavor. You could also add a touch of nutmeg to complement the cinnamon and apples.

Apple Cinnamon Maple Scones: Substitute part of the sugar in the recipe with maple syrup or add a maple glaze on top. The maple syrup adds a rich, caramel-like flavor that complements the apples and cinnamon.

Apple Cinnamon Raisin Scones: Incorporate a handful of raisins into the dough. Their chewy texture and sweet flavor work well with the apples and cinnamon.

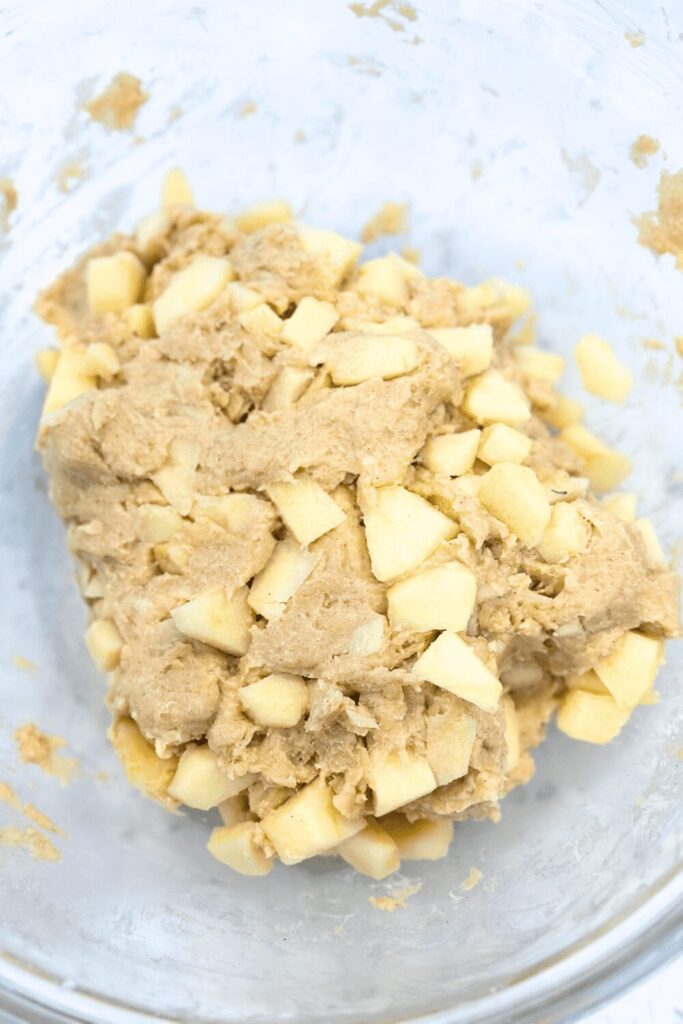
apple cinnamon scone batter

Tips for Making This Apple Cinnamon Scones Recipe

Here are some easy tips for perfect apple cinnamon scones:

1. Keep Butter Cold: Make sure your butter is cold.  You can freeze it for 15 minutes before using it. This helps make the scones flaky.

2. Mix Lightly: Stir the dough just enough to combine everything. Don’t overmix or the scones might turn out tough.

3. Spread Apples Evenly: Fold the apples into the dough so they’re spread out. This way, each scone will have a nice apple flavor.

Equipment Needed for This Recipe

How to Make This Apple Cinnamon Scones Recipe

  1. Preheat the Oven: Set your oven to 400°F (200°C) and line a baking sheet with parchment paper.
  2. Mix Dry Ingredients: In a large bowl, whisk together flour, sugar, baking powder, cinnamon, and salt.
  3. Cut in the Butter: Add cold, cubed butter to the flour mixture. Use a pastry cutter or your fingers to cut the butter in until the mixture resembles coarse crumbs.
  4. Prepare Wet Ingredients: In a separate bowl, whisk together heavy cream, egg, and vanilla extract.
  5. Combine Wet and Dry Ingredients: Pour the wet mixture into the flour mixture and stir until just combined.
  6. Add Apples: Gently fold in diced apples until they are evenly distributed throughout the dough.
  7. Shape the Dough: Turn the dough onto a floured surface and shape it into a 1-inch thick disk. Cut into 8 wedges and place them on the prepared baking sheet.
  8. Brush and Sprinkle: Brush the scones with heavy cream.
  9. Bake: Bake for 15-20 minutes, or until the scones are golden brown and a toothpick comes out clean.
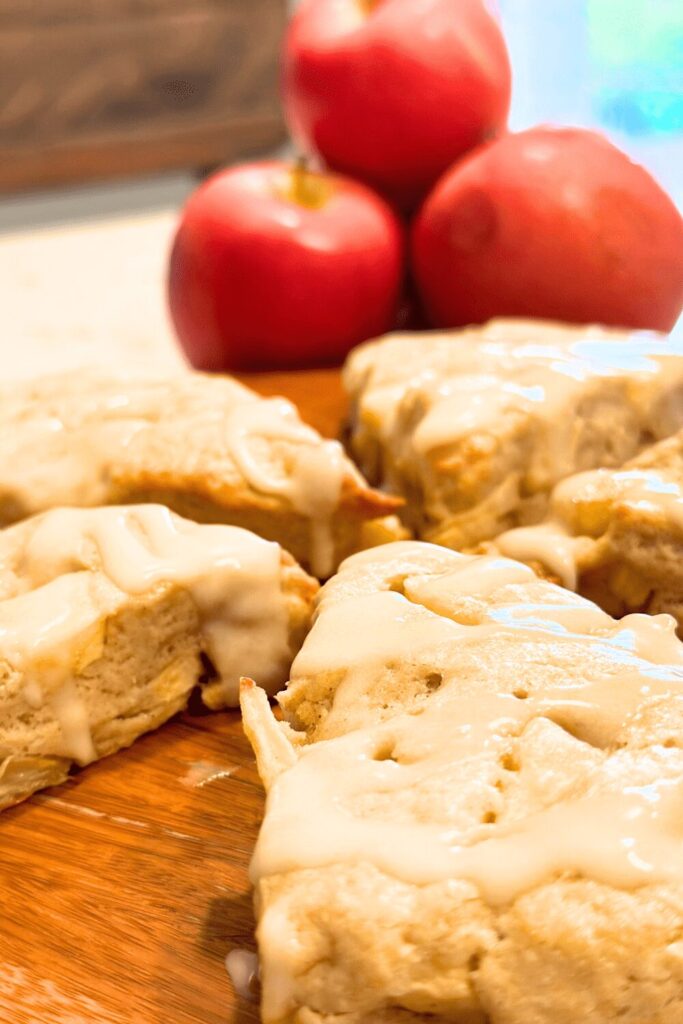
  10. Cool and Add Glaze: Let the scones cool on the baking sheet for a few minutes, then transfer them to a wire rack. Drizzle on powdered sugar glaze. 
apple cinnamon scones recipe

How to Make Powdered Sugar Glaze

  1. Sift the Powdered Sugar: Start by sifting 1 cup of powdered sugar into a medium bowl. Sifting helps to eliminate lumps and ensures a smooth glaze.
  2. Add the Liquid: Gradually incorporate 2 tablespoons of milk into the powdered sugar, stirring until the mixture is smooth. If the glaze is too thick, add more milk a little at a time until you achieve a drizzle-friendly consistency. The glaze should be thin enough to drizzle but thick enough to coat your scones.
  3. Add Vanilla (Optional): For a touch of extra flavor, mix in 1/2 teaspoon of vanilla extract.
  4. Drizzle Over Scones: Once your scones are completely cooled, drizzle the glaze over them. You can use a spoon or a piping bag.
  5. Let Set: Allow the glaze to set for about 10-15 minutes before serving. This helps it firm up and gives it a glossy finish.

Storing Your Apple Cinnamon Scones

To keep your leftover scones fresh, store them in an airtight container at room temperature for up to 2 days. You can store them in the refrigerator in an air-tight container for up to one week. They can also be stored in the freezer for up to 3 months.

For that just-baked taste, reheat them briefly in the oven or microwave before enjoying them.

FAQ’s

Why might scones not rise?

Scones might not rise if the oven isn’t hot enough, if the baking powder or baking soda is old, or if the dough is overmixed. Make sure your oven is preheated, use fresh leavening agents, and mix the dough gently.

What consistency should scones be?

Scone dough should be slightly sticky but manageable. It should come together easily but not be too wet. It’s okay if it’s a bit rough; this helps make the scones light and flaky.

Other Recipes You May Enjoy

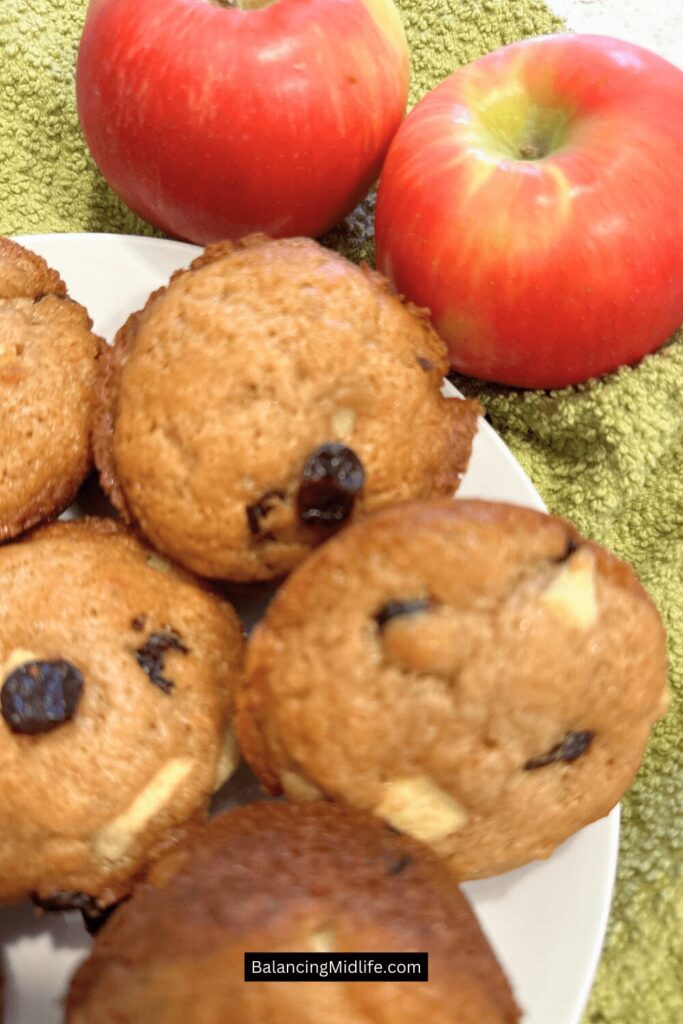
apples and scones

Apple Cinnamon Scones

Nothing beats the smell of warm, freshly baked scones, especially when they’re packed with apple and cinnamon. With this apple cinnamon scones recipe, you’ll learn how to make the best scones right at home.
5 from 5 votes
Prep Time 20 minutes
Cook Time 20 minutes
Course Breakfast, brunch, Dessert, Snack
Cuisine American
Servings 8 scones

Equipment

  • Mixing bowls
  • Measuring cups & measuring spoons
  • Pastry cutter
  • Baking Sheet
  • Wire Cooling Rack

Ingredients
  

  • 2 cups all-purpose flour
  • ¼ cup granulated sugar
  • 1 tbsp baking powder
  • ½ tsp salt
  • ½ cup cold, unsalted butter (cubed)
  • ½ cup heavy cream, plus more for brushing on scones
  • 1 large egg
  • 1 tsp vanilla extract
  • 1 ½ tsp ground cinnamon
  • 1 cup fresh apples, diced

PowderedSugar Glaze

  • 1 cup powdered sugar
  • 2-3 tbsp milk (or cream)
  • ½ tsp vanilla extract (optional)

Instructions
 

  • Preheat the oven to 400°F (200°C) and line a baking sheet with parchment paper.
  • In a large bowl, whisk together flour, sugar, baking powder, cinnamon, and salt.
  • Add cold, cubed butter to the flour mixture. Use a pastry cutter or your fingers tocut the butter in until the mixture resembles coarse crumbs.
  • In a separate bowl, whisk together heavy cream, egg, and vanilla extract.
  • Pour the wet mixture into the flour mixture and stir until just combined.
  • Gently fold in diced apples until they are evenly distributed throughout the dough.
  • Turn the dough onto a floured surface and shape it into a 1-inch thick disk. Cut into 8 wedges and place them on the prepared baking sheet.
  • Brush the scones with heavy cream.
  • Bake for 15-20 minutes, or until the scones are golden brown and a toothpick comes out clean.
  • Let the scones cool on the baking sheet for a few minutes, then transfer them to a wire rack. Drizzle on powdered sugar glaze. 

Powdered Sugar Glaze

  • Start by sifting 1 cup of powdered sugar into a medium bowl. Sifting helps to eliminate lumps and ensures a smooth glaze.
  • Gradually incorporate 2 tablespoons of milk into the powdered sugar, stirring until the mixture is smooth. If the glaze is too thick, add more milk a little at a time until you achieve a drizzle-friendly consistency. The glaze should be thin enough to drizzle but thick enough to coat your scones. 
  • For a touch of extra flavor, mix in 1/2 teaspoon of vanilla extract.
  • Once your scones are completely cooled, drizzle the glaze over them. You can use a spoon or a piping bag.
  • Allow the glaze to set for about 10-15 minutes before serving. This helps it firm up and gives it a glossy finish.

Notes

Storing Your Apple Cinnamon Scones

To keep your leftover scones fresh, store them in an airtight container at room temperature for up to 2 days. You can store them in the refrigerator in an air-tight container for up to one week. They can also be stored in the freezer for up to 3 months.
Keyword apple cinnamon scones, apple scones, breakfast, buttery scones, easy scones recipe, fresh apple scone recipe, fruit scone recipe, homemade scones, scones, scones recipe

Conclusion

This apple cinnamon scone recipe is sure to become a favorite in your kitchen. With their warm, comforting flavors and flaky texture, they make a perfect snack or breakfast treat.

Don’t forget to experiment with recipe variations and toppings to make them your own. Whether you enjoy them fresh or reheated, these apple cinnamon scones will bring a touch of homemade goodness to your day.

If you enjoyed this recipe, don’t forget to subscribe to our blog for more tasty ideas and tips. You can also follow us on PinterestFacebookInstagram and Flipboard.

Short on time? Save Pin this post for later!!

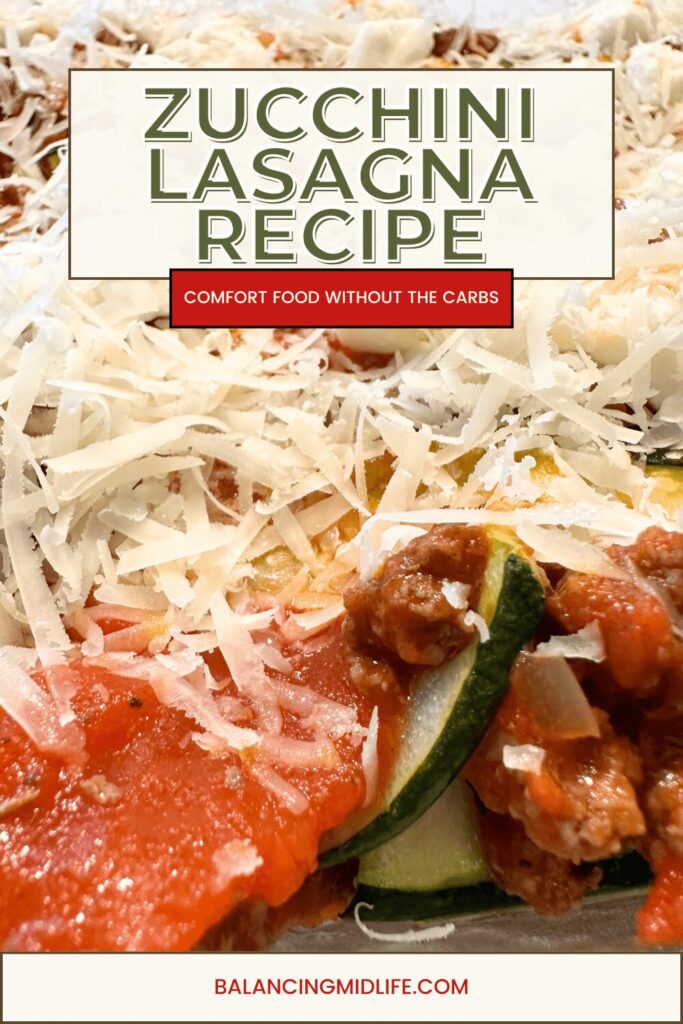
how to make zucchini lasagna

How to Make Zucchini Lasagna (Low Carb + Gluten-Free Recipe)

Looking for a cozy, satisfying dinner that’s also low in carbs? This zucchini lasagna recipe swaps traditional noodles for thin slices of roasted zucchini, perfect for gluten-free diets or anyone craving a lighter version of this classic Italian dish.

zucchini lasagna

With hearty ground beef, rich marinara, and melty cheese, it’s comfort food that doesn’t compromise on flavor.

My posts may contain affiliate links. If you purchase through one of these links, you will not pay a penny more, but I will receive a small commission. Please read my disclaimer for more information.

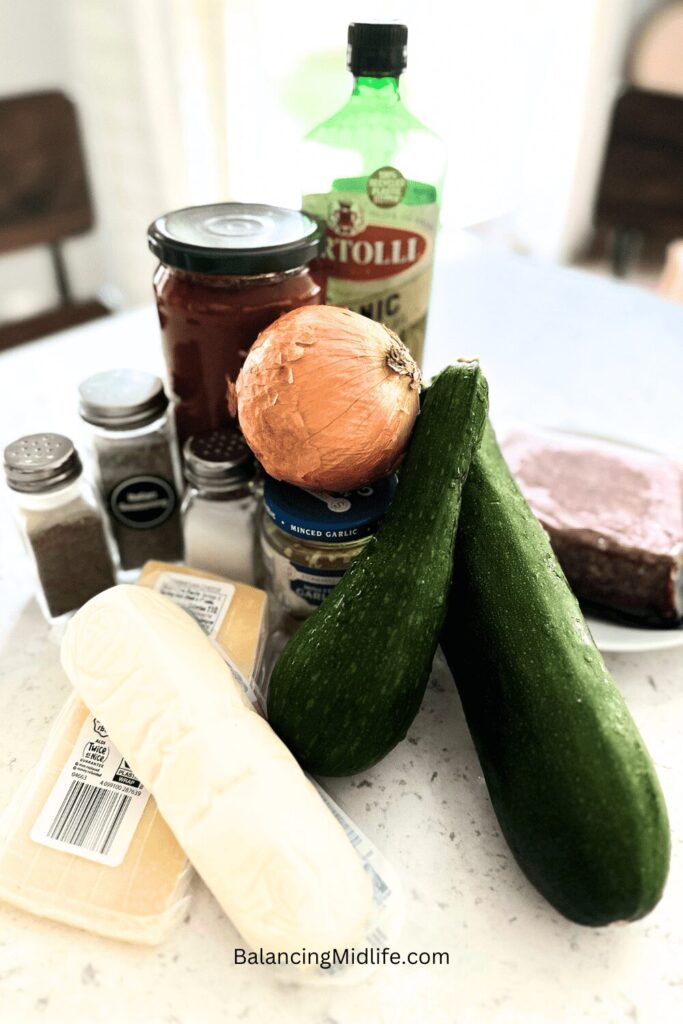
ingredients for zucchini lasagna

Ingredients Needed to Make Zucchini Lasagna

  • For the Meat Sauce:
    • 1 lb ground beef
    • 1 onion, finely chopped
    • 2 cloves garlic, minced
    • 1 jar (24 oz) marinara sauce
    • 1 tsp dried oregano
    • 1 tsp dried basil
    • Salt and pepper, to taste
  • For the Lasagna:
    • 3 medium zucchinis, sliced thinly lengthwise (about 1/8 inch thick)
    • 2 cups shredded mozzarella cheese
    • 1/2 cup grated Parmesan cheese
    • 1 tbsp olive oil
    • Fresh basil or parsley for garnish (optional)

Variations to This Recipe

Vegetarian Zucchini Lasagna: Swap the ground beef for a mix of sautéed vegetables like bell peppers, mushrooms, and spinach. Add layers of ricotta or a blend of cottage cheese and Parmesan for extra creaminess.

Spicy Zucchini Lasagna: Add red pepper flakes or diced jalapeños to the meat sauce. Alternatively, use a spicy marinara sauce or mix in some hot Italian sausage.

Pesto Zucchini Lasagna: Incorporate pesto sauce into the marinara or use it as a layer between the zucchini slices for a fresh, herby twist.

Vegan Zucchini Lasagna: Replace the ground beef with a plant-based meat alternative or lentils. Use vegan cheese.

Tips for Making Zucchini Lasagna

Here are a few tips to ensure your zucchini lasagna turns out perfectly:

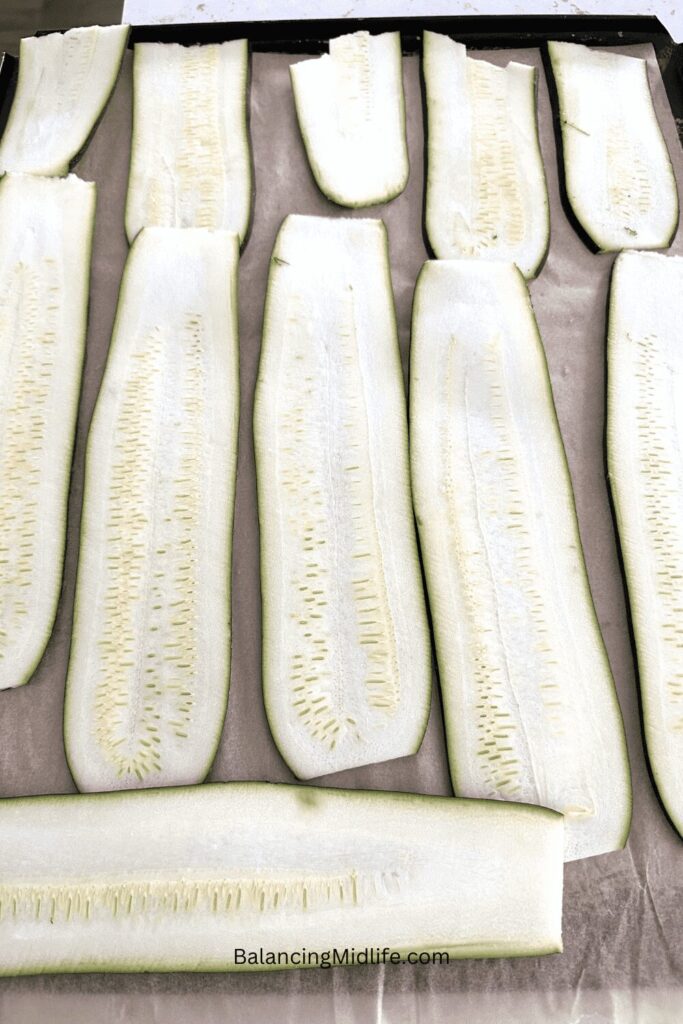
1. Pre-Slice and Roast Zucchini: Slice the zucchini thinly and roast it to reduce excess moisture. This helps prevent the lasagna from becoming watery and ensures a better texture.

slices of zucchini

2. Layer Thoughtfully: Begin with a layer of meat sauce on the bottom of the baking dish to prevent sticking. Then, alternate layers of zucchini, sauce, and cheese to ensure each bite is balanced.

3. Let the Lasagna Rest: After baking, let the lasagna rest for about 10 minutes before slicing. This helps the layers set and makes serving easier.

4. Use Fresh Ingredients: For the best flavor, use high-quality marinara sauce and fresh mozzarella. Fresh ingredients make a noticeable difference in taste.

5. Cover with Foil to Avoid Over-Browning: Cover the lasagna with aluminum foil while baking to prevent the top from over-browning. Remove the foil during the last 10-15 minutes to allow the cheese to become bubbly and golden.

6. Prepare Ahead: You can assemble the lasagna ahead of time and store it in the refrigerator for up to a day before baking. This allows the flavors to meld together and makes meal prep easier.

Equipment Needed to Make Zucchini Lasagna

How to Make Zucchini Lasagna

  1. Prepare the Zucchini:
    • Preheat your oven to 400°F (200°C).
    • Slice the zucchinis lengthwise into thin strips, about 1/8 inch thick.
    • Arrange the slices on a baking sheet and brush with olive oil. Sprinkle with a bit of salt.
    • Roast the zucchini in the preheated oven for about 10 minutes, or until slightly softened. Remove and let cool.
  2. Make the Meat Sauce:
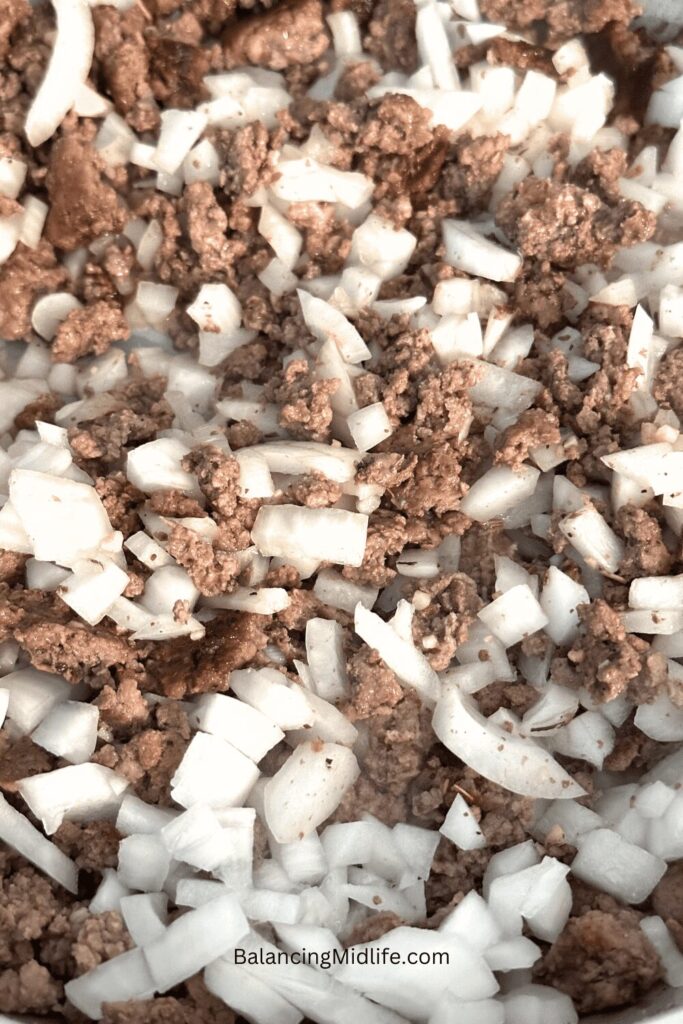
    • In a large skillet, cook 1 lb of ground beef over medium heat until browned. Drain any excess fat.
    • Add 1 chopped onion and 2 minced garlic cloves to the skillet. Cook until the onion is softened and translucent.
    • Stir in one 24 oz jar of marinara sauce, 1 tsp dried oregano, 1 tsp dried basil, and salt and pepper to taste. Simmer for about 10 minutes, stirring occasionally.
  3. Assemble the Lasagna:
    • Spread a thin layer of the meat sauce on the bottom of a 9 x 13” baking dish.
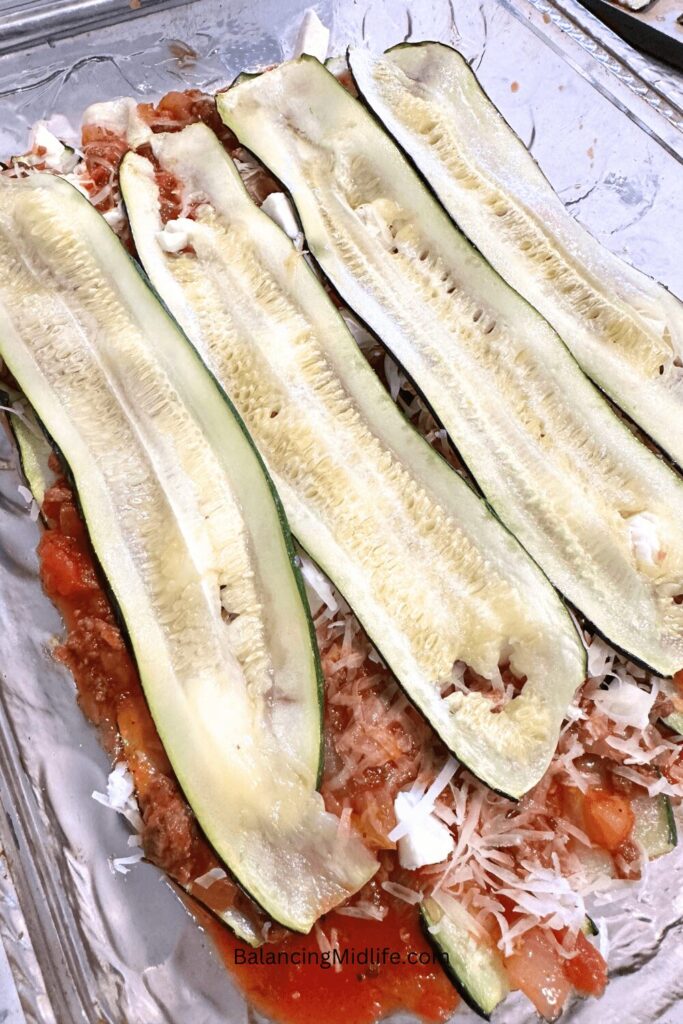
    • Layer the roasted zucchini slices over the meat sauce.
    • Sprinkle with a portion of 2 cups shredded mozzarella cheese and ½ cup grated Parmesan cheese
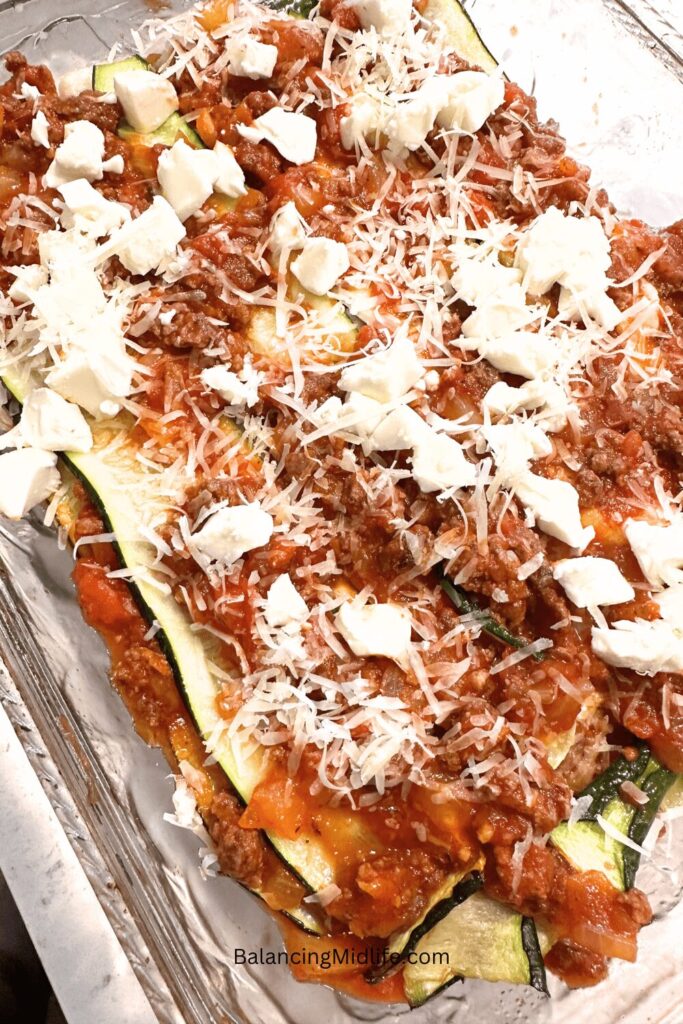
    • Repeat the layers (meat sauce, zucchini, and mozzarella) until all ingredients are used, ending with a layer of mozzarella cheese on top.
  4. Bake the Lasagna:
    • Cover the baking dish with aluminum foil to prevent the top from over-browning.
    • Bake in the preheated oven for 25-30 minutes.
    • Remove the foil and bake for an additional 10 minutes, or until the cheese is bubbly and golden brown.
  5. Let It Rest:
    • Allow the lasagna to cool for about 10 minutes before slicing. This helps the layers set and makes serving easier.
browned ground beef, onions and garlic
zucchini layered in pan
how to make zucchini lasagna

How to Store Zucchini Lasagna

Here’s how you can store zucchini lasagna to keep it fresh and tasty:

  • Cool Before Storing: Allow the lasagna to cool to room temperature before storing. This helps prevent condensation and fogginess.
  • Refrigeration Method: Cover the lasagna with plastic wrap or aluminum foil, or transfer it to an airtight container. Refrigerate the lasagna for up to 4-5 days.
  • Freezing Method: Let the lasagna cool completely. Wrap it tightly with plastic wrap or aluminum foil, and then place it in a freezer-safe container or zip-lock bag. Freeze for up to 2-3 months. Label the container with the date for easy tracking.
  • Individual Portions Method: For convenience, you can portion the lasagna into individual servings before storing. This makes reheating easier and quicker.

To Reheat

  • Reheating From the Refrigerator: Preheat your oven to 350°F (175°C). Cover the lasagna with foil and bake for 20-25 minutes, or until heated through. Remove the foil during the last 5 minutes to allow the cheese to get crispy.
  • Reheating From the Freezer: Thaw the lasagna overnight in the refrigerator. Reheat in the oven at 350°F (175°C) as described above.

FAQ’s

How do you get the moisture out of zucchini?

  1. Salt and Drain: Slice the zucchini and sprinkle with salt. Let it sit in a colander for 30 minutes to draw out moisture, then blot with paper towels.
  2. Roast: Arrange slices on a baking sheet, brush with olive oil, and roast at 400°F (200°C) for about 10 minutes to reduce moisture.
  3. Squeeze: Use a clean kitchen towel to squeeze out excess liquid if needed.
zucchini slices on a baking sheet

How to cut zucchini into noodles?

  1. Spiralizer: Use a spiralizer to create long, curly noodles by feeding the zucchini through the tool.
  2. Julienne Peeler: Run a julienne peeler along the zucchini to make thin noodle-like strips.
  3. Mandoline: Slice zucchini into thin strips using a mandoline with a julienne blade.
  4. Knife: Cut zucchini into thin strips with a sharp knife by slicing rounds into thin strips.

Other Recipes You May Enjoy

zucchini lasagna

Zucchini Lasagna

Craving a cozy meal? Try zucchini lasagna! This healthy, low-carb twist on classic lasagna uses zucchini slices instead of pasta. With layers of savory ground beef, marinara sauce, and gooey mozzarella, it’s both satisfying and easy to make. Perfect for family dinners or a comforting solo meal.
5 from 4 votes
Prep Time 30 minutes
Cook Time 30 minutes
Course Main Course
Cuisine Italian
Servings 6 people

Equipment

  • Large Skillet
  • Baking Sheet
  • Mandolin Slicer or Sharp Knife
  • Cutting Board
  • 9 x 13 inch baking pan

Ingredients
  

  • 1 pound ground beef
  • 1 onion finely chopped
  • 2 cloves minced garlic
  • 1 jar marinara sauce (24 ounces)
  • 1 tsp dried oregano
  • 1 tsp dried basil
  • salt and pepper to taste

For the Lasagna

  • 3 medium zucchinis, sliced thinly lengthwise (about 1/8" thick)
  • 2 cups shredded mozzarella cheese
  • ½ cup grated Parmesan cheese
  • 1 tbsp olive oil
  • fresh basil or parsley for garnish (optional)

Instructions
 

  • Preheat your oven to 400°F (200°C).
  • Slice the zucchini lengthwise into thin strips. Arrange theslices on a baking sheet and brush with olive oil. Sprinkle with a bit of salt.
  • Roast the zucchini slices in the preheated oven for about 10minutes, or until they are slightly softened. Remove and let them cool.
  • Make the Meat Sauce:
    In a large skillet, cook the ground beef over medium heatuntil browned. Drain any excess fat.
  • Add the chopped onion and minced garlic to the skillet. Cookuntil the onion is softened and translucent.
  • Stir in the marinara sauce, oregano, basil, salt, andpepper. Simmer for about 10 minutes, stirring occasionally.
  • Assemble the Lasagna:
    Spread a thin layer of the meat sauce on the bottom of abaking dish (about 9×13 inches).
  • Layer the roasted zucchini slices over the meat sauce.
  • Sprinkle with shredded mozzarella cheese and Parmesan cheese.
  • Repeat the layers (meat sauce, zucchini, and mozzarella)until all ingredients are used, ending with a layer of mozzarella cheese ontop.
  • Bake the Lasagna:
    Cover the baking dish with aluminum foil and bake in the preheated oven for 25 minutes.
  • Remove the foil and bake for an additional 10-15 minutes, oruntil the cheese is bubbly and golden brown.
  • Allow the lasagna to cool for about 10 minutes beforeserving. Garnish with fresh basil or parsley if desired.

Notes

Here’s how you can store zucchini lasagna to keep it fresh and tasty:
  1. Cool Before Storing:
    • Allow the lasagna to cool to room temperature before storing. This helps prevent condensation and sogginess.
  2. Refrigeration:
    • Method: Cover the lasagna with plastic wrap or aluminum foil, or transfer it to an airtight container.
    • Storage: Refrigerate the lasagna for up to 4-5 days.
  3. Freezing:
    • Method: Let the lasagna cool completely. Wrap it tightly with plastic wrap or aluminum foil, and then place it in a freezer-safe container or zip-top bag.
    • Storage: Freeze for up to 2-3 months. Label the container with the date for easy tracking.
  4. Reheating:
    • From the Refrigerator: Preheat your oven to 350°F (175°C). Cover the lasagna with foil and bake for 20-25 minutes, or until heated through. Remove the foil during the last 5 minutes to allow the cheese to crisp up.
    • From the Freezer: Thaw the lasagna overnight in the refrigerator. Reheat in the oven at 350°F (175°C) as described above.
  5. Individual Portions:
    • Method: For convenience, you can portion the lasagna into individual servings before storing. This makes reheating easier and quicker.
By following these steps, you can keep your zucchini lasagna fresh and enjoy it over multiple meals.
Keyword comfort food, cozy meal, family meal, gluten-free lasagna, ground beef lasagna, homemade lasagna, lasagna without pasta, low-carb dinner, low-carb italian dish, low-carb lasagna, low-carb recipe, zucchini bake, zucchini casserole, zucchini lasagna, zucchini recipe

Conclusion

Zucchini lasagna is a delicious and wholesome alternative to traditional lasagna that’s perfect for any night of the week. By following these steps and experimenting with different variations, you can create a dish that’s both comforting and customized to your liking.

Try making this zucchini lasagna for your next meal and experience how satisfying healthy eating can be. Be sure to share this recipe with friends and family or leave a comment below with your thoughts.

If you enjoyed this recipe, don’t forget to subscribe to the blog for more tasty ideas and tips. You can also follow us on PinterestFacebookInstagram and Flipboard.

Short on time? Pin this recipe for later!

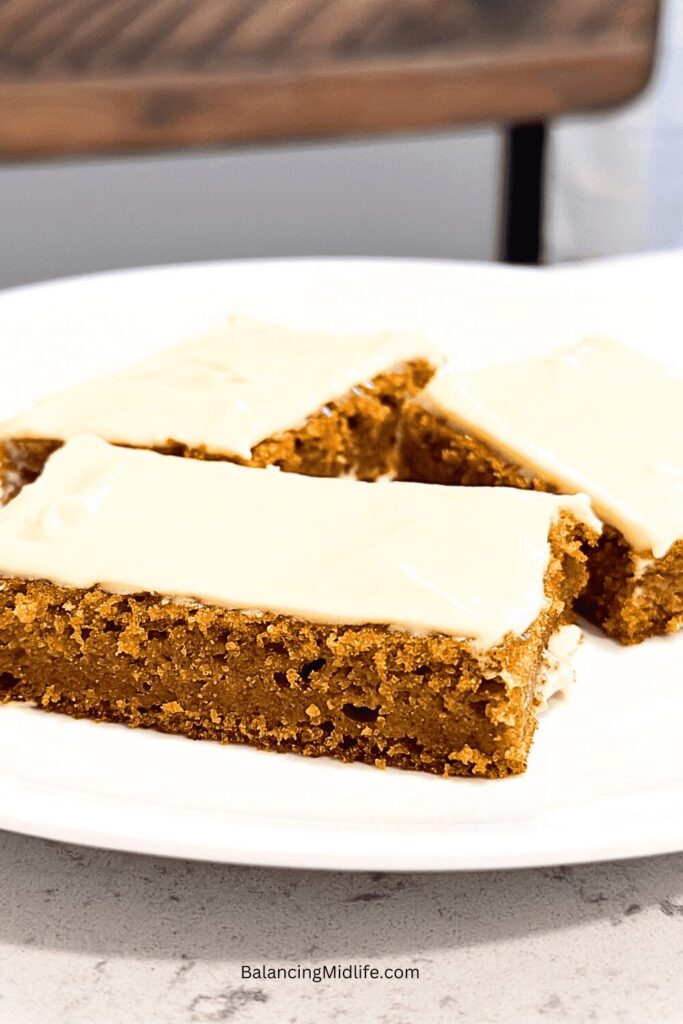
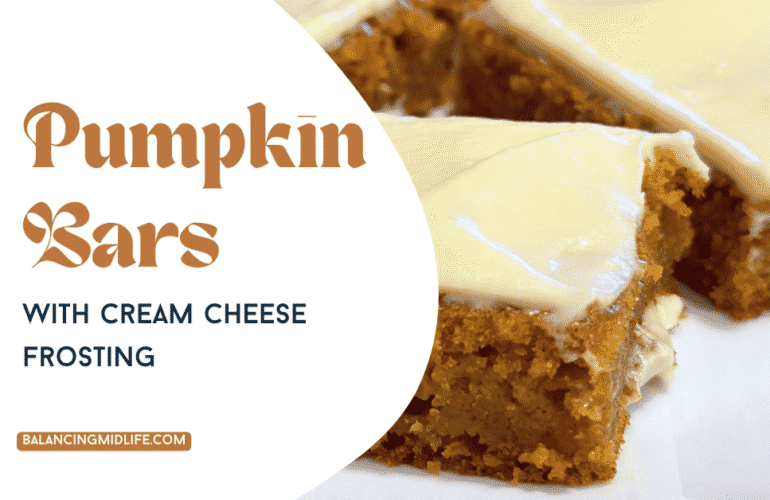
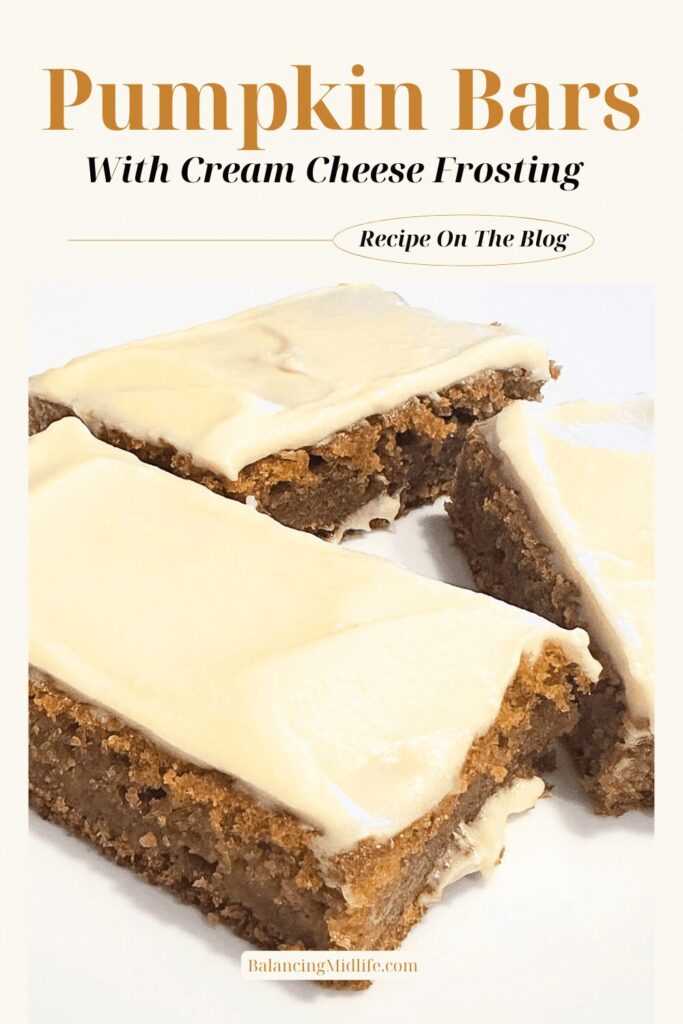
pumpkin bars

Effortless Pumpkin Bars with Cream Cheese Frosting

Are you looking for a comforting fall dessert that’s both easy and delicious? These taste-of-home pumpkin bars are just what you need. This recipe, taken from my mom’s cookbook, combines the rich flavor of pumpkin with a smooth cream cheese frosting.

pumpkin bars

With just a few simple ingredients and minimal fuss, you’ll have a batch of these yummy pumpkin bars ready to enjoy in no time.

My posts may contain affiliate links. If you purchase through one of these links, you will not pay a penny more, but I will receive a small commission. Please read my disclaimer for more information.

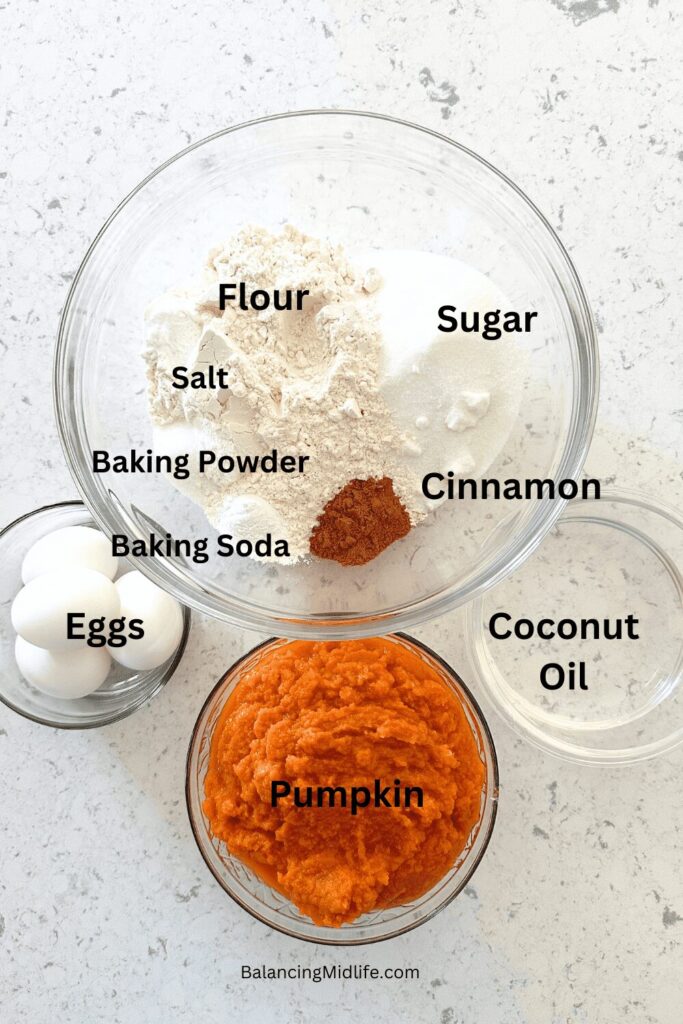
ingredients for pumpkin bar recipe

Ingredients Needed to Make Pumpkin Bars

  • 4 eggs
  • 1 2/3 cup granulated sugar
  • 1 cup oil (I use coconut oil)
  • 1 16 oz can pumpkin
  • 2 cups flour
  • 2 tsp baking powder
  • 2 tsp cinnamon or pumpkin pie spice
  • 1 tsp salt
  • 1 tsp baking soda

Ingredients Needed to Make Cream Cheese Frosting

  • 1 cup softened butter
  • 2 tsp vanilla
  • 4 cups powdered sugar
  • 6 ounces softened cream cheese
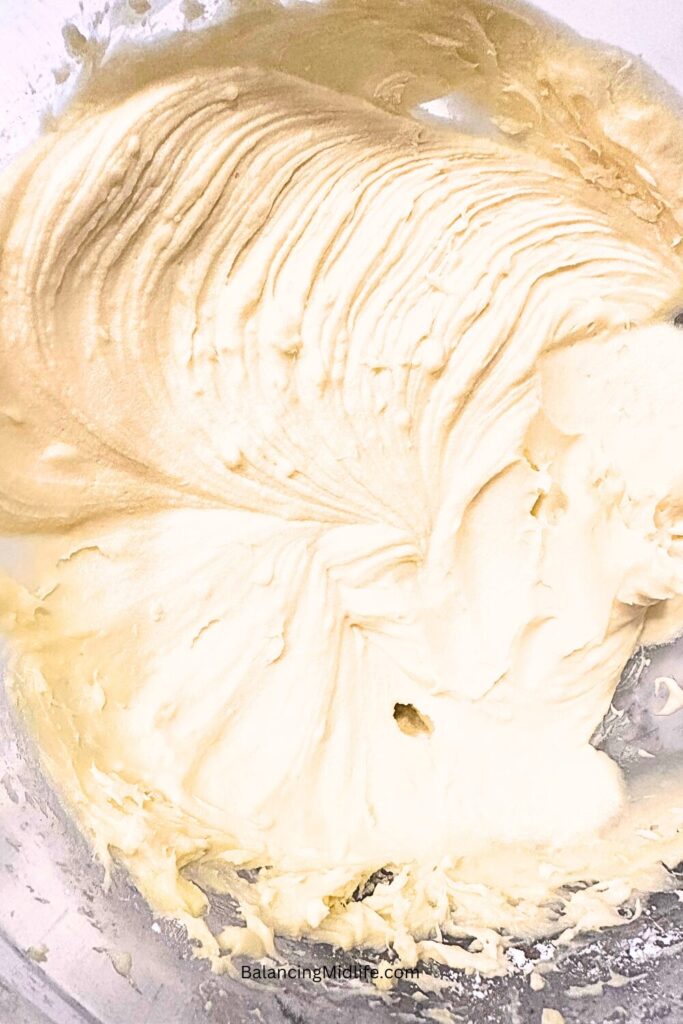
cream cheese frosting

Variations to This Pumpkin Bar Recipe

Raisins: Add 1 cup of raisins to the batter.

Nuts: Mix in 1 cup of chopped walnuts or pecans.

Chocolate Chips: Fold in 1 cup of mini chocolate chips.

Coconut: Stir in 1 cup of shredded coconut.

Dried Cranberries: Use 1 cup of dried cranberries instead of raisins.

Apple: Add 1 cup of finely chopped apples.

Spices: Increase spices to 2 tsp cinnamon, 1 tsp nutmeg, and 1 tsp ginger.

Gluten-Free: Substitute gluten-free flour blend for regular flour.

Maple Frosting: Replace vanilla with 2 tbsp pure maple syrup in the frosting.

Tips for Making Pumpkin Bars

1. Be sure your ingredients are fresh: Use fresh baking powder, baking soda, and spices to ensure proper leavening and flavor.

2. Mixing: Beat the eggs, sugar, oil, and pumpkin thoroughly to achieve a light and fluffy texture. Mix dry ingredients separately before combining to avoid lumps.

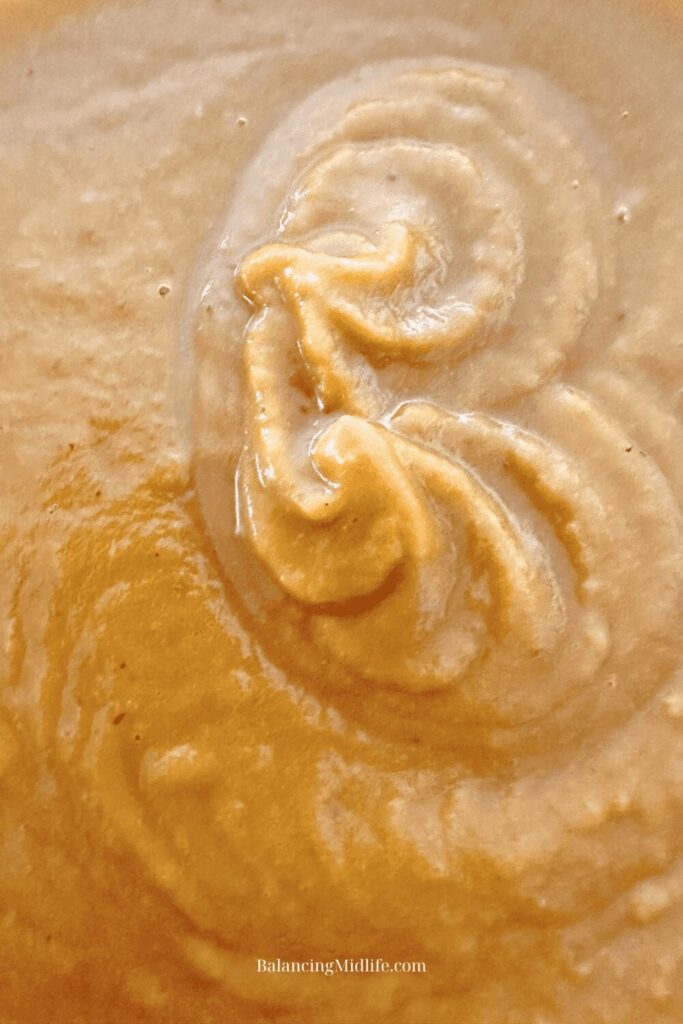
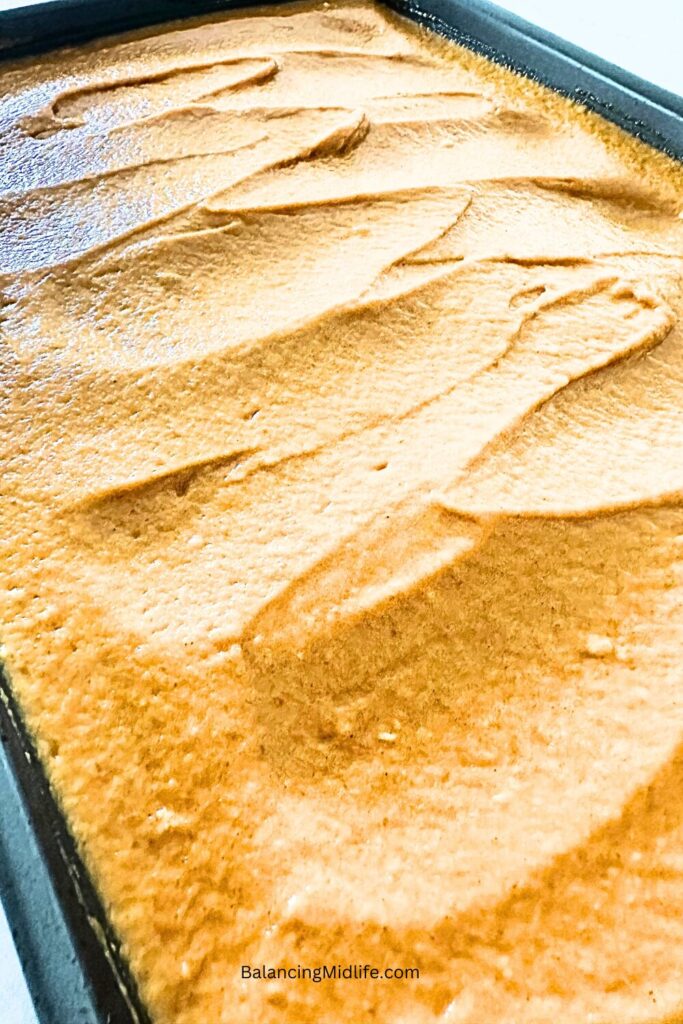
pumpkin bar batter

3. Measure Flour Properly: Spoon flour into your measuring cup and level it off with a knife for accuracy. Avoid scooping directly from the bag.

4. Check for Doneness: Check to see if the pumpkin bars are done a few minutes before the recommended baking time. Use a toothpick inserted into the center. If it comes out clean, the pumpkin bars are done.

5. Cream Cheese Frosting: Be sure the butter and cream cheese are at room temperature for a smooth frosting. Beat them together until creamy before adding powdered sugar to avoid lumps.

6. Cutting Bars: Use a sharp knife for clean cuts. If the frosting is too soft, briefly chill the pumpkin bars before cutting.

Equipment Needed to Make Pumpkin Bars

Here’s a list of helpful equipment for making pumpkin bars:

pumpkin bar batter in jelly roll pan

How to Make Pumpkin Bars

  1. Beat the eggs, sugar, oil, and pumpkin together until light and fluffy.
  2. Add flour, baking powder, cinnamon, salt, and baking soda, and mix until combined.
  3. Spread the batter in an ungreased jelly roll pan.
  4. Bake at 350°F for 25-30 minutes, or until a toothpick inserted comes out clean.
  5. Let the bars cool before frosting.

How to Make Cream Cheese Frosting

With an electric mixer, beat together the butter, vanilla, powdered sugar, and cream cheese until smooth and creamy.

How to Store Pumpkin Bars

To keep your pumpkin bars fresh, follow these storage tips:

  • Cool Completely: Allow the bars to cool completely before storing to prevent condensation and sogginess.
  • Airtight Container: Store the bars in an airtight container at room temperature for up to 3 days.
  • Refrigeration (Optional): For longer freshness, keep them in the refrigerator for up to a week.
  • Freezing (Optional): For extended storage, freeze the pumpkin bars unfrosted. Wrap them tightly in plastic wrap and foil, then place them in a freezer-safe bag. They can be frozen for up to 3 months. Thaw at room temperature before frosting and serving.
  • Layering: If stacking the bars, place parchment paper between layers to prevent sticking.

FAQ’s – Pumpkin Bars

What’s the difference between canned pumpkin and pumpkin filling?

Canned pumpkin is just pure pumpkin with no added ingredients. Pumpkin filling is pre-sweetened and spiced, meant for pies. Use canned pumpkin for recipes that need just pumpkin.

How can I make canned pumpkin taste better?

Add spices like cinnamon and nutmeg, or a little vanilla, maple syrup, or honey to boost the flavor.

Is there a difference between canned pumpkin and pumpkin puree?

Not really; they are the same thing. Both are just cooked and pureed pumpkin. Just make sure you’re using plain canned pumpkin, not pumpkin pie filling.

Other Recipes You May Enjoy:

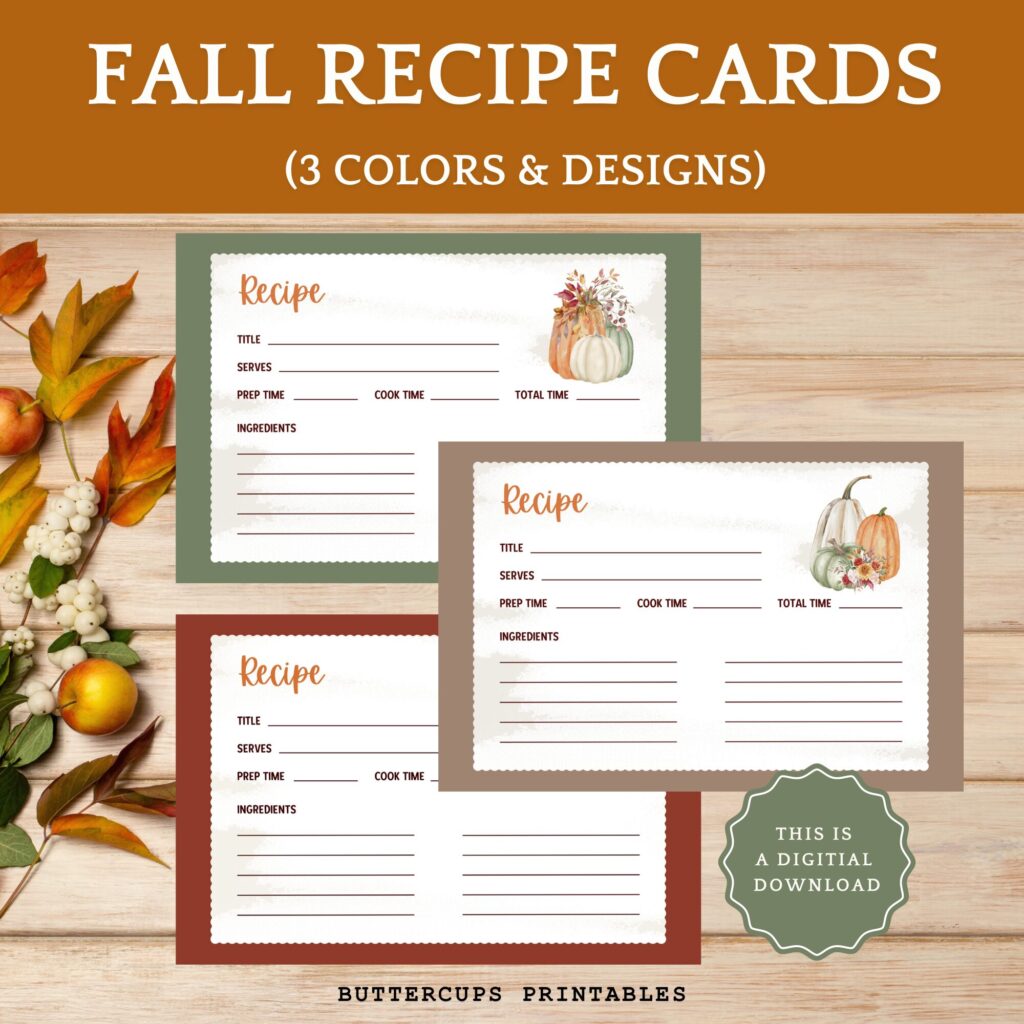
Add a Personal Touch to Your Fall Baking with Printable Recipe Cards and Tags!

Want to bake some pumpkin bars to share with friends or family? Make your treats extra-special with my printable fall recipe cards and gift tags!

These cute cards are perfect for writing down favorite recipes, and the tags add a sweet touch to any homemade gift. They come in cozy fall colors like rust, green, and gray-brown—just right for the season!

Check them out in my Etsy shop to make your baked gifts even more thoughtful!

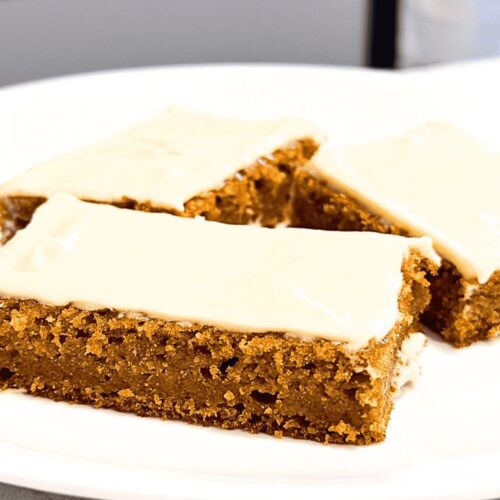
pumpkin bars

Pumpkin Bars

Looking for a comforting fall dessert that's both easy and delicious? These pumpkin bars are perfect for you. Combining the rich flavor of pumpkin with a smooth cream cheese frosting, this recipe uses just a few simple ingredients and involves minimal fuss.
5 from 7 votes
Prep Time 15 minutes
Cook Time 25 minutes
Course Dessert
Cuisine American
Servings 15 servings

Equipment

  • Mixing bowls
  • Electric mixer
  • measuring cups and spoons
  • Jelly Roll Pan or Baking Sheet: A 15×10-inch pan is ideal for spreading the batter evenly.
  • cooling rack
  • Parchment paper optional – makes for easy removal of bars from pan and cleanup
  • Toothpick or Cake Tester

Ingredients
  

  • 4 eggs
  • 1 ⅔ cup granulated sugar
  • 1 cup oil (I use coconut oil)
  • 1 16 ounce can of pumpkin
  • 2 cups all-purpose flour
  • 2 tsp baking powder
  • 2 tsp cinnamon or pumpkin pie spice
  • 1 tsp salt
  • 1 tsp baking soda

Ingredients for Cream Cheese Frosting

  • 1 cup softened butter
  • 2 tsp vanilla
  • 4 cups powdered sugar
  • 6 ounces softended cream cheese

Instructions
 

Instructions for Pumpkin Bars

  • Beat the eggs, sugar, oil, and pumpkin together until light and fluffy
  • Add flour, baking powder, cinnamon, salt, and baking soda, and mix until combined
  • Spread the batter in an ungreased jelly roll pan
  • Bake at 350°F for 25-30 minutes, or until a toothpick inserted comes out clean
  • Let the bars cool before frosting

Instructions for Cream Cheese Frosting

  • With an electric mixer, beat together the butter, vanilla, powdered sugar, and cream cheese until smooth and creamy

Notes

How to Store Pumpkin Bars

To keep your pumpkin bars fresh, follow these storage tips:
    • Cool Completely: Allow the bars to cool completely before storing to prevent condensation and sogginess.
    • Airtight Container: Store the bars in an airtight container at room temperature for up to 3 days.
    • Refrigeration (Optional): For longer freshness, keep them in the refrigerator for up to a week.
    • Freezing (Optional): For extended storage, freeze the unfrosted bars. Wrap them tightly in plastic wrap and foil, then place them in a freezer-safe bag. They can be frozen for up to 3 months. Thaw at room temperature before frosting and serving.
    • Layering: If stacking the bars, place parchment paper between layers to prevent sticking.
Keyword cream cheese frosted pumpkin bars, easy pumpkin bars, fall pumpkin bars, homemade pumpkin bars, moist pumpkin bars, pumpkin bar dessert recipe, pumpkin bar recipe, pumpkin bars, pumpkin bars for parties, pumpkin bars for thanksgiving, pumpkin bars with cream cheese frosting, pumpkin dessert bars, pumpkin spice bars, simple pumpkin bars recipe

Conclusion

These pumpkin bars are a simple and delicious way to enjoy fall flavors. With creamy frosting and pumpkin spice, they’re a to-die-for alternative to pumpkin pie. Great for any occasion, these bars are sure to become a new favorite.

I hope you have fun baking these easy pumpkin bars! Don’t forget to share the recipe with family and friends. After all, good things are meant to be shared!

If you enjoyed this recipe, don’t forget to subscribe to the blog for more tasty ideas and tips. You can also follow us on PinterestFacebookInstagram and Flipboard.

Short on Time? Pin this recipe for later!!

pumpkin bars